Witch Hat Cookies Recipe
Get ready to add a magical twist to your next Halloween party with Witch Hat Cookies! These charming no-bake treats combine chocolate striped shortbread cookies, velvety Hershey’s Kisses, and a touch of frosting for a whimsical, festive dessert that’s as fun to make as it is to eat. With simple assembly and plenty of room for creativity, Witch Hat Cookies are the perfect project to bring out your inner kitchen wizard, whether you’re baking with kids or just looking for a show-stopping addition to your spooky spread.
Ingredients You’ll Need
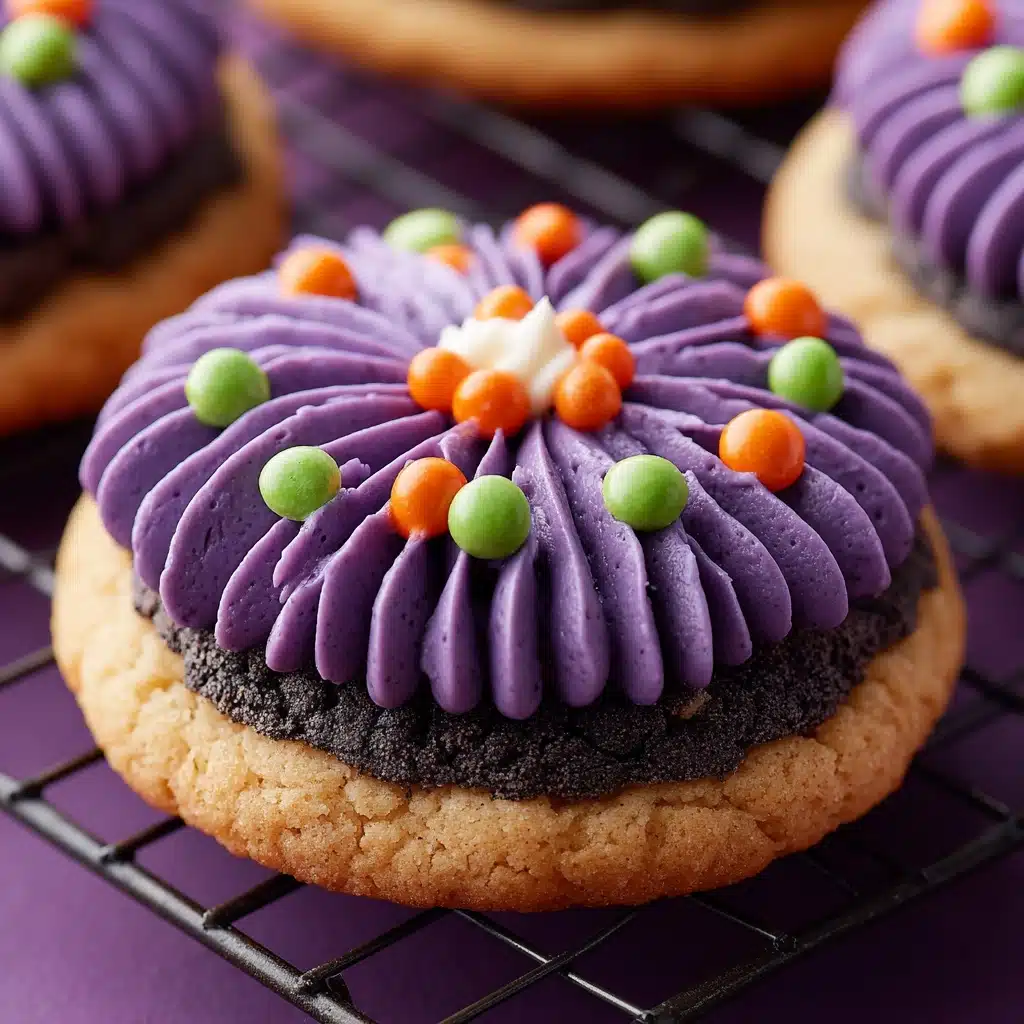
Ingredients You’ll Need
The beauty of Witch Hat Cookies lies in their simplicity—the ingredients are easy to find, but each one plays a starring role in flavor, texture, and that magical Halloween look. Here’s what you’ll need, along with a quick tip for each:
- Chocolate striped shortbread cookies (such as Keebler Fudge Stripes): These create the wide brim of your witch hat, giving structure and a delightful crunch.
- Hershey’s Kisses (unwrapped): The classic chocolate Kiss forms the perfect pointy tip for each hat—don’t forget to unwrap them first!
- Chocolate frosting or black decorating gel: This acts as delicious “glue” and can be piped around the base to mimic a hat band.
- Colored sprinkles or decorating sugar (optional): For a pop of color and extra festive flair, sprinkle these over your frosting bands.
How to Make Witch Hat Cookies
Step 1: Prep Your Workspace
Start by laying out all your ingredients within easy reach. Set out a clean surface or line a baking sheet with parchment paper—this will be your assembly zone and makes cleanup a breeze. Unwrap your Hershey’s Kisses ahead of time so the process is smooth and uninterrupted.
Step 2: Form the Hat Brims
Place each chocolate striped shortbread cookie striped-side down on your work surface. The flat, chocolatey base will become the brim of your witch hat, providing that instantly recognizable look.
Step 3: Attach the Hat Tips
Spoon a small dollop of chocolate frosting or a squeeze of black decorating gel right in the center of each cookie. Immediately press an unwrapped Hershey’s Kiss onto the frosting, gently securing it so the point faces upward. The frosting acts as the “glue” to hold everything together.
Step 4: Add the Hat Bands and Decoration
For that true witchy flair, pipe a thin ring of frosting around the base of each Kiss to resemble a hat band. If you’re feeling extra festive, sprinkle on colored decorating sugar or sprinkles while the frosting is still soft. This is a perfect step for little helpers or anyone who loves to get creative.
Step 5: Let Witch Hat Cookies Set
Transfer your finished cookies to a tray and let them sit at room temperature for at least 15 minutes. This gives the frosting time to firm up so the hats stay intact when serving or storing. Resist the urge to move them too soon—they’ll be picture-perfect and party-ready in no time!
How to Serve Witch Hat Cookies
Garnishes
A sprinkle of orange or green decorating sugar around the hat bands instantly makes your Witch Hat Cookies pop. Try tiny sugar pearls, edible glitter, or even a mini bow piped with tinted icing for a customized touch. The goal is to make each cookie as spellbinding as possible!
Side Dishes
Pair these cookies with a mug of hot chocolate, a glass of cold milk, or even a bubbling cauldron of Halloween punch. For a full dessert spread, serve alongside other spooky treats like monster brownies, ghost meringues, or candy corn for a festive and colorful table.
Creative Ways to Present
Arrange Witch Hat Cookies on a black platter, scatter with candy eyeballs or gummy worms, or nestle them among fake cobwebs for a dramatic party centerpiece. For party favors, wrap individual cookies in cellophane bags tied with purple or green ribbon—they’re irresistible gifts for little witches and wizards!
Make Ahead and Storage
Storing Leftovers
Once set, Witch Hat Cookies can be stored in an airtight container at room temperature for up to 5 days. Keep them in a single layer or separate stacked layers with parchment paper to prevent sticking and smudging.
Freezing
If you want to make Witch Hat Cookies ahead of time, you can freeze them! Place cookies in a single layer on a baking sheet to freeze solid, then transfer to a zip-top bag or airtight container with parchment between layers. They’ll keep for up to a month—just thaw at room temperature before serving.
Reheating
No reheating is necessary since these are no-bake treats, but if your cookies feel a bit too firm from the fridge or freezer, let them sit at room temperature for 15-20 minutes to soften slightly before enjoying.
FAQs
Can I use homemade shortbread cookies instead of store-bought?
Absolutely! If you love baking from scratch, homemade shortbread cookies with a chocolate base will work beautifully. Just make sure they’re sturdy enough to support the Hershey’s Kiss and have a flat side for assembly.
What can I substitute for chocolate frosting?
Black decorating gel, canned chocolate icing, or even a simple ganache made from melted chocolate and cream can all be used as the “glue.” Choose what you like best or what you have on hand.
Are Witch Hat Cookies safe for kids to make?
Definitely! Witch Hat Cookies are a fantastic hands-on project for kids. There’s no baking involved, and little hands can help with assembly and decorating—just be sure to supervise if using piping bags or small candies.
How far in advance can I assemble Witch Hat Cookies?
You can assemble Witch Hat Cookies up to 2-3 days in advance. Just store them in a cool, dry place in an airtight container to keep them fresh and prevent the chocolate from melting or smudging.
Can I make these cookies vegan or allergy-friendly?
Yes! Choose vegan or allergy-friendly versions of the cookies, chocolate, and frosting. There are plenty of alternatives on the market, so everyone can enjoy these festive treats.
Final Thoughts
If you’re looking for a magical, crowd-pleasing treat that’s as simple as it is stunning, you have to try making Witch Hat Cookies. They’re a guaranteed hit for Halloween gatherings, classroom parties, or afternoon baking adventures with kids. So grab your ingredients, gather your fellow witches and wizards, and conjure up a batch of these spellbinding cookies—you’ll be glad you did!
Print
Witch Hat Cookies Recipe
- Total Time: 15 minutes
- Yield: 24 cookies 1x
- Diet: Vegetarian
Description
Witch Hat Cookies are a fun and festive no-bake treat perfect for Halloween parties. These easy-to-make cookies combine chocolate striped shortbread with a Hershey’s Kiss to create an adorable witch’s hat, decorated with chocolate frosting and optional colorful sprinkles for extra flair. Ideal for kids and adults alike, they require minimal prep and no cooking.
Ingredients
Cookies and Chocolate
- 24 chocolate striped shortbread cookies (such as Keebler Fudge Stripes)
- 24 chocolate Hershey’s Kisses, unwrapped
Decorations
- 1/2 cup chocolate frosting or black decorating gel
- Colored sprinkles or decorating sugar (optional)
Instructions
- Prepare Cookies: Place the chocolate striped shortbread cookies striped-side down on a clean surface or a baking sheet to create a stable base for assembly.
- Apply Frosting: Using a small amount of chocolate frosting or black decorating gel, pipe a small circle in the center of each cookie. This will serve as the adhesive for the Hershey’s Kiss.
- Attach Hershey’s Kisses: Press one unwrapped chocolate Hershey’s Kiss into the center of the frosted circle on each cookie, creating the tip of the witch’s hat.
- Add Decorative Details: Optionally, pipe a small ring of frosting around the base of each Hershey’s Kiss to imitate a hat band. Decorate the band with colored sprinkles or decorating sugar for extra festive flair.
- Set Cookies: Allow the assembled cookies to set at room temperature for at least 15 minutes before serving or storing. This ensures the frosting adheres well and decorations stay intact.
Notes
- For extra flair, use tinted frosting to customize the witch’s hat color or add candy bows and mini buckles with colored icing.
- These cookies are great for Halloween parties and simple enough for kids to help make.
- Store in an airtight container at room temperature for up to 3 days to maintain freshness.
- Prep Time: 15 minutes
- Cook Time: 0 minutes
- Category: Dessert
- Method: No-Bake
- Cuisine: American
Nutrition
- Serving Size: 1 cookie
- Calories: 110
- Sugar: 9g
- Sodium: 55mg
- Fat: 6g
- Saturated Fat: 3.5g
- Unsaturated Fat: 2g
- Trans Fat: 0g
- Carbohydrates: 13g
- Fiber: 1g
- Protein: 1g
- Cholesterol: 2mg
