The Only Bread Recipe You’ll Ever Need Recipe
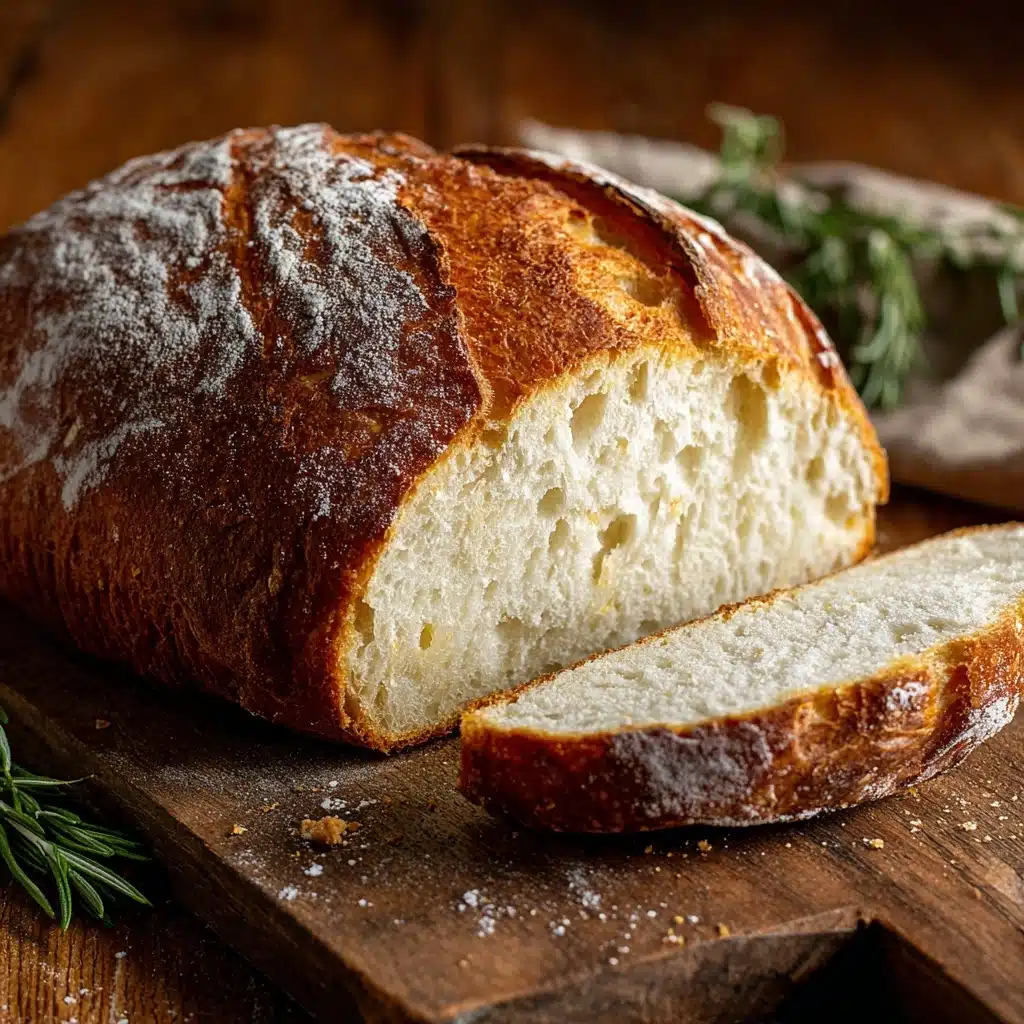
Imagine walking into your kitchen and filling it with the intoxicating aroma of freshly baked bread, crunchy on the outside and pillowy on the inside. That’s the magic of The Only Bread Recipe You’ll Ever Need. This recipe is as foolproof as it is delicious, transforming simple pantry staples into a golden loaf worthy of any table. Whether you’re a bread newbie or a seasoned baker, you’ll discover that with just a bit of patience and a handful of ingredients, homemade bread can be absolutely life-changing.
Ingredients You’ll Need
Bread doesn’t need to be complicated, and The Only Bread Recipe You’ll Ever Need proves it. Each ingredient has a role to play, from the hearty structure provided by flour to the rich undertones coaxed out by yeast and olive oil. Here’s what you’ll need—and why they matter:
- All-purpose flour (4 cups): The backbone of your bread—the type Bread. It creates that perfect crumb structure.
- Active dry yeast (1 packet, 2 1/4 teaspoons): Gives your bread its lovely rise and irresistible airy texture.
- Salt (1 1/2 teaspoons): More than just flavor; salt also helps strengthen the dough and regulate yeast activity.
- Warm water (1 1/2 cups, about 110°F): Activates the yeast and brings the dough together—just make sure it isn’t too hot or you’ll risk damaging the yeast.
- Olive oil (1 tablespoon, optional): Want a slightly softer and richer loaf? This little addition makes all the difference with a tender crumb and beautiful sheen.
How to Make The Only Bread Recipe You’ll Ever Need
Step 1: Mix Dry Ingredients
Start by grabbing a large mixing bowl and combining your flour, salt, and yeast. Mixing these dry ingredients ensures your yeast is evenly distributed and the salt won’t come into direct contact with it—which can sometimes inhibit its magic.
Step 2: Add Water (and Olive Oil)
Slowly pour the warm water into your dry mixture, stirring gently with a wooden spoon or dough hook. You’ll see the dough transform into a shaggy mass—that’s exactly what you want. If you’re after a softer crust, now’s the time to add that tablespoon of olive oil; just pour it in and mix until incorporated.
Step 3: Knead the Dough
Lightly flour your work surface, tip out the dough, and get ready to knead! Eight to ten minutes is perfect—just enough for your dough to become smooth, elastic, and springy when poked. If the dough is sticking to your hands, don’t be afraid to sprinkle on a pinch more flour as needed.
Step 4: First Rise
Pop your dough into a lightly oiled bowl, cover it with a clean kitchen towel or plastic wrap, and let it rest in a warm spot. Over the next hour to hour and a half, it’ll roughly double in size, filling your kitchen with anticipation.
Step 5: Shape and Second Rise
Punch down the dough gently (it’s as satisfying as it sounds!) and shape it into a loaf or a round, whichever you prefer. Place it on a parchment-lined sheet or in a greased loaf pan. Cover it once again, letting it rise for another 30 to 45 minutes. During this second rise, preheat your oven to 375°F (190°C).
Step 6: Bake
When the dough is beautifully puffed, it’s ready for the oven. For an extra-crusty loaf, set a pan of hot water on the oven’s bottom rack. Bake your bread for 30 to 35 minutes, until golden brown and it sounds hollow when tapped on the bottom. Patience here is key: let your creation cool on a wire rack before slicing into it!
How to Serve The Only Bread Recipe You’ll Ever Need

Garnishes
Dress up your fresh loaf with a brush of olive oil and a sprinkle of flaky sea salt, or go wild with sesame, poppy seeds, or freshly chopped herbs for bursts of color and flavor. Even a dusting of flour just before baking adds a rustic charm that’s impossible to resist.
Side Dishes
Pairing this bread is half the fun. Serve slices alongside warm soups, fresh salads, or Italian classics like lasagna. It’s also unbeatable as the cornerstone of a hearty breakfast—think avocado toast, classic butter and jam, or a slice loaded with creamy cheese and ripe tomatoes.
Creative Ways to Present
If you’re feeling extra creative, try making mini loaves or shaping the dough into rolls or braids for a stunning breadbasket presentation. For dinner parties, create bread bowls for soup; simply hollow out individual rounds after baking and fill with your favorite creamy chowder or chili.
Make Ahead and Storage
Storing Leftovers
To keep your bread at its best, wrap it in a clean kitchen towel or store it in a bread box at room temperature. It will stay fresh for up to three days—if it lasts that long!
Freezing
The Only Bread Recipe You’ll Ever Need is just as glorious out of the freezer. Let the loaf cool completely, then wrap it tightly in plastic wrap and a layer of foil. Store for up to three months. Thaw at room temperature for several hours before serving.
Reheating
There’s nothing like warm bread, even days after baking. Sprinkle the loaf or slices with a little water and bake in a 350°F oven for about 10 minutes, or pop a slice in the toaster for a quick fix. The crust becomes crisp again, and it tastes just-baked.
FAQs
Can I use whole wheat flour instead of all-purpose?
Absolutely! Swapping in whole wheat flour gives your loaf a deeper flavor and more fiber. Just keep in mind you may need a bit more water, and the crumb will be a touch denser.
How do I tell if the bread is fully baked?
Tapping the bottom of the loaf is the classic test: it should sound hollow. You can also use a thermometer—an internal temperature of 190–200°F means your bread is ready.
What can I add to personalize The Only Bread Recipe You’ll Ever Need?
The possibilities are endless! Try stirring in fresh herbs, roasted garlic, nuts, dried fruit, or a handful of your favorite shredded cheese for a fun flavor twist.
Do I really need to let it cool before slicing?
Tempting as it is to dig in right away, letting your bread cool allows steam to finish working its magic and keeps the texture from turning gummy. Your patience will be rewarded!
Can I double or halve this recipe?
You sure can. Double it for two loaves (perfect for gifting), or halve the quantities for a petite loaf—just keep an eye on baking times, as smaller loaves cook a bit faster.
Final Thoughts
Baking bread at home is such a simple joy, and The Only Bread Recipe You’ll Ever Need makes it accessible for everyone. Give it a whirl, and see how this golden, comforting loaf brings out the best in your kitchen—and in your meals. Don’t be surprised if you find yourself baking it again and again!
Print
The Only Bread Recipe You’ll Ever Need Recipe
- Total Time: 2 hours 15 minutes
- Yield: 1 loaf (about 10–12 slices) 1x
- Diet: Vegan
Description
This homemade bread recipe is the only one you’ll ever need. With simple ingredients and easy steps, you’ll have a delicious loaf perfect for any occasion.
Ingredients
Dough:
- 4 cups all-purpose flour (plus more for dusting)
- 1 packet (2 1/4 teaspoons) active dry yeast
- 1 1/2 teaspoons salt
- 1 1/2 cups warm water (about 110°F)
- 1 tablespoon olive oil (optional for softer crust)
Instructions
- Combine Dry Ingredients: In a large mixing bowl, combine the flour, salt, and yeast.
- Add Water and Mix: Slowly add the warm water and stir until a shaggy dough forms. Add olive oil if desired.
- Knead the Dough: Turn out the dough onto a floured surface and knead for 8–10 minutes until smooth.
- Let It Rise: Place the dough in an oiled bowl, cover, and let rise for 1–1 1/2 hours until doubled.
- Shape and Bake: Shape the dough, let it rise again, then bake at 375°F for 30–35 minutes.
- Cool and Slice: Cool the bread on a rack before slicing and serving.
Notes
- For a crustier loaf, add a pan of hot water to the oven while baking.
- Experiment with herbs, garlic, or cheese for flavor variations.
- Prep Time: 15 minutes
- Cook Time: 35 minutes
- Category: Bread
- Method: Baking
- Cuisine: Universal
Nutrition
- Serving Size: 1 slice
- Calories: 140
- Sugar: 0g
- Sodium: 290mg
- Fat: 2g
- Saturated Fat: 0.3g
- Unsaturated Fat: 1.5g
- Trans Fat: 0g
- Carbohydrates: 26g
- Fiber: 1g
- Protein: 4g
- Cholesterol: 0mg


