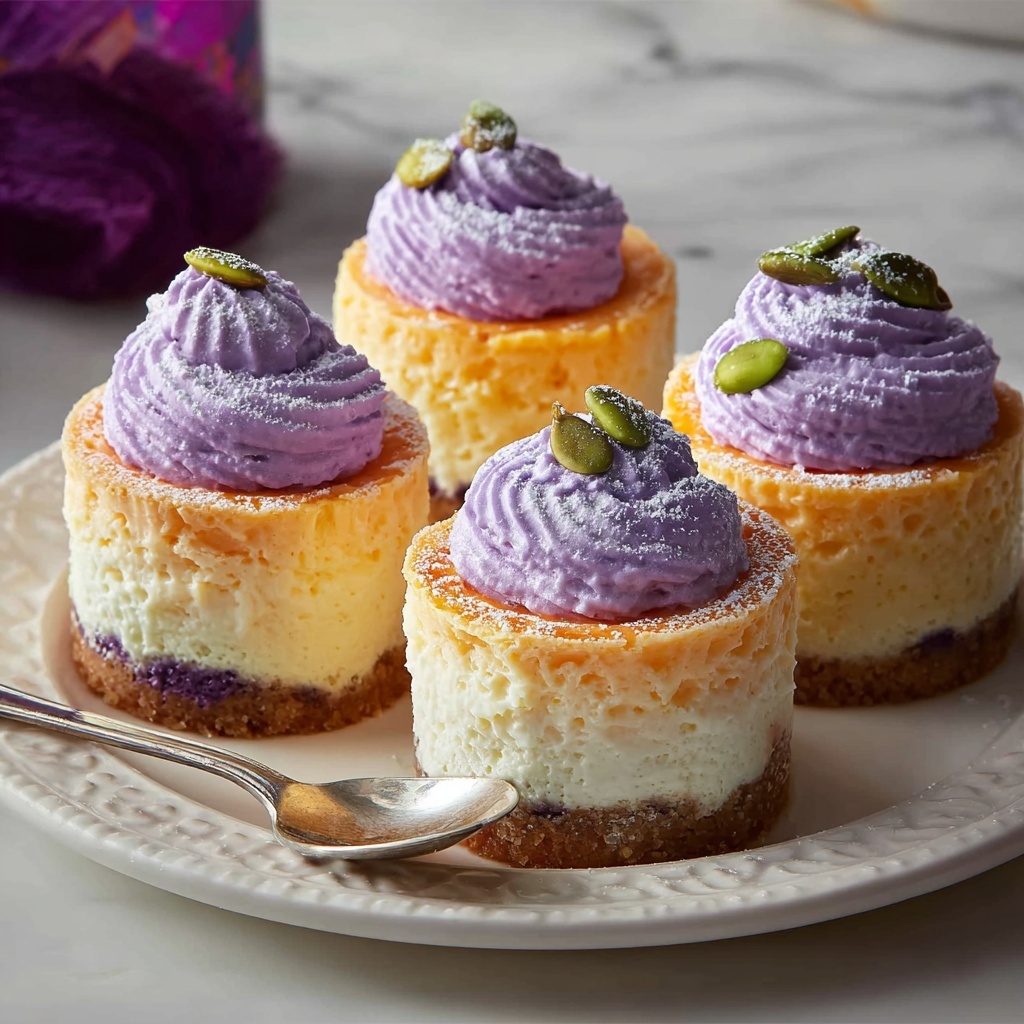
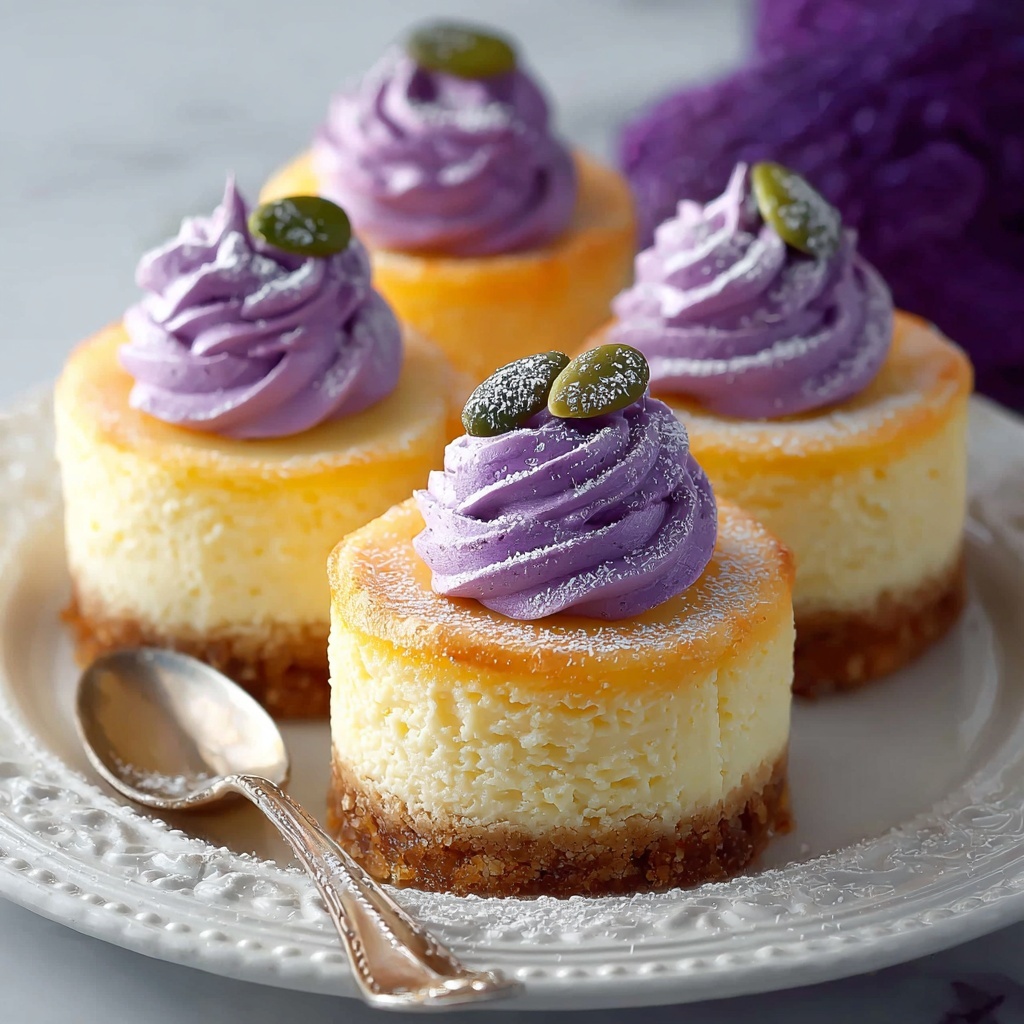
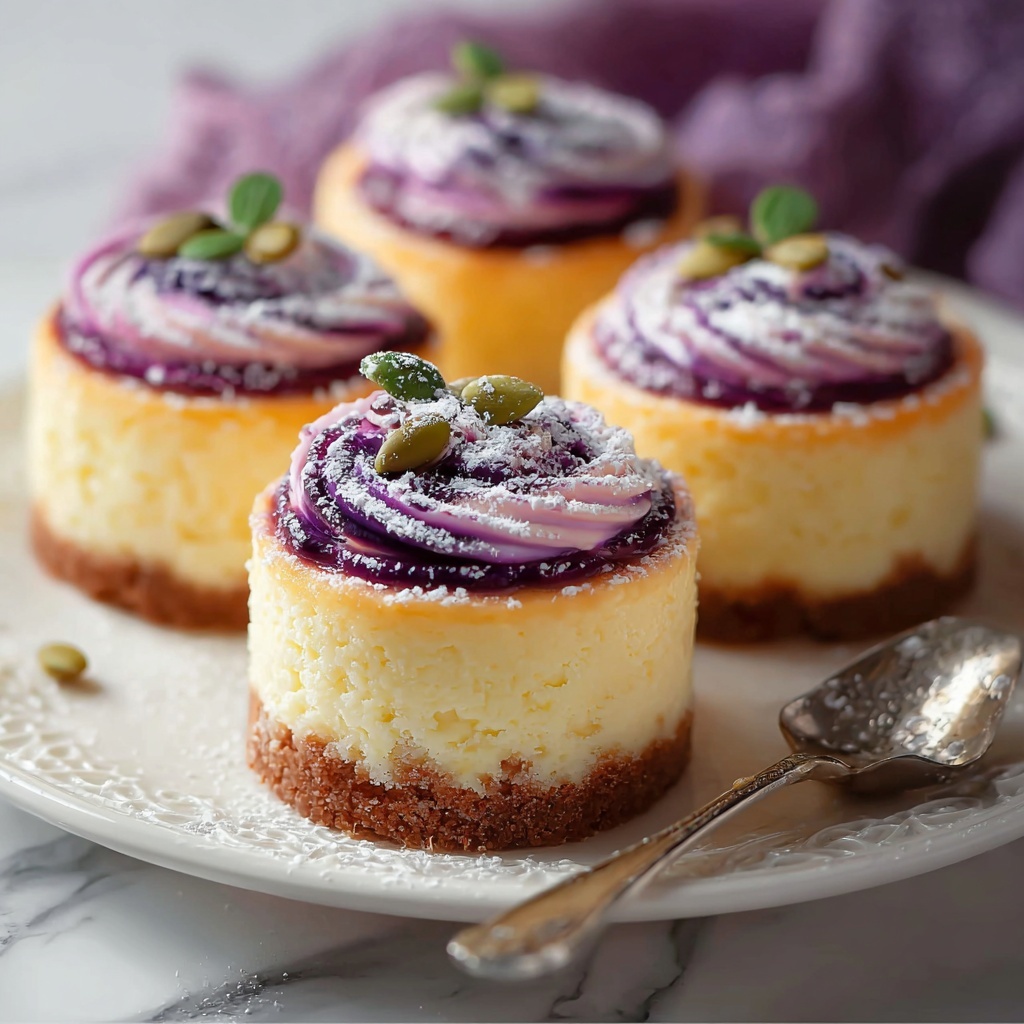
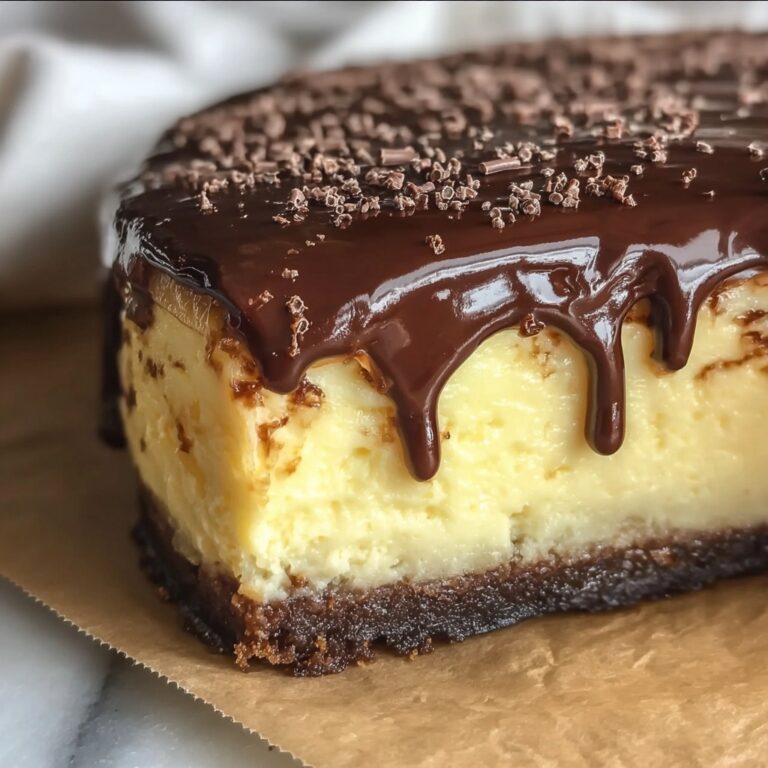
The Japanese Mini Cotton Cheesecake Recipe is an absolute delight, embodying the perfect balance of lightness, fluffiness, and subtle sweetness that melts in your mouth with every bite. Unlike traditional dense cheesecakes, these mini versions boast an airy texture reminiscent of a soft cloud, making them irresistible for any dessert lover. Whether you’re looking for a charming treat to brighten up a tea party or a sophisticated mini dessert to impress guests, this recipe brings the elegant softness and gentle tang of cream cheese infused with just the right touch of vanilla and lemon. The magic lies in its simplicity combined with the care taken to fold the ingredients just right, resulting in an ethereal cheesecake experience you will want to savor time and time again.
Ingredients You’ll Need
Gathering the ingredients for this Japanese Mini Cotton Cheesecake Recipe is straightforward, and each plays a pivotal role in creating its signature fluffy texture and delicate flavor. From the creamy richness of cream cheese to the lightness introduced by the whipped egg whites, these components come together harmoniously to create something truly special.
- Cream cheese: This acts as the creamy, tangy base that gives the cheesecake its essential flavor and smooth texture.
- Eggs: Both the yolks and whites are crucial; yolks add richness while the whipped whites provide that heavenly fluffiness.
- Heavy cream: Adds extra creaminess and a luscious mouthfeel.
- Milk: Helps achieve the perfect batter consistency while keeping the cheesecake moist.
- Cake flour: Provides structure but keeps the cake tender and soft without weighing it down.
- Cornstarch: A subtle stabilizer that enhances the light, cotton-like texture.
- Sugar: Sweetens the batter just enough to balance the cream cheese’s slight tang.
- Lemon juice: A hint of citrus brightness that lifts the flavor complexity.
- Vanilla extract: Infuses warmth and aromatic depth to the final cheesecake.
How to Make Japanese Mini Cotton Cheesecake Recipe
Step 1: Prepare the Pans
Start by lining your mini cheesecake pans or muffin tin with parchment paper and greasing them lightly. This ensures the delicate cheesecakes will release easily after baking without losing their airy shape.
Step 2: Whisk Cream Cheese and Sugar
In a large mixing bowl, combine the cream cheese and sugar, whisking together until you achieve a smooth, creamy consistency free of lumps. This creates a luscious base that’s essential for the cheesecake’s velvety texture.
Step 3: Add Milk, Heavy Cream, and Egg Yolks
Gently mix in the milk, heavy cream, and egg yolks to the cream cheese mixture. Stir carefully to incorporate all ingredients while keeping the batter light and airy, as overmixing can make the cheesecake dense.
Step 4: Sift and Fold in Dry Ingredients
Sift the cake flour and cornstarch together, then fold them into the wet batter with delicate strokes. Folding rather than stirring maintains the lightness, ensuring that the texture remains fluffy and soft after baking.
Step 5: Beat Egg Whites to Stiff Peaks
In a separate bowl, whip the egg whites until they form stiff peaks. This step is crucial as these whipped whites are what give the cheesecake its signature cottony texture.
Step 6: Combine Egg Whites with Batter
Gently fold the whipped egg whites into the cream cheese batter in batches, being careful not to deflate the mixture. This tender folding is the real secret to achieving the cheesecake’s delicate, airy lift.
Step 7: Preheat Oven and Prepare Water Bath
Preheat your oven to 325°F (165°C). Then prepare a larger baking tray filled with hot water, which will serve as a water bath for the mini cheesecakes. This technique helps prevent cracks and keeps the cheesecakes moist.
Step 8: Bake the Cheesecakes
Place the filled mini cheesecake pans inside the water bath on the oven rack and bake for 25 to 30 minutes. The tops should turn lightly golden while the centers remain slightly jiggly, which guarantees a soft and creamy finish.
Step 9: Cool and Chill
Allow the cheesecakes to cool completely in their pans before transferring them to the refrigerator. Letting them chill for several hours helps them set perfectly and enhances the flavor, setting the stage for a melt-in-your-mouth experience.
How to Serve Japanese Mini Cotton Cheesecake Recipe
Garnishes
Simple garnishes can elevate the presentation and flavor of your Japanese Mini Cotton Cheesecake Recipe beautifully. Lightly dusting powdered sugar, adding fresh berries, or a delicate drizzle of berry coulis brings just the right touch of elegance and freshness to each mini cake.
Side Dishes
This fluffy dessert pairs wonderfully with a cup of green tea or black coffee, balancing the sweetness and providing a comforting finish to any meal. Fresh fruit salads or a scoop of sorbet also make excellent accompaniments, enhancing the overall dining experience.
Creative Ways to Present
For a playful presentation, serve the cheesecakes in individual glass jars with layers of fruit compote or whipped cream. Alternatively, create a mini cheesecake platter featuring different toppings—like chocolate shavings, toasted nuts, or edible flowers—inviting guests to customize their bite.
Make Ahead and Storage
Storing Leftovers
If you happen to have leftovers, keep your mini cotton cheesecakes covered tightly in an airtight container in the refrigerator. They will stay fresh and moist for up to 3 days, maintaining that signature cloud-like softness.
Freezing
You can freeze these cheesecakes by wrapping each one individually in plastic wrap and then placing them in a freezer-safe container. When properly stored, they can be frozen for up to one month. When you’re ready to enjoy, thaw them overnight in the refrigerator for best results.
Reheating
Since the cheesecake is best served chilled, reheating isn’t typically necessary. However, if you prefer them slightly warmed, allow them to come to room temperature or briefly warm in a low-temperature oven for a few minutes, taking care not to dry them out.
FAQs
What makes this cheesecake “cotton”?
The airy texture comes from folding whipped egg whites into the batter, which creates a light and fluffy consistency unlike traditional dense cheesecakes.
Can I use a regular cupcake pan instead of mini cheesecake pans?
Absolutely! Just make sure to line and grease the pan well, and the baking time should be similar. The size will influence the final appearance, but the delightful texture remains the same.
Is there a substitute for cake flour?
If you don’t have cake flour, you can create a substitute by replacing 2 tablespoons of all-purpose flour with cornstarch for every cup. This helps keep the batter tender without making it too heavy.
Why do I need to use a water bath?
The water bath ensures gentle and even baking which prevents the cheesecake from cracking and helps maintain its smooth, creamy texture.
Can I make this recipe gluten-free?
Yes, you can substitute the cake flour with a gluten-free flour blend suitable for baking. Just make sure the blend contains starches to help achieve a similar light texture.
Final Thoughts
There is something utterly captivating about the delicate nature of the Japanese Mini Cotton Cheesecake Recipe that makes it feel like a special indulgence with every bite. Easy enough for home bakers to tackle and elegant enough to impress at any occasion, this recipe invites you to bring a little Japanese charm and irresistible fluffiness into your kitchen. I encourage you to try it soon—you’ll find yourself reaching for these miniature clouds of cheesecake again and again.
Print
Japanese Mini Cotton Cheesecake Recipe
- Prep Time: 15 minutes
- Cook Time: 30 minutes
- Total Time: 45 minutes
- Yield: 12 mini cheesecakes
- Category: Dessert
- Method: Baking
- Cuisine: Japanese
Description
This Japanese Mini Cotton Cheesecake is a light, fluffy, and airy dessert that combines the smooth richness of cream cheese with the delicate texture of a soufflé. Baked using a water bath method to maintain moisture and prevent cracking, these mini cheesecakes are perfect for an elegant treat or a delightful snack. With a subtle sweetness and a hint of lemon and vanilla, they offer a melt-in-your-mouth experience that is both refreshing and satisfying.
Ingredients
Cheesecake Batter
- 8 oz (225g) cream cheese, softened
- 2/3 cup (135g) sugar
- 1/4 cup (60ml) milk
- 1/2 cup (120ml) heavy cream
- 4 large egg yolks
- 1/2 cup (60g) cake flour
- 2 tablespoons cornstarch
- 1 teaspoon lemon juice
- 1 teaspoon vanilla extract
Meringue
- 4 large egg whites
Instructions
- Prepare Pans: Line and grease mini cheesecake pans or a muffin tin thoroughly to ensure easy removal of the cheesecakes after baking.
- Make Cream Cheese Mixture: In a large mixing bowl, whisk together the softened cream cheese and sugar until the mixture is smooth and free of lumps.
- Add Wet Ingredients: Incorporate the milk, heavy cream, and egg yolks gently into the cream cheese mixture, mixing until just combined without overbeating.
- Sift Dry Ingredients: Sift cake flour and cornstarch into the cream cheese mixture, and fold carefully to maintain a light batter and avoid deflating it.
- Beat Egg Whites: In a separate clean bowl, beat the egg whites until stiff peaks form to create a stable meringue that will add airiness to the cake.
- Fold Meringue: Gently fold the beaten egg whites into the cream cheese batter in batches, maintaining as much air as possible for a fluffy texture.
- Preheat Oven: Preheat the oven to 325°F (165°C) ready for baking.
- Prepare Water Bath: Place the filled cheesecake pans into a larger roasting tray or baking pan, then pour hot water into the larger pan until it comes halfway up the sides of the cheesecake molds.
- Bake: Bake in the preheated oven for 25 to 30 minutes, or until the tops are lightly golden and the centers remain slightly jiggly to ensure a perfect custardy texture.
- Cool and Chill: Remove from the oven and cool completely in the pans on a wire rack. Then refrigerate for at least 2 hours or until fully set before serving.
Notes
- Using a water bath helps prevent cracking and creates a smooth, creamy texture.
- Do not overmix when folding in egg whites to keep the cheesecake light and airy.
- You can substitute cake flour with all-purpose flour by removing 2 tablespoons per cup.
- Make sure all ingredients are at room temperature for the best mixing results.
- These mini cheesecakes can be stored in the refrigerator for up to 3 days.


