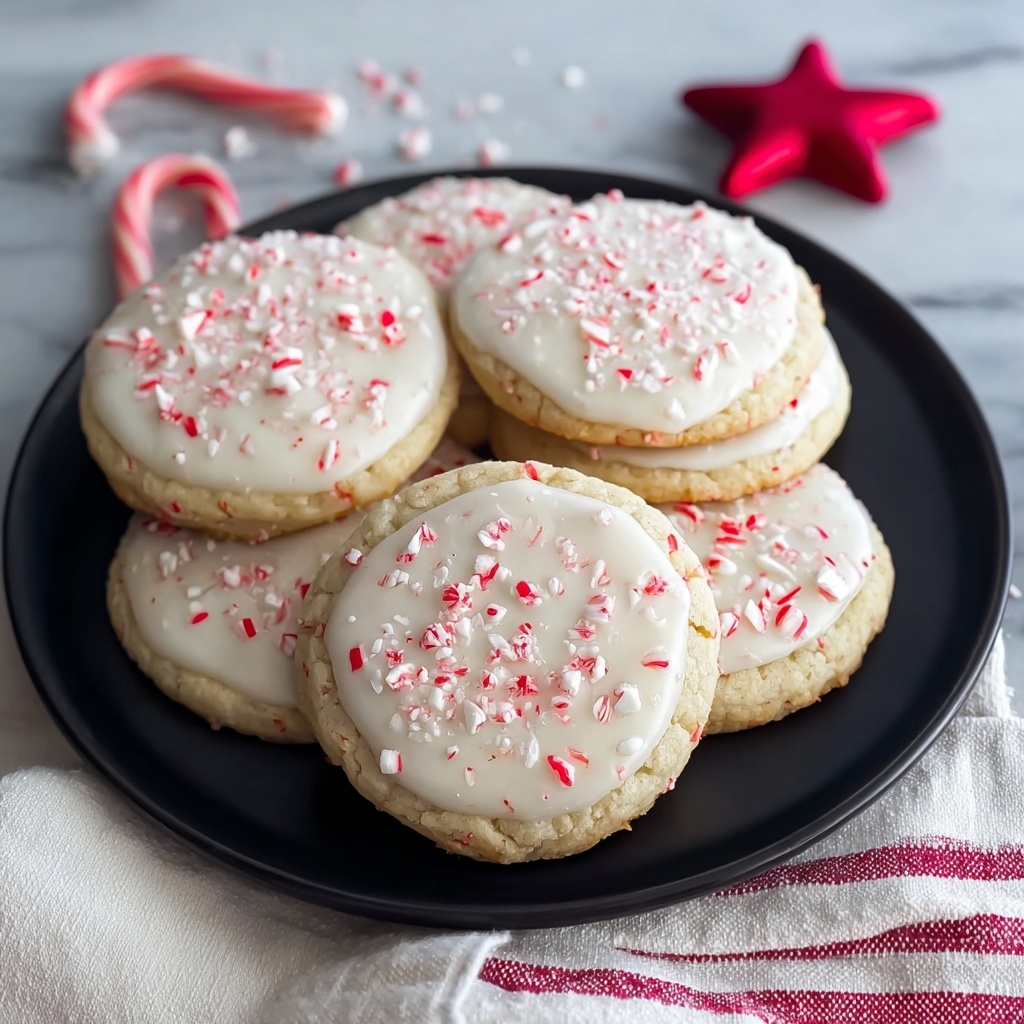
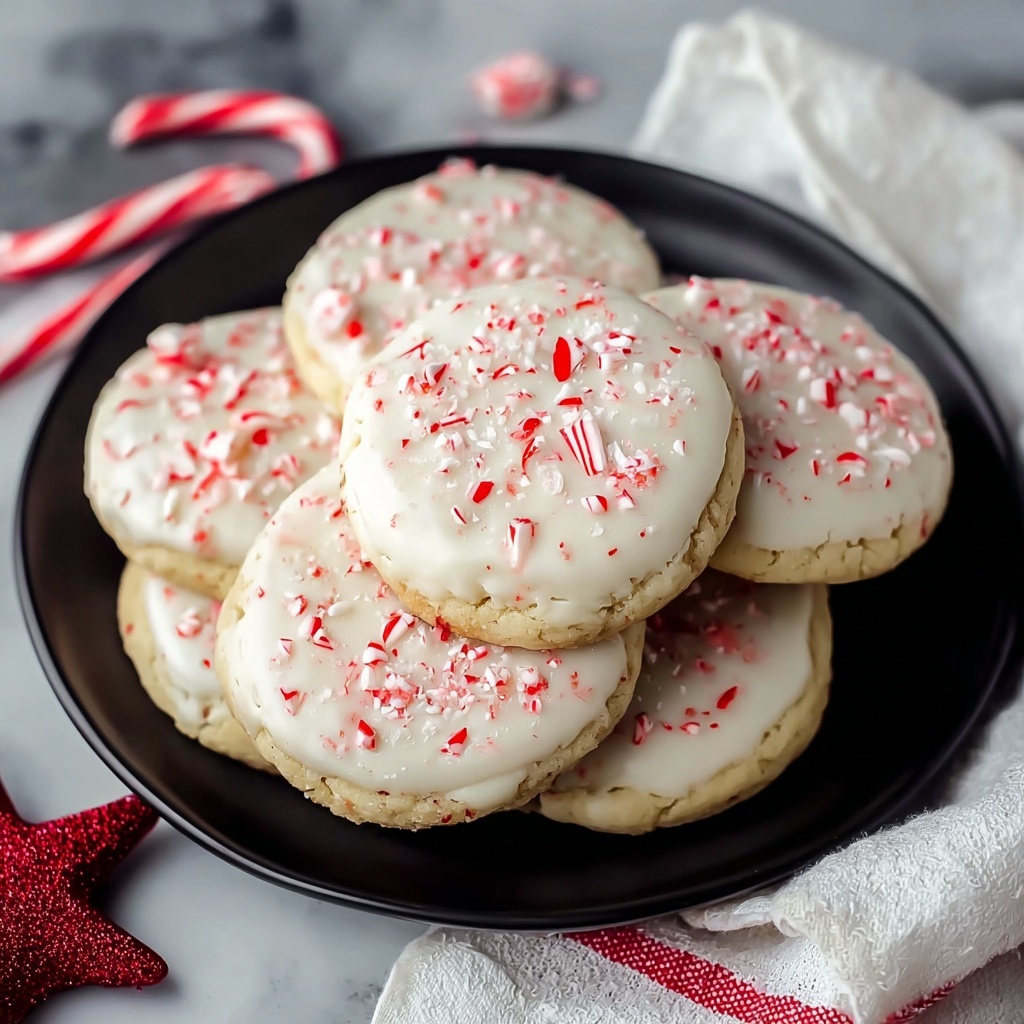
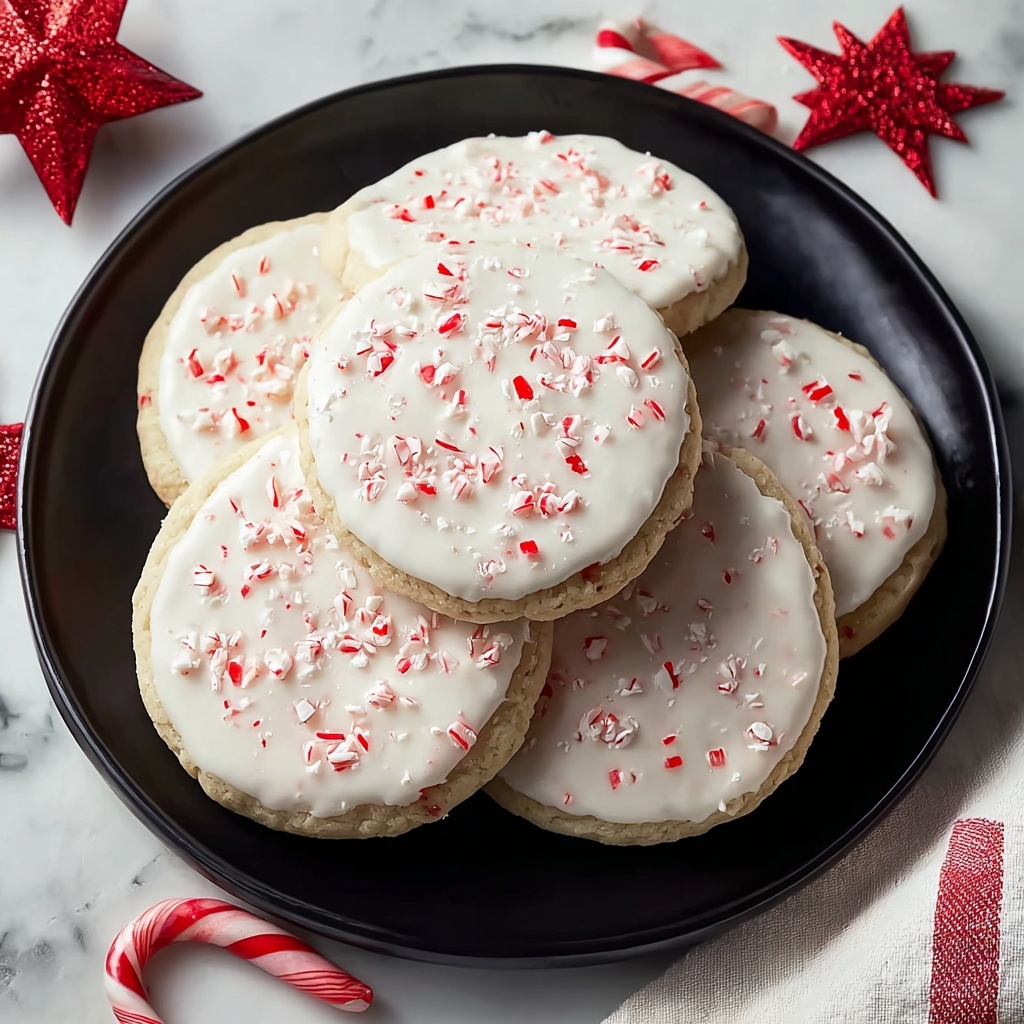
If you’re searching for that perfect winter treat to brighten your day, look no further than the Irresistible Peppermint Meltaway Cookies You’ll Adore Recipe. These delicate cookies bring the festive, refreshing charm of peppermint together with a melt-in-your-mouth texture that simply disappears with every bite. The balance of crisp edges and tender centers, topped with a sweet peppermint glaze and candy cane crunch, makes them an absolute favorite for holiday celebrations or anytime you crave a cozy, flavorful cookie experience.
Ingredients You’ll Need
Gathering these simple yet essential ingredients is your first step toward making magic happen in the kitchen. Each component plays a vital role, from the gluten-free flour that ensures softness without heaviness, to the peppermint extract that infuses each cookie with bright, minty goodness.
- 2 cups gluten-free all-purpose flour: Provides a tender base that’s perfect for meltaway texture without gluten concerns.
- 1/2 cup cornstarch: Adds silkiness and helps create that delicate crumb.
- 1/4 teaspoon salt: Enhances all the flavors, balancing sweetness perfectly.
- 1 cup butter (softened or coconut oil for dairy-free): Ensures richness and moisture that you’ll love in every bite.
- 1/2 cup sugar: Sweetens lightly, letting the peppermint shine without overpowering.
- 1 large egg white: Binds ingredients while keeping the texture light.
- 1 teaspoon peppermint extract: The star flavor that makes these cookies truly special.
- 1 cup powdered sugar (for glaze): Adds smooth sweetness for a shiny finish.
- 4-5 teaspoons milk (adjust consistency): Perfects the glaze’s texture for easy dipping.
- 1/2 teaspoon peppermint extract (for glaze): Reinforces that cool peppermint flavor in every bite.
- 1 cup crushed candy cane: Adds festive color and a delightful crunch on top.
How to Make Irresistible Peppermint Meltaway Cookies You’ll Adore Recipe
Step 1: Prepare the Dry Ingredients
Start by whisking together the gluten-free flour, cornstarch, and salt in a small bowl. This ensures your dry ingredients are evenly mixed and ready to blend seamlessly into the wet mixture for that perfect texture.
Step 2: Cream the Butter and Sugar
In a large mixing bowl, beat the softened butter and sugar until the mixture is light and creamy. This step is crucial as it creates air pockets that help the cookies be delightfully soft yet structured when baked.
Step 3: Add Egg White and Peppermint Extract
Stir in the egg white followed by the peppermint extract. The egg white brings structure while the peppermint quickly infuses the dough with that unmistakable minty aroma—your kitchen will smell heavenly!
Step 4: Combine Dry and Wet Ingredients
Gradually add the dry flour mixture into the wet ingredients and mix gently until the dough is smooth and just slightly sticky. Don’t overmix; you want to keep the texture tender and meltaway-soft.
Step 5: Chill the Dough
Wrap the dough tightly in plastic wrap and refrigerate for at least 1 hour. This chilling process is essential to firm up the dough so the cookies hold their shape but remain wonderfully tender after baking.
Step 6: Preheat Oven and Prepare Baking Sheet
Heat your oven to 350°F (175°C) and line a baking sheet with parchment paper or a silicone baking mat to prevent sticking and ensure an even bake.
Step 7: Scoop the Dough
Form the dough into balls and place them on your prepared baking sheet, leaving enough space between each so they can spread slightly without merging together.
Step 8: Bake Until Edges are Set
Bake the cookies for 12 to 14 minutes, just until the edges become firm and start to turn a light golden color. This timing keeps the centers tender, which is key for that meltaway effect.
Step 9: Cool Completely Before Glazing
Let the cookies cool entirely on the baking sheet. If you glaze too soon, the warmth can cause the icing to melt off, losing that pretty peppermint glaze you’re aiming for.
Step 10: Prepare the Peppermint Glaze
Whisk together powdered sugar, milk, and peppermint extract until smooth. Adjust the milk to achieve a thick but dip-friendly consistency that will set beautifully on your cookies.
Step 11: Dip and Decorate
Dip the tops of each cooled cookie into the glaze, then immediately sprinkle crushed candy canes over the wet icing. This adds eye-catching color and a satisfying crunch that perfectly complements the soft cookie.
How to Serve Irresistible Peppermint Meltaway Cookies You’ll Adore Recipe
Garnishes
Adding a sprinkle of extra crushed candy cane or even a few whole mini peppermint candies on top gives these cookies an inviting, festive look and a pop of extra peppermint flavor to wow your guests.
Side Dishes
Serve these meltaway delights alongside a hot cup of cocoa, peppermint tea, or even a glass of almond milk to elevate the comforting winter vibe and balance the sweetness with a cozy drink.
Creative Ways to Present
Arrange your Irresistible Peppermint Meltaway Cookies You’ll Adore Recipe on a decorative platter lined with holiday greenery or parchment paper dusted with powdered sugar for a snow-kissed effect, making them irresistible centerpieces at any holiday gathering.
Make Ahead and Storage
Storing Leftovers
Keep leftover cookies fresh by storing them in an airtight container at room temperature for up to 5 days. This keeps them soft and flavorful, ready for an anytime treat that continues to delight.
Freezing
You can freeze these cookies either before or after glazing. Wrap them well in plastic wrap and place in a freezer-safe bag or container. When you’re ready to enjoy, thaw them gently at room temperature to preserve their tender texture and peppermint flavor.
Reheating
Warm your cookies slightly in a microwave for 10 to 15 seconds to revive their soft, melt-in-your-mouth quality. Just be careful not to overheat, as the glaze might soften too much or melt away.
FAQs
Can I make these cookies without gluten?
Absolutely! The use of gluten-free all-purpose flour and cornstarch in this recipe makes the cookies safe for gluten-sensitive diets without sacrificing that meltaway texture.
Is there a dairy-free alternative for these cookies?
Yes, replacing the butter with coconut oil is a fantastic dairy-free option that maintains the richness and tenderness you want in these peppermint cookies.
How long do these cookies stay fresh?
Stored properly in an airtight container, these meltaway cookies stay fresh and delicious for up to five days at room temperature.
Can I use candy canes other than peppermint for the topping?
While peppermint candy canes complement the cookie flavor beautifully, feel free to use any crushed candy cane flavor you prefer to add your own twist.
What’s the best way to crush candy canes for decoration?
Place candy canes in a sealed plastic bag and gently crush them with a rolling pin or the bottom of a heavy pan for a variety of small pieces that add texture and festive flair.
Final Thoughts
These Irresistible Peppermint Meltaway Cookies You’ll Adore Recipe are truly a joyful celebration of flavor and texture that feel like a warm hug during chilly days. Whether making them for the holidays or just to brighten a regular afternoon, I cannot recommend them enough. Give this recipe a try—you’ll find yourself coming back to these meltaways again and again, sharing their magic with friends and family.
Print
Irresistible Peppermint Meltaway Cookies You’ll Adore Recipe
- Prep Time: 15 minutes
- Cook Time: 14 minutes
- Total Time: 1 hour 44 minutes
- Yield: 15 servings
- Category: Dessert
- Method: Baking
- Cuisine: American
- Diet: Gluten Free
Description
These Irresistible Peppermint Meltaway Cookies are a delightful gluten-free treat perfect for the holiday season. Soft, buttery, and infused with refreshing peppermint flavor, these cookies feature a tender melt-in-your-mouth texture and a sweet glaze topped with crushed candy canes for an extra festive crunch.
Ingredients
Dry Ingredients
- 2 cups gluten-free all-purpose flour
- 1/2 cup cornstarch
- 1/4 teaspoon salt
Wet Ingredients
- 1 cup butter (softened; coconut oil can be used as a dairy-free alternative)
- 1/2 cup sugar
- 1 large egg white
- 1 teaspoon peppermint extract
Glaze
- 1 cup powdered sugar
- 4–5 teaspoons milk (adjust for consistency)
- 1/2 teaspoon peppermint extract
- 1 cup crushed candy cane (optional, for topping)
Instructions
- Mix Dry Ingredients: In a small bowl, whisk together the gluten-free all-purpose flour, cornstarch, and salt until well combined.
- Cream Butter and Sugar: In a large mixing bowl, beat the softened butter and sugar together until creamy and light in texture. Add the egg white and peppermint extract, mixing until fully incorporated.
- Combine Mixtures: Gradually add the dry ingredients into the wet mixture, stirring until a smooth and slightly sticky dough forms.
- Chill Dough: Shape the dough into a ball, cover it tightly with plastic wrap, and refrigerate for at least 1 hour to firm up.
- Preheat Oven and Prepare Baking Sheet: Preheat the oven to 350°F (175°C). Line a baking sheet with parchment paper or a silicone mat.
- Shape Cookies: Scoop dough into small balls and place them spaced apart on the prepared baking sheet.
- Bake: Bake in the preheated oven for 12-14 minutes or until the edges are set and lightly golden.
- Cool Cookies: Allow the cookies to cool completely on the baking sheet before glazing.
- Prepare Glaze: In a small bowl, whisk together powdered sugar, milk, and peppermint extract until smooth and slightly runny.
- Glaze and Decorate: Dip the tops of each cooled cookie into the glaze, then sprinkle with crushed candy cane pieces. Let the glaze set before serving.
Notes
- You can substitute coconut oil for butter if you prefer a dairy-free version; the texture may differ slightly.
- Adjust the milk amount in the glaze to get your desired consistency—thicker for spreading, thinner for dipping.
- Make sure cookies are completely cooled before glazing to prevent the glaze from melting off.
- Store cookies in an airtight container at room temperature for up to 5 days.
- Crushed candy canes add a festive crunch but can be omitted or replaced with colored sugar sprinkles.


