
“`html
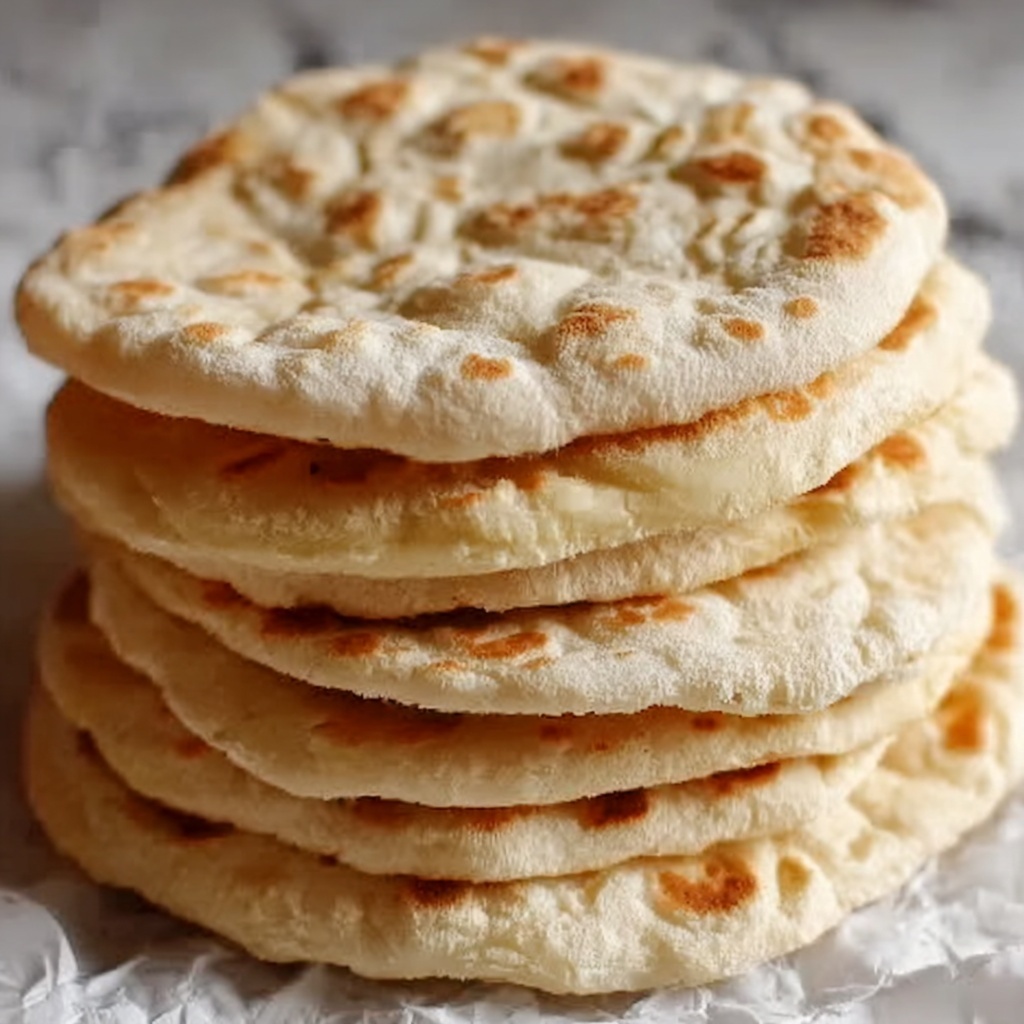
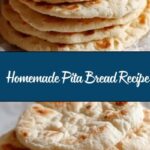
If you’ve ever dreamed of biting into warm, fluffy pockets of bread fresh from your own kitchen, this Homemade Pita Bread Recipe is exactly what you need to try next. It’s fabulously simple yet incredibly rewarding, giving you soft, golden pitas that puff up perfectly and offer just the right chewy texture. Whether you’re planning to fill them with vibrant veggies, juicy grilled meats, or creamy dips, these homemade pitas instantly elevate any meal and bring a touch of Mediterranean magic right to your table.
Ingredients You’ll Need
These ingredients are straightforward, pantry-friendly essentials that come together to make the magic happen. Each one plays a vital role, from the yeast that creates those signature pockets, to the olive oil that adds a subtle richness and keeps the dough tender.
- 2.5 cups all-purpose flour: The backbone of your pita, providing structure and the chewy texture you want.
- 1 tsp dry active yeast: This little powerhouse wakes up with warmth and sugar to make the dough rise beautifully and puff up during cooking.
- 1 tsp salt: Balances the flavors and enhances the bread’s natural taste.
- 1 tbsp granulated sugar: Feeds the yeast and adds a subtle hint of sweetness.
- 1 tbsp olive oil: Delivers moisture and a gentle fruity aroma that makes every bite delightful.
- 1 cup warm water: Activates the yeast and brings the dough together smoothly.
How to Make Homemade Pita Bread Recipe
Step 1: Activate the yeast
Begin by combining half of your warm water, the dry active yeast, and granulated sugar in a small bowl. Let this sit for about 10 minutes until it becomes bubbly and frothy — this signals that your yeast is lively and ready to work its magic in the dough.
Step 2: Make the dough
In a mixer or a large bowl, combine the all-purpose flour, salt, the remaining warm water, olive oil, and your activated yeast mixture. Knead everything together for about 10 minutes until the dough feels smooth and elastic, which means all the ingredients have bonded perfectly and the gluten structure is developing.
Step 3: Let it rise
Cover your dough with a clean towel and tuck it away in a warm spot. Let it rise for 1 to 2 hours, or until it has doubled in size. This rising phase is where the dough becomes airy and soft, gearing up for that wonderful pita puff when cooking.
Step 4: Shape the dough
Once risen, punch the dough down gently to release air bubbles, then divide it into 8 equal pieces. Roll each piece into a tight ball, then flatten it into a disk approximately 1/4-inch thick. These discs will become the classic pockets that make pita bread so much fun.
Step 5: Cook the pitas
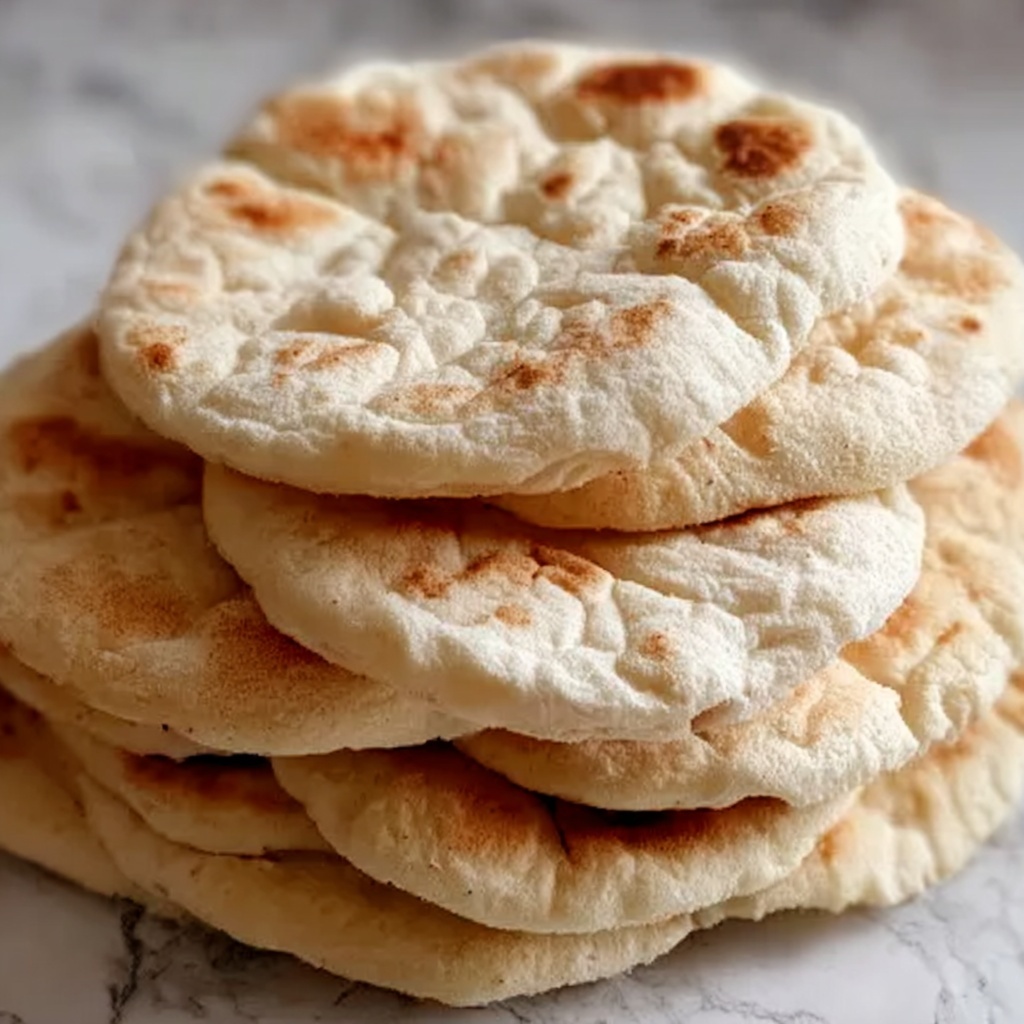
Heat a skillet or cast iron pan over high heat until very hot. Place each flattened dough piece into the skillet, cooking for 2 to 3 minutes per side. You’ll see them puff up like little balloons—that’s the moment the wonderful pocket forms. When they’re golden brown and slightly charred in spots, they’re ready to come off the heat.
How to Serve Homemade Pita Bread Recipe
Garnishes
Simple toppings like a drizzle of olive oil, a sprinkle of sea salt, or fresh herbs like za’atar, parsley, or oregano transform your pita into a snack-worthy delight. A little garlic butter or sesame seeds add extra flair and subtle crunch for an irresistible bite.
Side Dishes
Pair your homemade pita with creamy hummus, tangy tzatziki, or a colorful chopped salad for a classic Mediterranean experience. They’re also the perfect vehicle for grilled meats like chicken shawarma or falafel, making the meal beautifully well-rounded and satisfying.
Creative Ways to Present
Cut the pitas into wedges and serve them as crisp chips alongside dips, or stuff them generously with your favorite fillings and cut into smaller “sliders” for a casual, crowd-pleasing party treat. You can even lightly toast the bread and use it as a flatbread base for quick pizzas topped with fresh veggies and cheese.
Make Ahead and Storage
Storing Leftovers
If you have pita left after your feast, simply place them in an airtight container or zip-top bag at room temperature for up to two days. This keeps them soft and ready to enjoy the next day without losing that lovely chew.
Freezing
You can freeze your homemade pita bread easily by stacking them with parchment paper in between and sealing them inside a heavy-duty freezer bag. Freeze for up to three months and pull out as needed for a quick, homemade bread fix.
Reheating
To bring your pita back to life, wrap it in a damp paper towel and microwave for about 15-20 seconds, or warm it briefly in a hot skillet. This restores moisture and softness, making it taste freshly baked again.
FAQs
Do I have to use all-purpose flour for this Homemade Pita Bread Recipe?
All-purpose flour is ideal for the balance of protein to create the perfect chewiness and puff. However, you can experiment with bread flour for a slightly chewier texture or whole wheat flour for a heartier flavor, though the pitas might puff less.
What if my pitas don’t puff up when cooking?
Pita bread puffs due to steam forming inside the dough. Make sure your dough is rolled evenly and your skillet is very hot before cooking. Also, avoid pressing the dough while cooking as it hinders puffing.
Can I make this dough by hand without a mixer?
Absolutely! Kneading by hand is perfectly fine and can be quite therapeutic. Just be sure to knead for at least 10 minutes until the dough is smooth and elastic, which ensures good gluten development for puffing.
How do I know when the yeast is activated?
The yeast mixture should be bubbly and frothy after about 10 minutes, with a light yeasty aroma. If nothing happens, your yeast might be old or water too hot or cold—try again with fresh yeast and proper water temperature (around 110°F).
Can I make these pitas gluten-free?
Gluten-free pitas are tricky since gluten provides the stretch and puff. For a gluten-free version, specialized gluten-free flour blends with xanthan gum might work, but the texture will be different and less likely to puff the same way.
Final Thoughts
Nothing beats the joy of making your own bread from scratch, especially when it’s as versatile and delightful as this Homemade Pita Bread Recipe. I promise once you try it, the fresh, warm pockets of pita will become a staple in your kitchen, bringing endless possibilities for meals and snacks alike. So grab your ingredients and dive into the simple, rewarding process—you’ll never look at store-bought pita the same way again!
“`
Print
Homemade Pita Bread Recipe
- Prep Time: 15 minutes
- Cook Time: 10 minutes
- Total Time: 2 hours 25 minutes
- Yield: 8 servings
- Category: Bread
- Method: Stovetop
- Cuisine: Mediterranean
- Diet: Vegetarian
Description
This homemade pita bread recipe teaches you how to make soft, fluffy, and perfectly puffed pita pockets using simple ingredients and a stovetop skillet. Ideal for sandwiches, dips, or wraps, these pitas are quick to prepare and cook, delivering fresh, bakery-quality bread right from your kitchen.
Ingredients
Dough Ingredients
- 2.5 cups all-purpose flour
- 1 tsp dry active yeast
- 1 tsp salt
- 1 tbsp granulated sugar
- 1 tbsp olive oil
- 1 cup warm water
Instructions
- Activate the yeast: Mix half of the warm water (about 1/2 cup) with the dry active yeast and sugar in a small bowl. Let this mixture sit for about 10 minutes until it becomes bubbly and foamy, indicating that the yeast is active and alive.
- Make the dough: In a mixer or large bowl, combine the flour, salt, remaining warm water (about 1/2 cup), olive oil, and the activated yeast mixture. Knead the dough for about 10 minutes until it becomes smooth and elastic, which develops the gluten for a good structure.
- Let it rise: Cover the dough with a clean kitchen towel and place it in a warm location to rise for 1 to 2 hours. The dough should double in size, indicating that the yeast has fermented properly.
- Shape the dough: Once risen, punch down the dough gently to release air. Divide it into 8 equal pieces, roll each piece into a ball, and then flatten each ball into a round disc about 1/4-inch thick, ready for cooking.
- Cook the pitas: Heat a skillet or non-stick pan over high heat. Cook each pita disc for about 2-3 minutes on one side until bubbles form and the bottom turns golden brown. Flip and cook for another 2-3 minutes until puffed and golden on the other side. Remove and keep warm while cooking the remaining pitas.
Notes
- Use warm water about 105-110°F (40-43°C) to activate the yeast properly without killing it.
- Ensure the skillet is hot enough before cooking to get the characteristic pita puff.
- After cooking, wrap the pitas in a clean towel to keep them soft and pliable while they cool.
- If desired, you can add herbs or garlic powder to the dough for extra flavor.
- Store leftover pitas in an airtight container or freeze them for up to 1 month.

