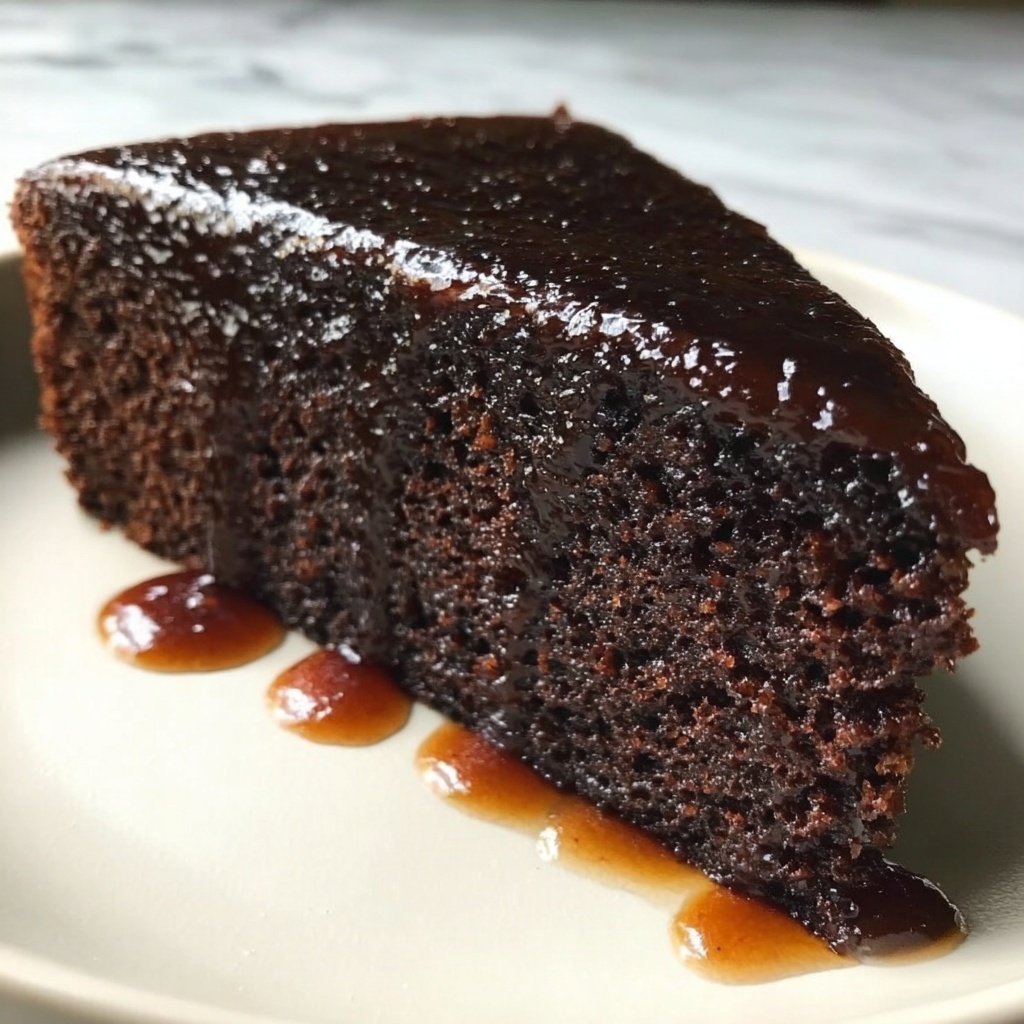
If you’re craving a dessert that wraps you in a warm, nostalgic hug, you’ve just found it. The Heritage Sticky Date & Golden Syrup Cake Recipe is a timeless classic that combines tender, moist cake bursting with caramel-rich golden syrup and the natural sweetness of dates. Every bite melts lovingly on your tongue, evoking memories of cozy afternoons and celebrations. Whether you’re making it for family gatherings or just a special treat to brighten your day, this recipe offers simple ingredients transformed into an irresistible Australian treasure that’s as comforting as a homemade hug.
Ingredients You’ll Need
This Heritage Sticky Date & Golden Syrup Cake Recipe calls for straightforward pantry staples that work together beautifully to create its iconic flavor and texture. Each ingredient plays an irreplaceable role, from the luscious buttery base to the deep caramel notes of golden syrup and the tender, rich dates that soak up all the goodness.
- 200g pitted dates: These add natural sweetness and chewy texture, soaking up the soaking liquid for extra moistness.
- 1 cup boiling water: To soften the dates perfectly and activate the baking soda.
- 1 tsp baking soda: Helps tenderize the dates and lighten the cake’s crumb.
- 100g butter, softened: Provides richness and a silky crumb to the cake.
- 1 cup brown sugar: Adds deep molasses flavor that complements the golden syrup perfectly.
- 2 large eggs: Bind everything together and add structure.
- 1 cup all-purpose flour: The cake’s foundation; be sure to measure accurately for perfect texture.
- 1 tsp baking powder: Gives the cake a gentle rise without overpowering the moisture.
- 1/2 cup golden syrup: The star ingredient that delivers sticky, sweet, caramel goodness throughout the cake.
How to Make Heritage Sticky Date & Golden Syrup Cake Recipe
Step 1: Preheat and Prepare Your Dates
Start by heating your oven to 180°C (350°F), so it’s ready when your batter is perfect. Next, chop the pitted dates and combine them with boiling water and baking soda. Let this soak for about 10 minutes—it’s the magic moment when the dates soften and develop their luscious texture, infusing the cake batter with pockets of rich sweetness.
Step 2: Cream Butter and Brown Sugar
While the dates are soaking, cream the softened butter with the brown sugar until the mixture turns silky and pale. This is where the flavor really starts to build, as the butter and sugar create the fluffy base that gives the cake its tender crumb and sweet depth.
Step 3: Add Eggs Gradually
Adding eggs one at a time is a simple tip that makes a big difference. Mix each egg in thoroughly before adding the next; this ensures your batter emulsifies perfectly, preventing any lumps and helping the cake rise evenly with a light texture.
Step 4: Incorporate Date Mixture and Golden Syrup
Now, fold in the soaking dates along with their liquid, plus the heavenly golden syrup. This combination blends moisture and sweetness seamlessly into the batter, giving the cake its signature sticky texture and caramel flavor that will keep you reaching for more.
Step 5: Mix Dry Ingredients and Combine
In a separate bowl, whisk together the flour and baking powder. Gradually add this dry mix to your wet ingredients until just combined. Be gentle here—you want to maintain the airiness you’ve developed without overworking the batter, so your cake remains tender and soft.
Step 6: Bake to Golden Perfection
Pour the batter into a greased baking pan, spreading it out evenly. Pop it into the oven and bake for 30 to 35 minutes. The cake is done when a toothpick inserted in the center comes out clean. Let it cool before serving, ensuring the sticky syrupy goodness sets in and the flavors meld together beautifully.
How to Serve Heritage Sticky Date & Golden Syrup Cake Recipe

Garnishes
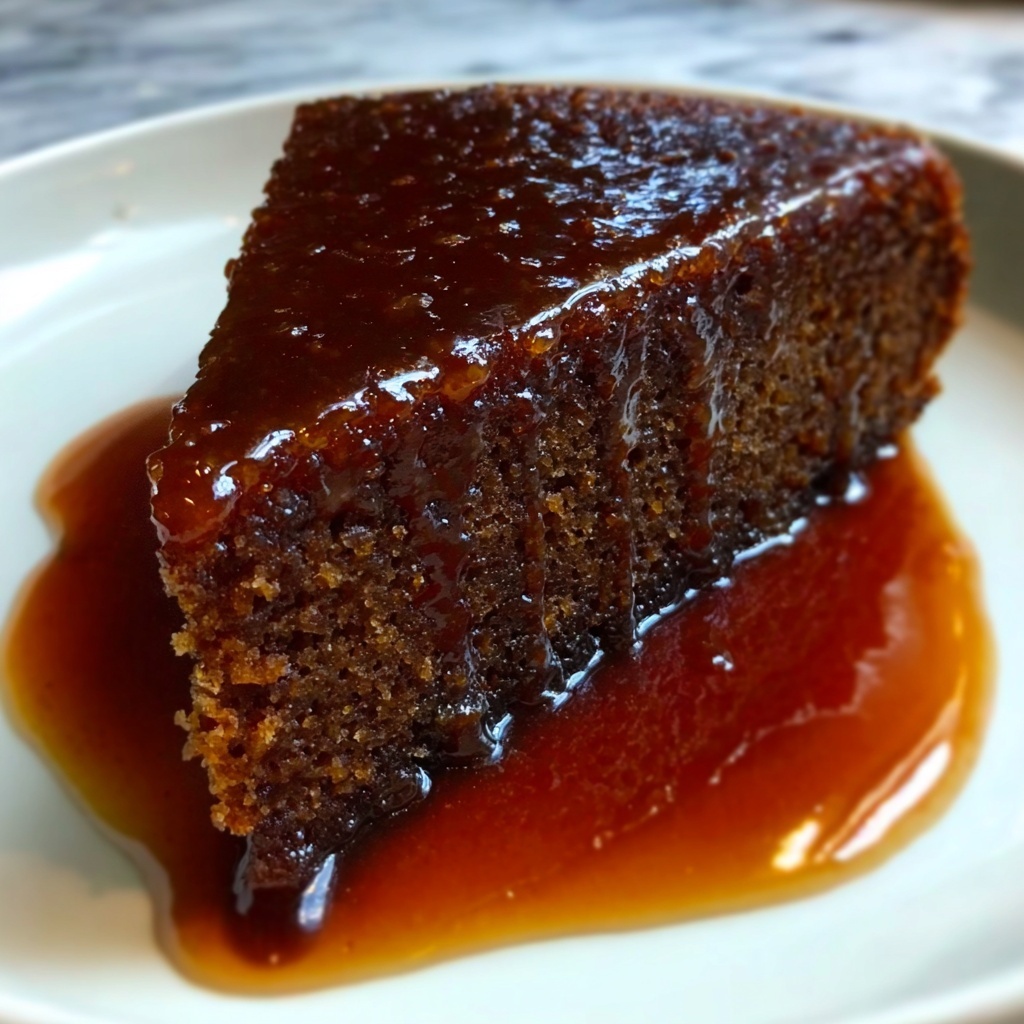
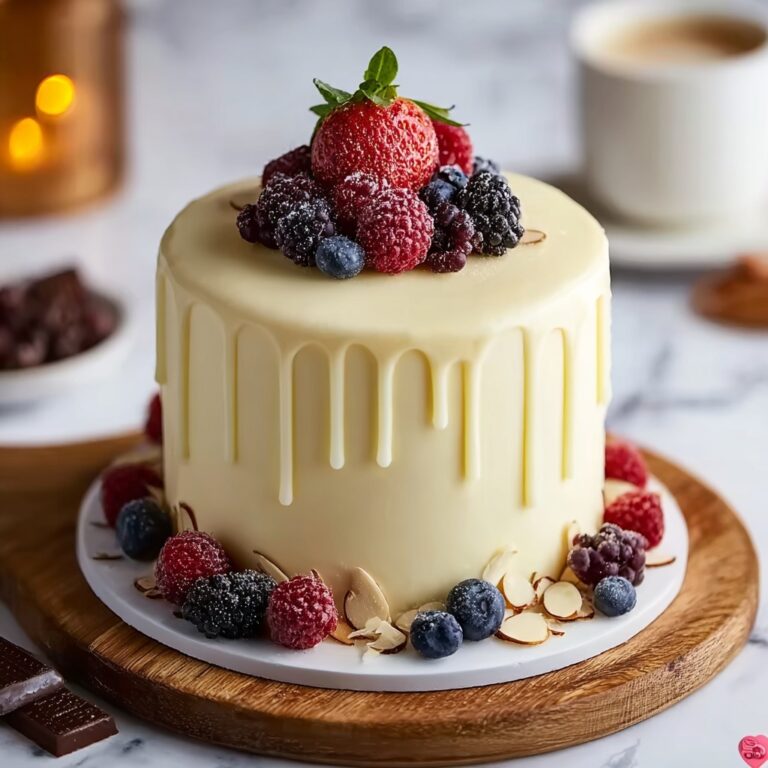
A dusting of powdered sugar or a drizzle of extra golden syrup makes a simple, elegant garnish that highlights the cake’s caramel character. For an indulgent touch, serve with a dollop of whipped cream or a scoop of vanilla ice cream to balance the sticky sweetness.
Side Dishes
This cake shines beautifully alongside a creamy custard or a rich butterscotch sauce, enhancing every bite with layers of texture and flavor. A cup of strong coffee or a robust black tea also complements its caramel tones perfectly, making your dessert moment even more special.
Creative Ways to Present
For fun entertaining, slice the cake into petite squares and serve on a platter with mini spoons, perfect for sharing. You can also layer slices with whipped mascarpone and a sprinkle of toasted nuts for an elegant, trifle-inspired dessert twist that will wow your guests.
Make Ahead and Storage
Storing Leftovers
Your Heritage Sticky Date & Golden Syrup Cake Recipe stays moist and delicious when stored in an airtight container at room temperature for up to 3 days. Wrapping it carefully preserves the sticky texture and rich flavor, so you can enjoy leftovers just as much as the day it was baked.
Freezing
This cake freezes beautifully. Slice it first, then wrap pieces individually or as a whole in plastic wrap followed by foil to protect from freezer burn. It can be frozen for up to 2 months, giving you a convenient treat whenever you need a sweet pick-me-up.
Reheating
When you’re ready to enjoy, thaw cake slices overnight in the fridge or at room temperature for a few hours. Warm them gently in a microwave or oven for a few minutes to revive that sticky, gooey texture that makes this cake irresistible.
FAQs
Can I use other types of syrup instead of golden syrup?
Golden syrup has a unique, buttery caramel flavor that’s central to this cake’s identity, but if you can’t find it, light corn syrup or honey can be substitutes. Keep in mind the flavor and texture will be slightly different, but the cake will still be delicious.
Is it necessary to soak the dates before adding them to the batter?
Soaking softens the dates and activates the baking soda, which lightens the texture and intensifies the flavor. Skipping this step could result in a drier, less cohesive cake, so it’s worth the extra 10 minutes for the best result.
Can I make this recipe gluten-free?
Absolutely! Substitute all-purpose flour with a gluten-free flour blend that includes xanthan gum for structure. The texture might vary slightly, but the essence of the Heritage Sticky Date & Golden Syrup Cake Recipe will still come through beautifully.
How do I know when the cake is fully baked?
Insert a toothpick into the center of the cake toward the end of baking time. If it comes out clean or with just a few moist crumbs, your cake is ready. Overbaking can dry it out, so monitor closely around the 30-minute mark.
Can I add nuts or spices to this cake?
Yes, chopped walnuts, pecans, or even a hint of cinnamon or nutmeg can add wonderful layers of flavor and texture. Just fold them into the batter with the dry ingredients for an inviting twist on the classic recipe.
Final Thoughts
There is something truly enchanting about the Heritage Sticky Date & Golden Syrup Cake Recipe that makes every slice feel like a cherished memory in the making. It’s easy to prepare, comforting to eat, and perfect for sharing with the people you love. Don’t hesitate to bring this piece of culinary heritage into your home—you’ll soon discover why it’s a timeless favorite that brings warmth and sweetness to any table.
Print
Heritage Sticky Date & Golden Syrup Cake Recipe
- Prep Time: 15 minutes
- Cook Time: 35 minutes
- Total Time: 50 minutes
- Yield: 8 servings
- Category: Dessert
- Method: Baking
- Cuisine: Australian
Description
This Heritage Sticky Date & Golden Syrup Cake is a classic, richly flavored dessert featuring moist, sweet dates combined with golden syrup for a perfectly sticky and comforting treat. With simple ingredients and straightforward preparation, this cake offers a nostalgic taste that’s sure to delight.
Ingredients
Dates Mixture
- 200g pitted dates, chopped
- 1 cup boiling water
- 1 tsp baking soda
Cake Batter
- 100g butter, softened
- 1 cup brown sugar
- 2 large eggs
- 1 cup all-purpose flour
- 1 tsp baking powder
- 1/2 cup golden syrup
Instructions
- Preheat oven: Preheat your oven to 180°C (350°F) to prepare for baking the cake.
- Prepare date mixture: Chop the dates finely and combine them with boiling water and baking soda. Let this sit for 10 minutes to soften and create a flavorful base.
- Cream butter and sugar: In a mixing bowl, cream the softened butter and brown sugar together until light and fluffy.
- Add eggs: Beat in the eggs one at a time, ensuring each is fully incorporated before adding the next.
- Combine wet ingredients: Stir the soaked date mixture and golden syrup into the creamed mixture, mixing thoroughly.
- Mix dry ingredients: In a separate bowl, sift together the all-purpose flour and baking powder.
- Combine wet and dry: Gradually add the dry ingredients into the wet mixture, folding gently until just combined without overmixing.
- Prepare baking pan: Grease a baking pan to prevent sticking, then pour the batter evenly into it.
- Bake the cake: Place the pan in the preheated oven and bake for 30-35 minutes, or until a toothpick inserted into the center comes out clean.
- Cool and serve: Allow the cake to cool completely in the pan before slicing and serving to enjoy the sticky, luscious texture.
Notes
- Ensure dates are chopped finely for even texture.
- Do not overmix the batter to keep the cake tender.
- Let the cake cool before cutting for clean slices.
- Golden syrup adds signature sweetness and moisture; do not substitute.
- This cake pairs wonderfully with whipped cream or vanilla ice cream.
- Store leftovers in an airtight container to maintain moistness.


