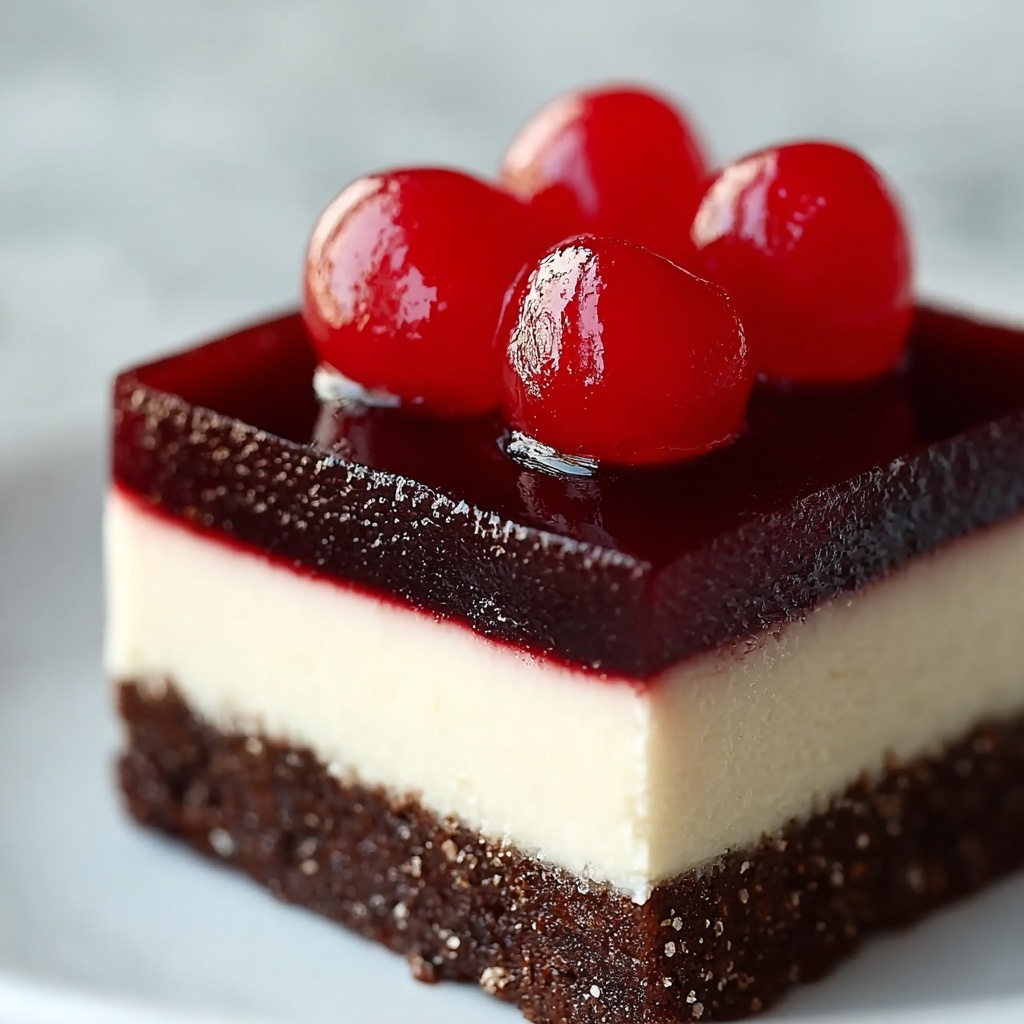
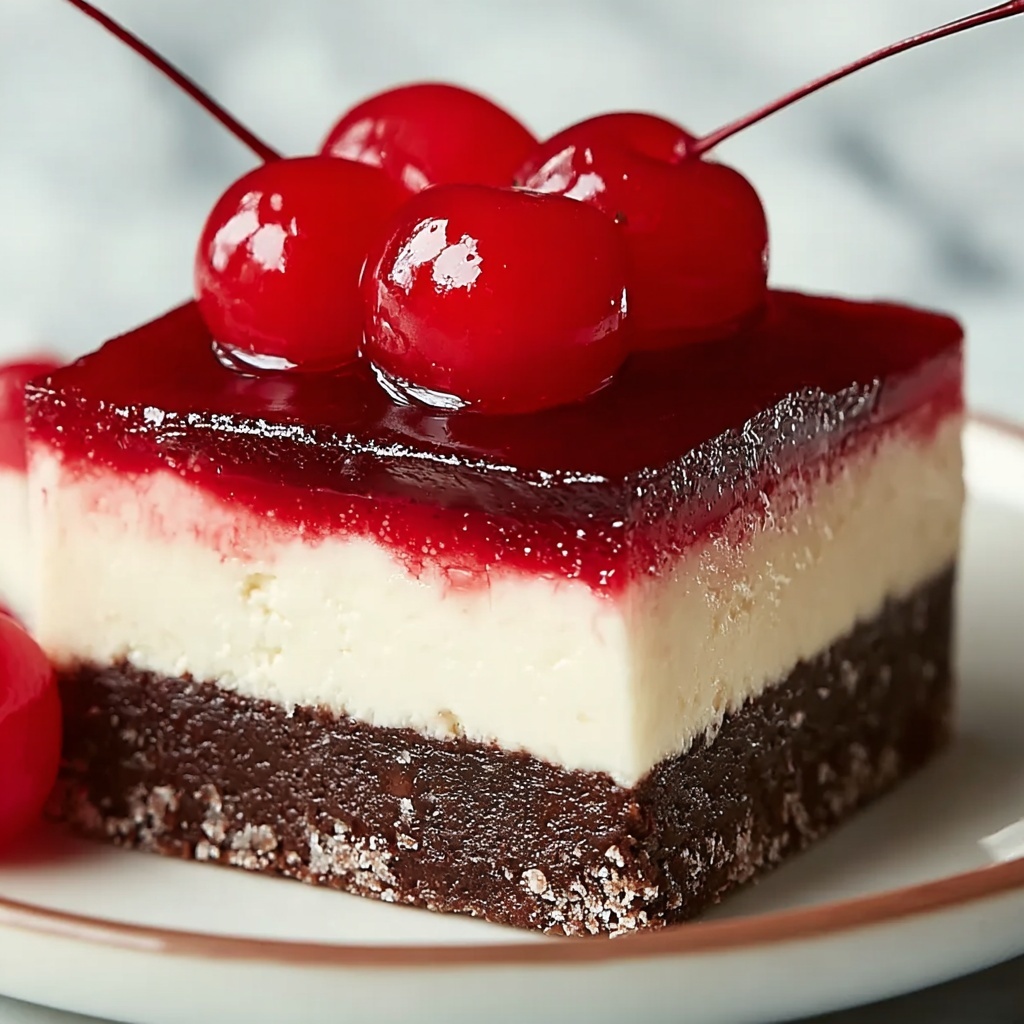
If you are searching for a treat that combines rich chocolate, creamy cheesecake, and juicy cherries all in one bite, the Decadent Mini Cherry Chocolate Cheesecake for Sweet Moments Recipe is exactly what you need. These individual-sized desserts are perfect for sharing at gatherings or indulging in a self-care moment, boasting a luscious chocolate cookie crust that perfectly complements the smooth, cocoa-infused cheesecake filling topped with vibrant cherry pie filling. It’s a simple yet irresistibly sophisticated dessert that promises sweet moments every time you take a bite.
Ingredients You’ll Need
Every ingredient in this recipe plays a crucial role, turning a handful of pantry staples into a delightful masterpiece. From the crunchy chocolate cookies forming a sturdy base to the silky cream cheese that provides the rich texture, each component is essential for that perfect balance of flavor and mouthfeel.
- 2 cups crushed chocolate cookies: This creates a deep chocolatey crust that’s the perfect foundation for the cheesecake.
- 1/2 cup unsalted butter: Helps bind the cookie crumbs together while adding a buttery richness.
- 16 oz cream cheese: Softened for easy mixing, it’s the heart of the cheesecake’s creamy texture.
- 1/2 cup granulated sugar: Sweetens the filling just enough without overpowering the chocolate.
- 1/2 cup sour cream: Adds tanginess and smoothness, balancing the richness.
- 1 tsp vanilla extract: Enhances flavors and adds warmth to the cheesecake.
- 1/4 cup cocoa powder: Unsweetened for a perfectly dark chocolate flavor without extra sweetness.
- 1 can cherry pie filling: Provides a luscious, fruity topping bursting with color and flavor.
How to Make Decadent Mini Cherry Chocolate Cheesecake for Sweet Moments Recipe
Step 1: Prepare the Chocolate Cookie Crust
Start by preheating your oven to 350°F (175°C). Combine the crushed chocolate cookies with melted butter in a mixing bowl, ensuring the crumbs are evenly coated. Firmly press this mixture into lined muffin cups, creating individual crusts that form the chocolatey base for your mini cheesecakes. This step is essential for giving you that satisfying crunch beneath the creamy filling.
Step 2: Mix the Cheesecake Filling
In a separate bowl, beat the softened cream cheese with an electric mixer until it’s perfectly smooth and free of lumps. Gradually add the granulated sugar, sour cream, vanilla extract, and cocoa powder, mixing continuously until everything blends into a luxuriously creamy and velvety batter. This mixture is where all the silky decadence of the cheesecake comes to life.
Step 3: Assemble the Mini Cheesecakes
Spoon the cheesecake filling evenly over the prepared crusts in each muffin cup. Gently smooth the top with a spatula to achieve an even layer that will bake uniformly. The care you put into this step will shine through in the final presentation of your mini masterpieces.
Step 4: Bake to Perfection
Place the muffin tin carefully into the preheated oven and bake for about 20 minutes. You’ll know they’re ready when the edges look set but the centers still have a slight jiggle—this ensures the cheesecake remains delectably creamy and not overcooked. This precise timing is key for creaminess!
Step 5: Cool and Chill
Once baked, allow your mini cheesecakes to cool completely at room temperature. Then, refrigerate them for at least 2 hours or even overnight to let them firm up nicely. The chill helps the flavors meld together and makes them easier to top and serve.
Step 6: Add the Cherry Topping and Serve
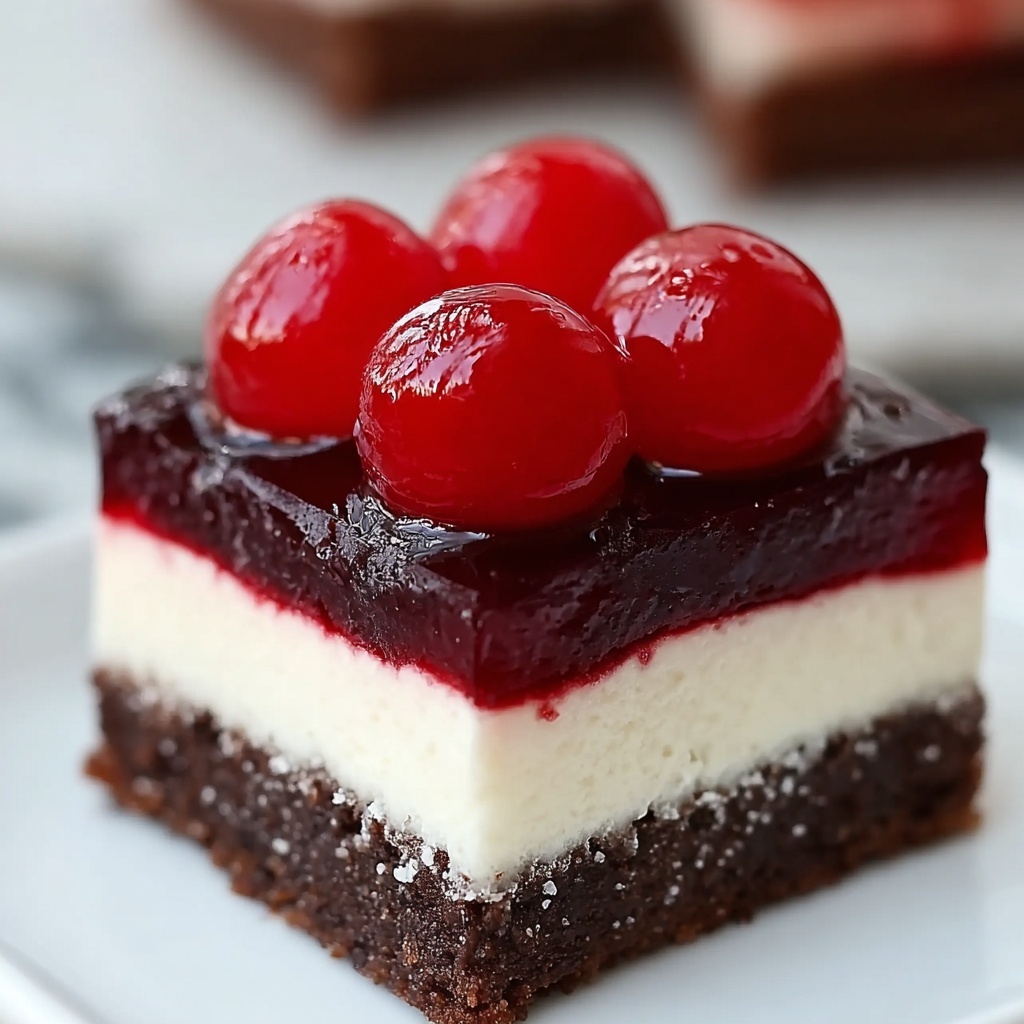
When you’re ready to enjoy, generously spoon cherry pie filling on top of each cheesecake. The bright, juicy cherries add a fresh, tart contrast that balances the rich chocolate and creaminess beautifully. Serve these chilled for a refreshing finish that’s guaranteed to wow your guests.
How to Serve Decadent Mini Cherry Chocolate Cheesecake for Sweet Moments Recipe
Garnishes
To take your mini cheesecakes to the next level, consider garnishing them with fresh cherries or a sprinkle of dark chocolate shavings. A dollop of whipped cream not only adds a light, airy touch but also complements the dense cheesecake perfectly. These little touches make each serving feel even more special.
Side Dishes
Pair your mini cheesecake with a scoop of vanilla ice cream or a drizzle of caramel sauce for a luxurious dessert experience. A cup of freshly brewed coffee or a rich hot chocolate also makes a delightful accompaniment, especially during cozy get-togethers or special occasions.
Creative Ways to Present
Serve these mini cheesecakes in decorative mini cupcake liners or on a tiered dessert stand to wow your guests visually. For events or parties, placing each cheesecake in small clear cups and layering with crushed cookies and cherry filling creates a fun parfait-style dessert. Presentation always elevates the enjoyment, turning simple sweets into unforgettable moments.
Make Ahead and Storage
Storing Leftovers
These mini cheesecakes keep wonderfully in the refrigerator for up to 4 days when stored in an airtight container. Keeping them chilled not only preserves their texture but also ensures the cherry topping stays fresh and vibrant.
Freezing
You can freeze these mini cheesecakes without the cherry topping for up to 2 months. Wrap each cheesecake tightly in plastic wrap and place them in a freezer-safe container. When ready to serve, thaw overnight in the fridge and add cherry topping just before serving for that perfect fresh burst of flavor.
Reheating
This dessert is best enjoyed cold, so reheating is generally not recommended. However, if you prefer a slightly softer texture, allow the refrigerated cheesecake to sit at room temperature for about 10 to 15 minutes before serving. This gentle warming brings out the full flavors without losing the creamy consistency.
FAQs
Can I make this recipe dairy-free?
Absolutely! Substitute the unsalted butter with coconut oil and use dairy-free cream cheese alternatives. Also, choose a dairy-free sour cream or plain coconut yogurt to keep the creamy texture without dairy.
Is it possible to use fresh cherries instead of pie filling?
Yes! Fresh cherries provide a natural and less sweet topping. You can macerate them with a bit of sugar or lemon juice for enhanced flavor before topping your cheesecakes.
How long does this cheesecake take to set?
After baking, the cheesecake should be refrigerated for at least 2 hours, but letting it chill overnight will result in a firmer texture and deeper flavor meld.
What is the secret to a smooth cheesecake filling?
Beating the cream cheese thoroughly until completely smooth before incorporating other ingredients ensures a lump-free, velvety texture. Also, make sure the cream cheese is softened to room temperature.
Can I make this recipe gluten-free?
Yes! Simply substitute the chocolate cookies with gluten-free varieties to accommodate dietary needs while still enjoying all the delicious flavors of this Decadent Mini Cherry Chocolate Cheesecake for Sweet Moments Recipe.
Final Thoughts
There’s something truly magical about mini desserts, and this Decadent Mini Cherry Chocolate Cheesecake for Sweet Moments Recipe brings together luscious chocolate, creamy cheesecake, and vibrant cherries in every bite. It’s a dessert that’s as simple to make as it is impressive to serve. Whether for a special occasion or a quiet treat, I wholeheartedly encourage you to try this recipe and create your own sweet moments that are full of joy and flavor.
Print
Decadent Mini Cherry Chocolate Cheesecake for Sweet Moments Recipe
- Prep Time: 20 minutes
- Cook Time: 20 minutes
- Total Time: 2 hours 40 minutes
- Yield: 12 mini cheesecakes
- Category: Dessert
- Method: Baking
- Cuisine: American
Description
Indulge in these Decadent Mini Cherry Chocolate Cheesecakes, perfect for sweet moments. Featuring a rich chocolate cookie crust, creamy chocolate cheesecake filling, and topped with luscious cherry pie filling, these mini treats offer a delightful blend of flavors and textures. Easy to make and ideal for parties, they bring a touch of elegance to any dessert table.
Ingredients
Crust
- 2 cups crushed chocolate cookies (Substitute with gluten-free cookies for a gluten-free version)
- 1/2 cup unsalted butter, melted (Use coconut oil for a dairy-free alternative)
Cheesecake Filling
- 16 oz cream cheese, softened for easy mixing
- 1/2 cup granulated sugar (Adjust for preferred sweetness)
- 1/2 cup sour cream (Plain Greek yogurt can be substituted)
- 1 tsp vanilla extract (Use pure for best flavor)
- 1/4 cup unsweetened cocoa powder
Topping
- 1 can cherry pie filling (Fresh cherries can be used for a natural topping)
Instructions
- Preheat the Oven: Set your oven to 350°F (175°C) to prepare for baking the cheesecakes.
- Prepare the Crust: In a bowl, combine the crushed chocolate cookies with the melted butter until the mixture is well incorporated. Press this mix firmly into lined muffin cups to form the base of the mini cheesecakes.
- Make the Filling: Using an electric mixer, beat the softened cream cheese until smooth. Gradually add granulated sugar, sour cream, vanilla extract, and unsweetened cocoa powder, mixing until the filling is creamy and lump-free.
- Assemble Cheesecakes: Spoon the prepared chocolate cheesecake filling evenly over the cookie crusts in the muffin cups. Smooth the tops gently with a spatula for an even finish.
- Bake: Carefully place the muffin tin in the preheated oven and bake for about 20 minutes. The edges should firm up while the centers remain slightly jiggly, ensuring a creamy texture.
- Cool and Chill: Remove the cheesecakes from the oven and allow them to cool completely at room temperature. Then refrigerate for at least 2 hours or overnight to let them set fully.
- Add Topping and Serve: Just before serving, spoon generous amounts of cherry pie filling on top of each mini cheesecake. Serve chilled for the best flavor and texture experience.
Notes
- For a gluten-free version, substitute the chocolate cookies with gluten-free options.
- Dairy-free alternatives include using coconut oil instead of butter and non-dairy cream cheese.
- Fresh cherries can be used instead of canned cherry pie filling for a fresher taste.
- Adjust sugar quantity based on your preferred sweetness level.
- Chilling the cheesecakes overnight enhances the texture and flavor.

