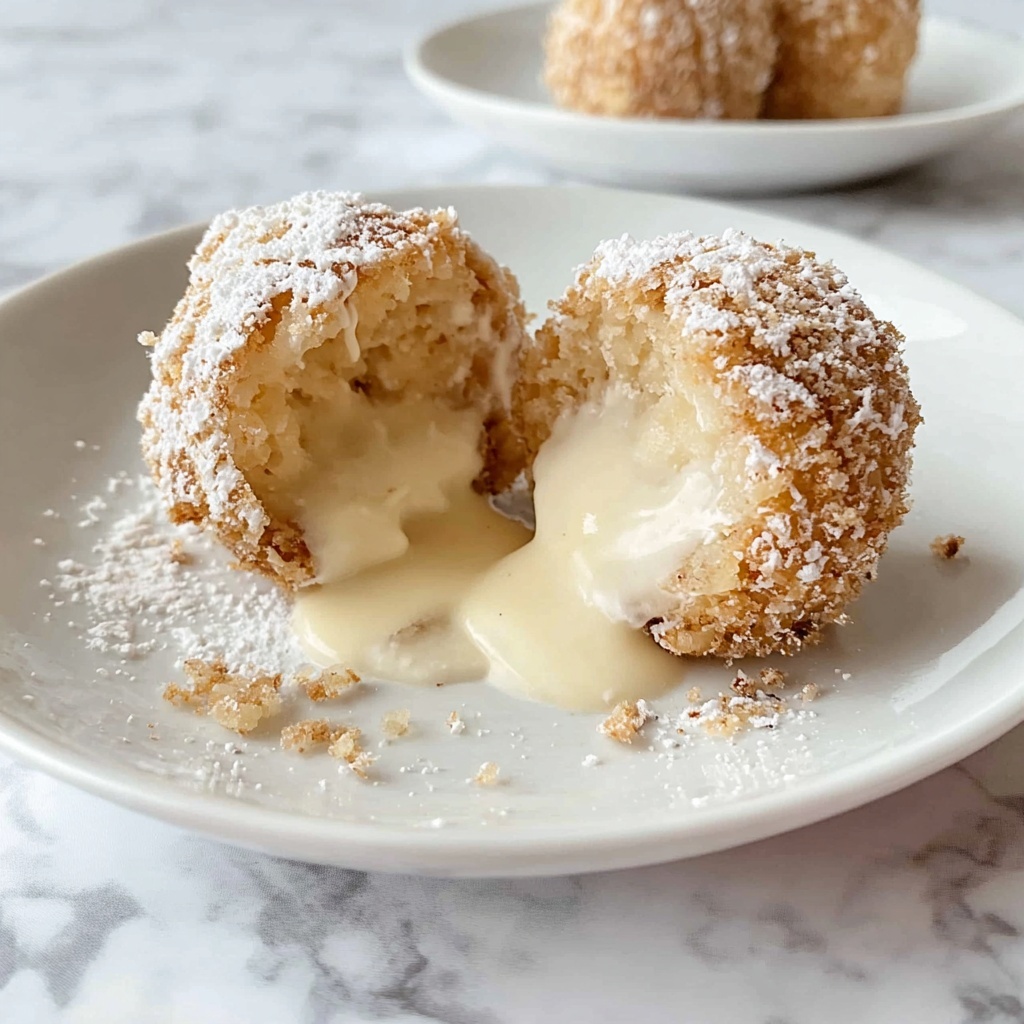
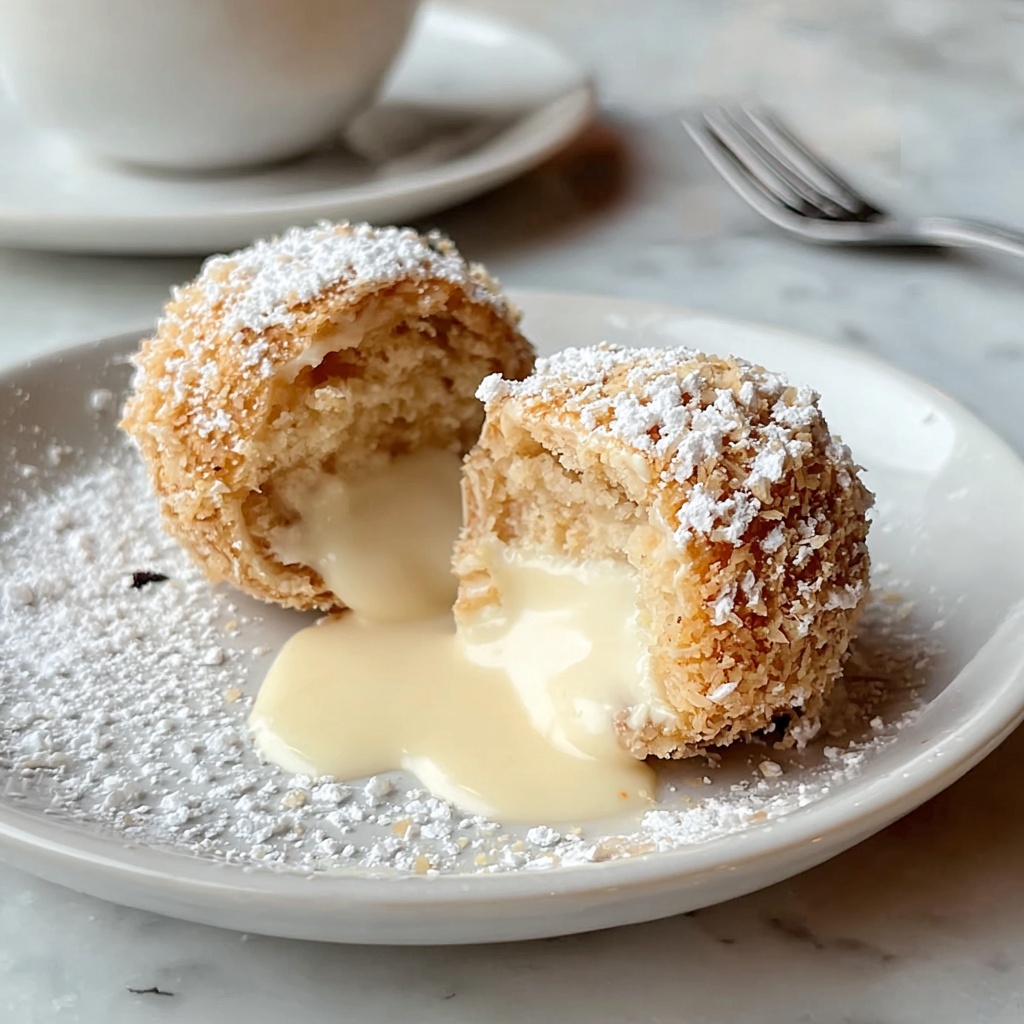
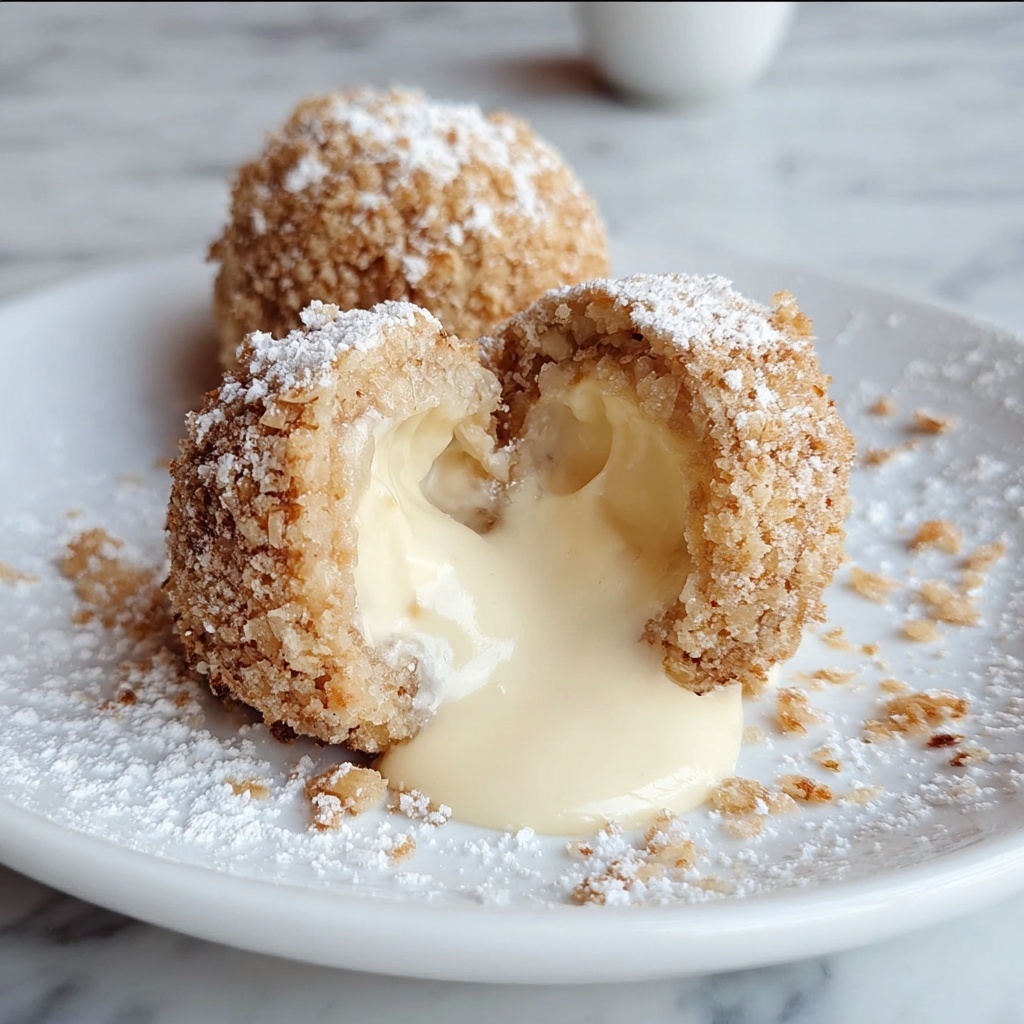
Get ready to embark on a thrilling journey of taste and texture with the Crispy Tempura Ice Cream: Your New Favorite Dessert Adventure Recipe. This dynamic fusion dessert perfectly balances the warm, crunchy tempura shell with the cold, creamy ice cream center, creating an unforgettable contrast that’s as exciting to eat as it is to imagine. It’s not just a dish, but an experience that will wow your friends and family, elevating your dessert game to a whole new level. Whether you’re a seasoned chef or a curious kitchen adventurer, this recipe invites you to explore and enjoy every delightful bite.
Ingredients You’ll Need
The beauty of this recipe is in its simplicity — each ingredient plays a crucial role, from the softness of the bread that wraps the ice cream to the crispiness of the tempura batter and panko crust that delivers that amazing crunch. Let’s break down what you need to create this masterpiece:
- Vegan vanilla ice cream: The creamy base that contrasts perfectly with the crispy exterior, but feel free to try chocolate or matcha for fun variations.
- Soft-crust bread: Using a soft bread like Vegan Hokkaido milk bread helps the ice cream stay snug and protected before frying.
- All-purpose flour: Essential for the tempura batter, providing a light yet sturdy coating.
- Cold water: Ice-cold water keeps the batter crisp when fried, maintaining that perfect crunch.
- Corn starch: Adds an extra layer of crispiness to the batter without heaviness.
- Panko breadcrumbs: These create the signature golden crust that makes this dessert a crunchy delight.
- Neutral vegetable oil: Pick an oil with a high smoke point to ensure safe, even frying without altering the flavor.
How to Make Crispy Tempura Ice Cream: Your New Favorite Dessert Adventure Recipe
Step 1: Prepare the Ice Cream Balls
Using an ice cream scoop, mold the vegan ice cream into round balls. Lay these carefully on a parchment-lined baking sheet and place them in the freezer for about 30 minutes or until they become firm enough to handle. This step is crucial to keep them from melting during later preparation.
Step 2: Flatten the Bread
Remove the crusts from each slice of your chosen soft-crust bread. Then, take a rolling pin and gently flatten the slices until they’re flexible and thin. This makes wrapping the ice cream easier and ensures a compact, even layer around the chilled ice cream balls.
Step 3: Wrap the Ice Cream Balls
Once the ice cream has firmed up, wrap each ball tightly with the flattened bread slices. The snug fit acts like the first protective layer that keeps the melting ice cream contained once fried.
Step 4: Freeze the Wrapped Ice Cream
After wrapping, secure each ice cream ball further by wrapping them in aluminum foil or cling wrap. Place these in the freezer and let them chill for at least 1 hour, though overnight will give you the best texture and handling during frying.
Step 5: Heat the Oil
In a deep, heavy-bottomed pot, heat the neutral vegetable oil to between 370 and 375 degrees Fahrenheit. Maintaining this temperature is key to achieving the perfectly crispy exterior without soaking up excess oil.
Step 6: Make the Tempura Batter
In a shallow bowl, whisk together the all-purpose flour, corn starch, and ice-cold water to form a smooth batter. The cold water keeps the batter light and ensures a crispy layer once fried.
Step 7: Coat the Ice Cream Balls
Remove the ice cream balls from the freezer and unwrap them carefully. Dip each ice cream ball into the tempura batter, making sure it’s fully coated. Then roll it generously in panko breadcrumbs to build the golden crunchy crust.
Step 8: Fry to Perfection
With the oil hot and ready, carefully place each coated ice cream ball into the oil. Fry them for about 60 to 70 seconds or until their exterior turns a beautiful golden brown. Use a slotted spoon to lift them out and let any excess oil drip away on a wire rack. Serve immediately for that magical crisp-then-cold sensation!
How to Serve Crispy Tempura Ice Cream: Your New Favorite Dessert Adventure Recipe
Garnishes
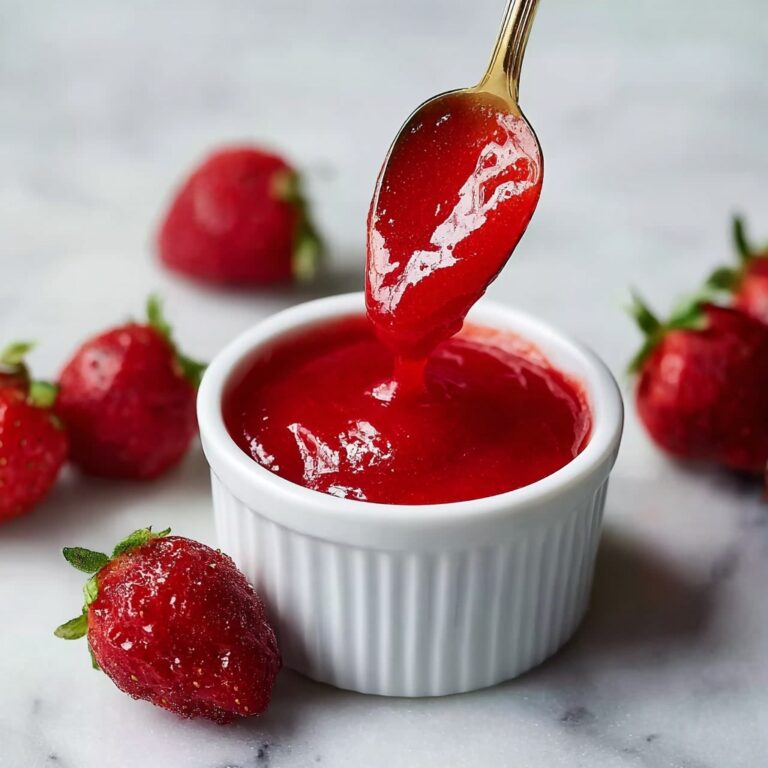
Add a drizzle of rich chocolate sauce or a sprinkle of powdered sugar to enhance visual appeal and taste. Fresh berries or a mint leaf not only add a pop of color but bring fresh, bright contrast to the richness of the dessert.
Side Dishes
Pair with a light fruit sorbet or a small bowl of citrus segments to cut through the richness and complement the tempura’s crunch. A hot cup of green tea or coffee can also be excellent companions, making the dessert experience even more memorable.
Creative Ways to Present
Try serving the crispy balls on a slate or wooden platter with artistic swirls of berry coulis or caramel. Place the tempura ice cream inside a hollowed-out coconut shell or atop edible flowers for an elegant party centerpiece that invites conversation and awe.
Make Ahead and Storage
Storing Leftovers
If you happen to have leftovers (though that’s rare!), keep the wrapped and bread-coated ice cream balls in the freezer. Avoid frying them ahead, as they’re best served fresh to preserve the crispiness and contrast in temperatures.
Freezing
You can freeze prepared, wrapped ice cream balls for up to a week before frying. Just be sure they’re tightly sealed to prevent freezer burn and maintain the best texture for frying later.
Reheating
Since there’s no traditional reheating for fried ice cream, the best approach is to fry the frozen, prepared balls fresh whenever you’re ready to enjoy. This keeps the texture just right and the ice cream perfectly chilled inside.
FAQs
Can I use non-vegan ice cream for Crispy Tempura Ice Cream: Your New Favorite Dessert Adventure Recipe?
Absolutely! While this recipe uses vegan vanilla ice cream for a plant-based twist, any favorite ice cream flavor or type will work perfectly. Just keep the scoops firm and follow the freezing steps carefully.
What if I don’t have soft-crust bread? Can I use regular sandwich bread?
You can use regular sandwich bread, but softer bread like Vegan Hokkaido milk bread works best because it molds more easily and helps the ice cream stay sealed during frying without cracking.
Can I make this dessert gluten-free?
Yes! Substitute the all-purpose flour and panko breadcrumbs with gluten-free alternatives. Just be sure to check the ingredient labels so that your tempura batter stays just as crispy and delicious.
How do I know if my oil is at the right temperature?
Using a kitchen thermometer is best, aiming for 370-375°F. If you don’t have one, drop a little batter into the oil; it should sizzle immediately and float to the surface without browning too quickly.
Why is the water for the batter ice-cold?
Ice-cold water helps keep the batter light and prevents gluten from developing too much, which results in a crispier coating once fried. It’s a simple trick that makes a huge difference!
Final Thoughts
If you’re ready to surprise your taste buds and impress anyone lucky enough to join your dessert table, the Crispy Tempura Ice Cream: Your New Favorite Dessert Adventure Recipe is waiting for you. It is the perfect blend of textures and temperatures that every food lover dreams about. Give it a try and watch it become an instant favorite in your kitchen adventures!
Print
Crispy Tempura Ice Cream: Your New Favorite Dessert Adventure Recipe
- Prep Time: 45 minutes
- Cook Time: 10 minutes
- Total Time: 2 hours 55 minutes
- Yield: 4 servings
- Category: Dessert
- Method: Frying
- Cuisine: Japanese
- Diet: Vegan
Description
Crispy Tempura Ice Cream is a delightful dessert that combines creamy vegan ice cream with a crunchy, golden tempura coating. This recipe uses soft-crust bread to encase the ice cream, which is then battered, coated with panko breadcrumbs, and quickly fried to perfection. Perfect for those seeking a unique and indulgent vegan treat, this dessert offers a crispy exterior texture contrasting with the smooth, cold interior.
Ingredients
Ice Cream
- 1 quart Vegan vanilla ice cream (chocolate or matcha can be used as alternatives)
Bread
- 10–12 slices Soft-crust bread (preferably Vegan Hokkaido milk bread)
Batter
- 1 cup All-purpose flour (gluten-free flour can be substituted)
- ¼ cup Corn starch
- 1 cup Cold water (ice-cold)
Coating & Frying
- 1 cup Panko breadcrumbs (gluten-free panko for gluten-free variation)
- 3–4 cups Neutral vegetable oil (high smoke point oil)
Instructions
- Prepare the Ice Cream Balls: Using an ice cream scoop, form balls from the vegan vanilla ice cream and place them on a parchment-lined baking sheet. Freeze for about 30 minutes until the balls are firm and hardened.
- Flatten the Bread: Remove crusts from the soft-crust bread slices, then use a rolling pin to flatten each slice evenly to create a thin wrapping layer.
- Wrap the Ice Cream: Once firm, tightly wrap each ice cream ball with one flattened bread slice, ensuring the ice cream is fully encased.
- Freeze Again: Wrap each bread-covered ice cream ball securely in aluminum foil or cling wrap. Freeze for at least 1 hour or ideally overnight for best firmness.
- Heat the Oil: In a deep pot, heat the neutral vegetable oil to a temperature between 370°F and 375°F, suitable for deep frying.
- Mix the Batter: In a shallow bowl, whisk together the all-purpose flour, corn starch, and ice-cold water until smooth to create the tempura batter. Place the panko breadcrumbs in a separate shallow bowl for coating.
- Coat the Ice Cream Balls: Remove the frozen ice cream balls from the freezer and unwrap them. Quickly dip each ball into the batter making sure it’s fully coated, then immediately roll in panko breadcrumbs to form a crunchy coating.
- Fry to Perfection: Carefully place the coated ice cream balls into the hot oil and fry for approximately 60-70 seconds until they turn golden brown. Use a slotted spoon to remove them and let drain on a wire rack. Serve immediately while hot for the best texture contrast.
Notes
- Ensure the ice cream balls remain frozen solid before frying to prevent melting during the frying process.
- Use soft-crust bread such as Vegan Hokkaido milk bread for the best pliability and wrapping ease.
- Keep the water ice-cold to maintain batter crispiness when frying.
- Use an oil with a high smoke point like canola, vegetable, or peanut oil to avoid burning the batter.
- Serve immediately after frying to enjoy the crispy exterior and cold interior contrast.


