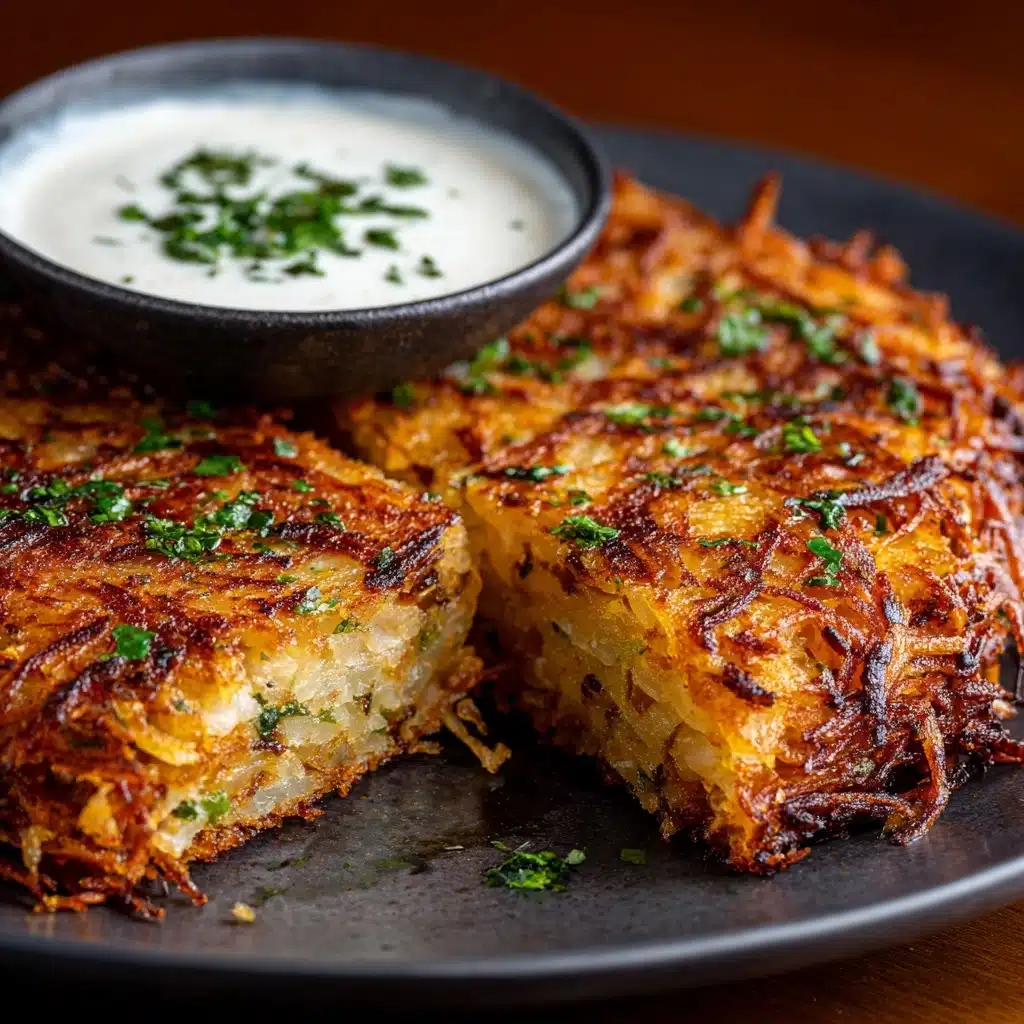
Crispy Cheesy Hash Browns Recipe
If you’re ready for golden brown, irresistible potatoes with a cheesy twist, you’re about to fall in love with these Crispy Cheesy Hash Browns. They turn out perfectly crunchy on the outside, with tender, cheesy potatoes inside, every single time. Whether you serve them for a lazy weekend brunch, a quick breakfast, or even as a savory snack, this comfort food classic is bound to become a new favorite. Even better, you only need a handful of staple ingredients and just a few simple steps for hash brown bliss in under thirty minutes!
Ingredients You’ll Need
The beauty of these hash browns lies in their simplicity — a few quality ingredients, each playing a starring role to create amazing texture and flavor. Here’s why every component matters:
- Russet potatoes: Their starchy texture guarantees extra crispiness and that perfect golden-brown color.
- Shredded cheddar cheese: Melts right into the potatoes, lending an oozy, savory depth and those toasty cheese edges.
- Grated Parmesan cheese: Intensifies the cheesy notes and helps form those irresistible crispy bits.
- Unsalted butter (melted): Adds richness and encourages even browning for a deeply flavorful base.
- Vegetable oil: The key to that shatteringly crisp crust — don’t skimp on this for frying!
- Salt: Balances the flavors and lets the cheese and potatoes shine.
- Black pepper: Adds a subtle background warmth that wakes up every bite.
- Garlic powder: Lends a boost of savory aroma without any fuss.
- Onion powder: Complements the potatoes, giving gentle, rounded flavor.
- Chopped fresh chives (optional): For a pop of green and a delicate oniony finish — highly recommended as a garnish!
How to Make Crispy Cheesy Hash Browns
Step 1: Grate and Soak the Potatoes
Start by peeling your russet potatoes and shredding them with a box grater or a food processor. Once shredded, immediately place them into a big bowl of cold water. Let the potatoes soak for about 5 minutes — this crucial step draws out excess starch and keeps your hash browns from turning gummy. The water will turn cloudy, which means it’s working!
Step 2: Drain and Dry (The Secret to Crispy Cheesy Hash Browns)
Drain away the starchy water, then get every bit of moisture out of the potatoes. Gather them up in a clean kitchen towel or several layers of paper towels, then twist and squeeze until the potatoes feel as dry as possible. Don’t rush this step — dry potatoes are the secret to making truly Crispy Cheesy Hash Browns.
Step 3: Mix in the Good Stuff
In a large mixing bowl, combine your thoroughly dried potatoes with shredded cheddar, grated Parmesan, melted butter, salt, black pepper, garlic powder, and onion powder. Mix everything gently but thoroughly, making sure the cheese and seasonings are evenly distributed throughout the mixture for consistent flavor in every bite.
Step 4: Fry to Golden Perfection
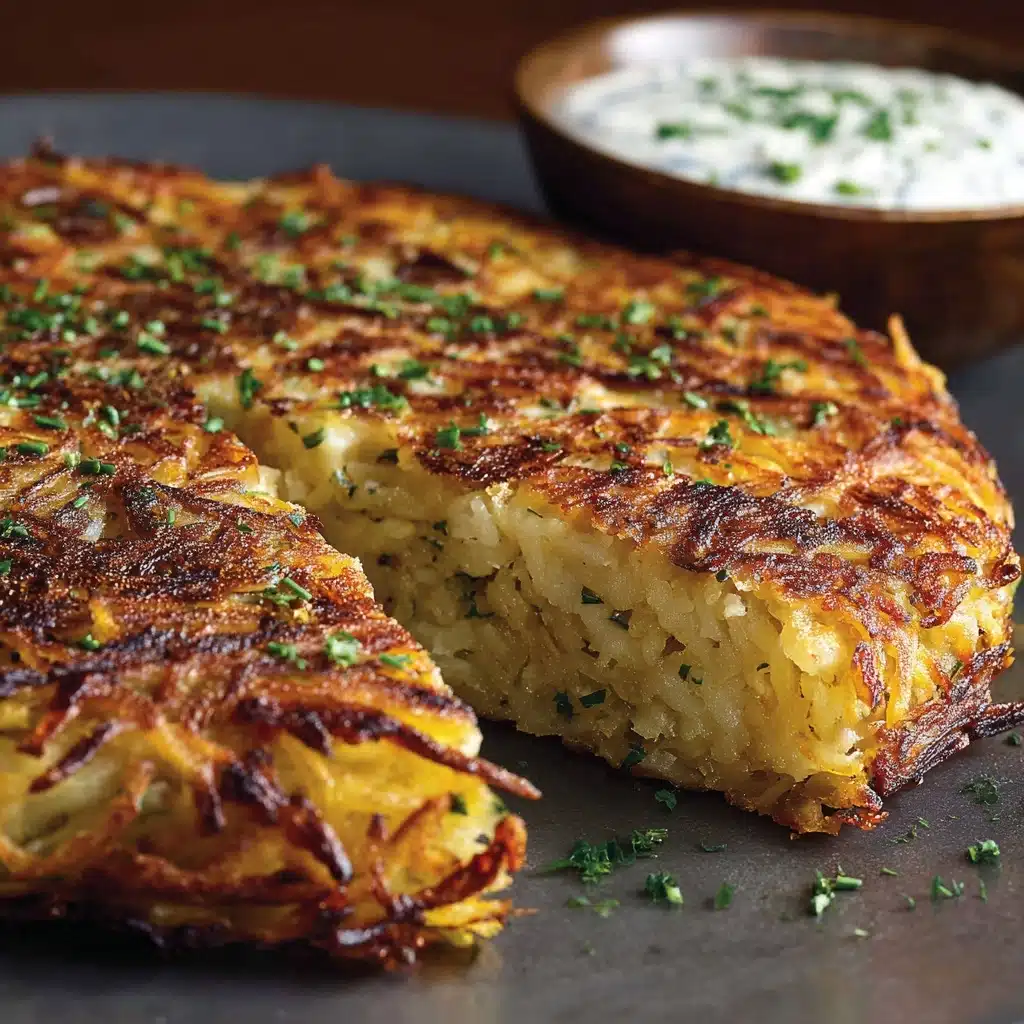
Heat the vegetable oil in a large non-stick skillet over medium-high heat. Once it’s shimmering, add your potato mixture in an even layer, pressing it down gently with a spatula. Let the hash browns cook undisturbed for 5–7 minutes. You’re looking for a deeply golden, crispy underside — resist the urge to flip too soon!
Step 5: Flip and Finish Cooking
Carefully flip the hash browns in sections or, if you prefer, form smaller patties for easier flipping. Cook the other side for another 5–7 minutes, until it’s just as crunchy and deeply colored. Transfer to a plate lined with paper towels to absorb any excess oil, then sprinkle with fresh chives if you like. Now the star of your breakfast table, Crispy Cheesy Hash Browns, are ready to enjoy piping hot!
How to Serve Crispy Cheesy Hash Browns
Garnishes
There’s nothing like a shower of fresh, snipped chives over hot hash browns for a touch of color and a delicate onion flavor. You might also consider scattering thinly sliced green onions, a pinch of flaky sea salt, or a dollop of sour cream. If you want to go bold, a dash of hot sauce or a spoonful of Greek yogurt is fantastic.
Side Dishes
Crispy Cheesy Hash Browns pair beautifully with all your breakfast favorites: think soft scrambled eggs, crisp bacon, spicy breakfast sausage, or a simple fruit salad for balance. For a brunch-worthy plate, I love serving them alongside avocado slices and roasted tomatoes, or even tucking them into breakfast wraps.
Creative Ways to Present
Turn these hash browns into an eye-catching appetizer by topping each patty with smoked salmon, crème fraîche, and a little dill. Or, use smaller rounds as a base for poached eggs Benedict-style! The versatility of Crispy Cheesy Hash Browns means you can get as creative as your cravings allow.
Make Ahead and Storage
Storing Leftovers
If you happen to have leftovers (which, let’s be honest, is rare!), let them cool completely before transferring to an airtight container. They’ll keep in the fridge for up to 3 days without losing too much of their signature crunch.
Freezing
To freeze, arrange completely cooled Crispy Cheesy Hash Browns in a single layer on a baking sheet and freeze until firm. Transfer to a zip-top bag or freezer container for up to 2 months. Take out only what you need — they’re a fantastic breakfast shortcut!
Reheating
For best results and maximum crispiness, reheat hash browns in a preheated oven or toaster oven at 400°F for 8–10 minutes, flipping once. You can also use a hot skillet for a couple of minutes per side. The microwave works in a pinch, though you’ll sacrifice some crunch.
FAQs
Why do I need to soak the potatoes before frying?
Soaking the grated potatoes removes excess surface starch, which helps ensure your Crispy Cheesy Hash Browns come out crunchy rather than gooey or gummy. It’s a small step that makes a big difference!
Can I use another type Breakfast, Side Dish
Russet potatoes are best for that signature crispiness because of their high starch content, but Yukon Golds can work in a pinch — just expect a slightly creamier, less crispy texture.
Is it possible to make these hash browns dairy-free?
Absolutely! Substitute your favorite non-dairy cheese shreds for the cheddar, use vegan butter, and make sure your Parmesan alternative is dairy-free. The results will still be deliciously crispy and golden.
What’s the trick to flipping hash browns without breaking them?
Make sure the bottom layer is fully golden and crisp before flipping. Use a wide spatula or cook smaller patties for easier handling. If some break apart, don’t stress — those crispy bits are often the tastiest!
Can I bake these instead of frying?
While baking won’t make them quite as crispy as the skillet method, you can absolutely bake your Crispy Cheesy Hash Browns at 425°F on a greased baking sheet, flipping halfway through, until both sides are golden brown.
Final Thoughts
If hash browns are your love language, these Crispy Cheesy Hash Browns are an absolute must-try. They’re crave-worthy and reliable, with every bite delivering that perfect mix of cheesy comfort and crispy bliss. I hope you treat yourself — and maybe even share a few with friends — because breakfast just got so much better!
Print
Crispy Cheesy Hash Browns Recipe
- Total Time: 30 minutes
- Yield: 4 servings 1x
- Diet: Vegetarian, Gluten-Free
Description
These crispy cheesy hash browns are a delightful twist on the classic breakfast favorite. Made with a blend of cheddar and Parmesan cheese, these hash browns are packed with flavor and perfect for a weekend brunch or a tasty side dish.
Ingredients
Potato Mixture:
- 4 medium russet potatoes (peeled)
- 1/2 cup shredded cheddar cheese
- 1/4 cup grated Parmesan cheese
- 2 tablespoons unsalted butter (melted)
- 1/2 teaspoon salt
- 1/4 teaspoon black pepper
- 1/2 teaspoon garlic powder
- 1/2 teaspoon onion powder
- 2 tablespoons chopped fresh chives (optional)
Instructions
- Prepare Potatoes: Grate the potatoes, soak in water, drain, and squeeze out excess moisture.
- Mix Ingredients: Combine potatoes, cheeses, melted butter, and seasonings in a bowl.
- Cook: Heat oil in a skillet, add potato mixture, cook until crispy on both sides.
- Serve: Sprinkle with chives and serve hot.
Notes
- Ensure potatoes are dry for extra crispiness.
- Consider making smaller patties for easier flipping.
- Prep Time: 15 minutes
- Cook Time: 15 minutes
- Category: Breakfast, Side Dish
- Method: Stovetop
- Cuisine: American
Nutrition
- Serving Size: 1 portion
- Calories: 250
- Sugar: 1 g
- Sodium: 390 mg
- Fat: 14 g
- Saturated Fat: 6 g
- Unsaturated Fat: 6 g
- Trans Fat: 0 g
- Carbohydrates: 25 g
- Fiber: 2 g
- Protein: 7 g
- Cholesterol: 25 mg


