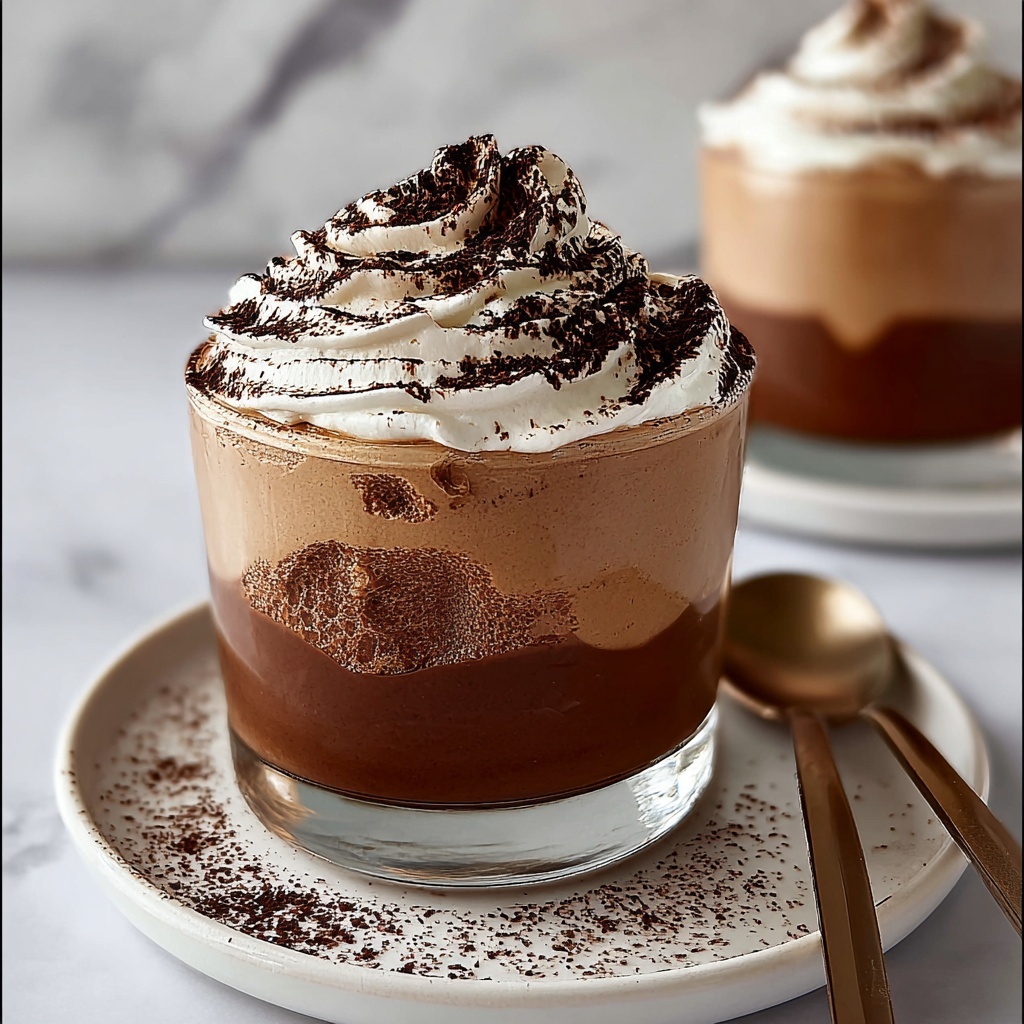
If you adore the rich, bold flavors of coffee and crave a dessert that feels both indulgent and light, this Coffee Mousse Recipe is absolutely for you. Silky smooth with a subtle kick of espresso, this dessert strikes the perfect balance between creamy sweetness and coffee’s signature depth. It’s a delightful treat that’s surprisingly simple to whip up, making it an ideal showstopper whether you’re treating yourself or impressing guests. Every spoonful feels like a little celebration of coffee in its most decadent form.

Ingredients You’ll Need
For this Coffee Mousse Recipe, the ingredients are straightforward yet entirely essential to achieve that flawless texture and flavor. Each item plays a crucial role: the espresso infuses the mousse with its unmistakable aroma, while the cream cheese adds a velvety richness, and the whipped cream ensures the final dish is light as a cloud.
- Instant espresso powder or instant coffee: Provides the bold coffee flavor that defines this mousse.
- Hot water: Used to dissolve the espresso powder evenly for smooth flavor integration.
- Heavy whipping cream, chilled: Whipped to airy perfection to give the mousse its luscious texture.
- Powdered sugar: Sweetens the cream without any graininess, melting perfectly into the mixture.
- Cream cheese, softened: Adds a subtle tang and creamy body that elevates the dessert’s mouthfeel.
- Vanilla extract: Enhances the overall flavor, adding warmth and depth.
- Cocoa powder or chocolate shavings (optional): Perfect for garnish, giving a visually appealing finish and a hint of extra decadence.
How to Make Coffee Mousse Recipe
Step 1: Dissolve the Coffee
Start by mixing your instant espresso powder or instant coffee with hot water. This step unlocks the coffee’s rich aroma and ensures that every bite of your mousse carries that powerful yet smooth espresso flavor. Set the mixture aside to cool slightly – it’s important not to hot-foot this part to the next step to keep your mousse silky.
Step 2: Whip the Cream
Next, in a large bowl, beat your chilled heavy whipping cream together with the powdered sugar. The goal here is to reach soft peaks, meaning the cream will hold its shape but still be tender and smooth. This whipped cream is what will give your mousse that signature lightness, making it feel like a dessert cloud.
Step 3: Make the Mousse Base
In a separate bowl, beat the softened cream cheese until it is perfectly smooth. This little step makes all the difference by ensuring no lumps interrupt your silky texture. Then stir in the cooled coffee mixture and vanilla extract. Combining these ingredients now means the flavors meld together beautifully before you introduce the light whipped cream.
Step 4: Fold in Whipped Cream
This part requires a gentle touch: carefully fold the whipped cream into your coffee-cream cheese mixture. The folding technique preserves the airy texture you just created and makes sure the mousse stays delightfully fluffy. Avoid overmixing here – a few careful turns with a spatula is all it takes.
Step 5: Chill and Serve
Spoon the mousse into individual serving cups or glasses and let them chill in the refrigerator for at least one hour. This chilling time lets the flavors develop and the mousse set to a perfect pudgy texture. Before serving, you can sprinkle cocoa powder or decorate with chocolate shavings for that elegant finish.
How to Serve Coffee Mousse Recipe
Garnishes
While the mousse is stunning on its own, a dusting of cocoa powder adds a deep chocolate kiss on top, perfectly complementing the coffee notes. Alternatively, chocolate shavings or even a few coffee beans can make your presentation irresistible and give just the right textural contrast to the creamy mousse.
Side Dishes
Coffee mousse pairs wonderfully with fresh berries like raspberries or strawberries for a refreshing burst that cuts through the richness. It’s also delightful alongside biscotti or a crispy almond tuile, allowing you to alternate between light and crunchy textures.
Creative Ways to Present
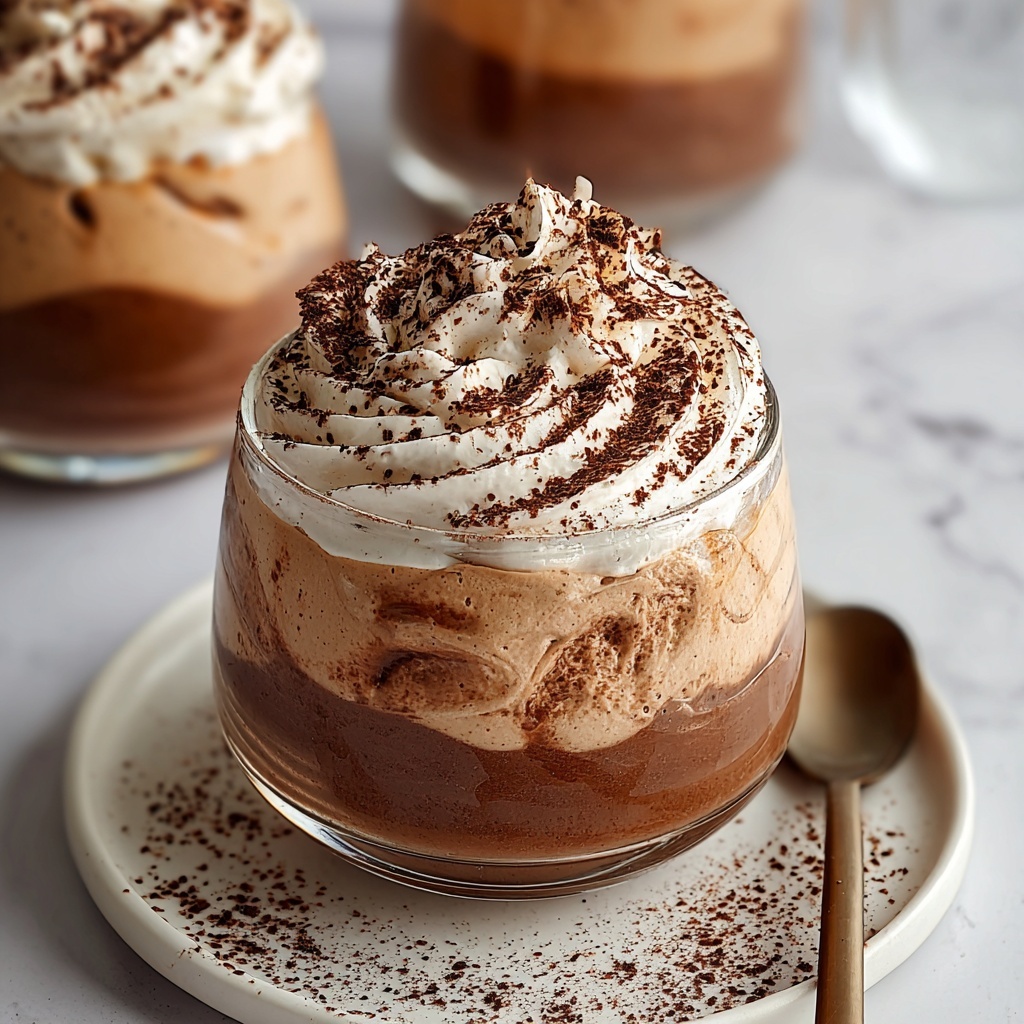
If you want to wow your guests, try layering the Coffee Mousse Recipe in clear glasses with crushed cookies or a drizzle of caramel or chocolate sauce. You could also pipe the mousse into pretty swirls for an elegant touch or serve in mini mason jars for a rustic-chic vibe. Presentation is your playground here!
Make Ahead and Storage
Storing Leftovers
Leftover coffee mousse keeps beautifully in the refrigerator for up to 3 days. Store it covered tightly with plastic wrap or in an airtight container to preserve the mousse’s delicate texture and allow the flavors to stay vibrant and fresh.
Freezing
While freezing is possible, it’s best to avoid it for this mousse as the texture can change upon thawing, sometimes becoming grainy or watery. If you do freeze it, use a well-sealed container and thaw it slowly in the fridge overnight.
Reheating
This dessert is best enjoyed chilled and does not require reheating. Reheating would alter its texture and creaminess, so just keep it cold and serve it fresh for the ultimate indulgence.
FAQs
Can I use regular brewed coffee instead of instant espresso powder?
You can, but instant espresso powder is recommended because it dissolves completely without adding any extra liquid, ensuring your mousse maintains the perfect consistency and coffee intensity.
Is it necessary to chill the heavy whipping cream before whipping?
Yes, chilling the cream is crucial for achieving the soft peaks that give the mousse its fluffy, airy texture. Warm cream won’t whip properly and can turn out heavy or even separate.
Can I substitute the cream cheese with mascarpone?
Absolutely! Mascarpone offers a smoother, slightly sweeter alternative and pairs wonderfully with coffee flavors, making your Coffee Mousse Recipe even more luxurious.
How long does the mousse take to set in the fridge?
Chilling for at least 1 hour is necessary to allow the mousse to firm up and for the flavors to blend seamlessly, but you can refrigerate it for up to 3 hours if you want a firmer texture.
Is this recipe suitable for making ahead for a party?
Definitely! The mousse keeps well in the fridge, making it an excellent make-ahead dessert. Prepare it a few hours or even a day before your event to reduce last-minute kitchen stress.
Final Thoughts
This Coffee Mousse Recipe is truly one of those desserts that feels special every time you enjoy it. It’s creamy, dreamy, and packed with the rich flavor of coffee that can satisfy any sweet tooth or coffee lover’s craving. I wholeheartedly encourage you to give it a try—whether for a casual night in or your next dinner party, it’s a guaranteed crowd-pleaser that’s simple to make and impossible to resist.
Print
Coffee Mousse Recipe
- Prep Time: 15 minutes
- Cook Time: 0 minutes
- Total Time: 1 hour 15 minutes
- Yield: 4 servings
- Category: Dessert
- Method: No-Cook
- Cuisine: American
Description
This smooth and airy Coffee Mousse combines the rich flavors of espresso and cream cheese with a delicate whipped cream base, creating a luxurious dessert that is quick to prepare and perfect for coffee lovers. Lightly sweetened and topped with optional cocoa powder or chocolate shavings, it offers a delightful balance of creamy texture and bold coffee notes.
Ingredients
Coffee Mixture
- 1 tablespoon instant espresso powder or instant coffee
- 1 tablespoon hot water
Mousse Base
- 4 oz cream cheese, softened
- 1 teaspoon vanilla extract
Whipped Cream
- 1 cup heavy whipping cream, chilled
- 1/2 cup powdered sugar
Garnish (Optional)
- Cocoa powder or chocolate shavings
Instructions
- Dissolve the Coffee: In a small bowl, dissolve the instant espresso powder or instant coffee in hot water. Set aside and allow it to cool slightly so it integrates better without melting the cream cheese later.
- Whip the Cream: Using a stand mixer or hand mixer, beat the chilled heavy whipping cream together with the powdered sugar until soft peaks form. This means when you lift the beaters, the peaks hold their shape but curl over slightly. Set aside carefully to maintain the airiness.
- Make the Mousse Base: In a separate bowl, beat the softened cream cheese until smooth and creamy. Gradually add the dissolved coffee mixture and vanilla extract, mixing until everything is fully combined into a silky coffee-flavored base.
- Fold in Whipped Cream: Gently fold the whipped cream into the coffee and cream cheese mixture using a spatula. Use a light hand to incorporate the whipped cream completely without deflating the airy texture that makes the mousse light and fluffy.
- Chill and Serve: Spoon the prepared mousse evenly into serving cups or glasses. Refrigerate for at least 1 hour to set and chill thoroughly. Before serving, optionally garnish with a dusting of cocoa powder or sprinkle with chocolate shavings for an elegant finish.
Notes
- Make sure the cream cheese is softened to room temperature for easy mixing and smooth texture.
- Use chilled heavy cream and beat it just until soft peaks form to maintain the mousse’s lightness.
- Dissolving the coffee in hot water helps release the full flavor and prevents granules in the mousse.
- Gently folding is essential to preserve the airy texture; do not overmix.
- Can be made a few hours ahead and stored in the refrigerator covered to maintain freshness.


