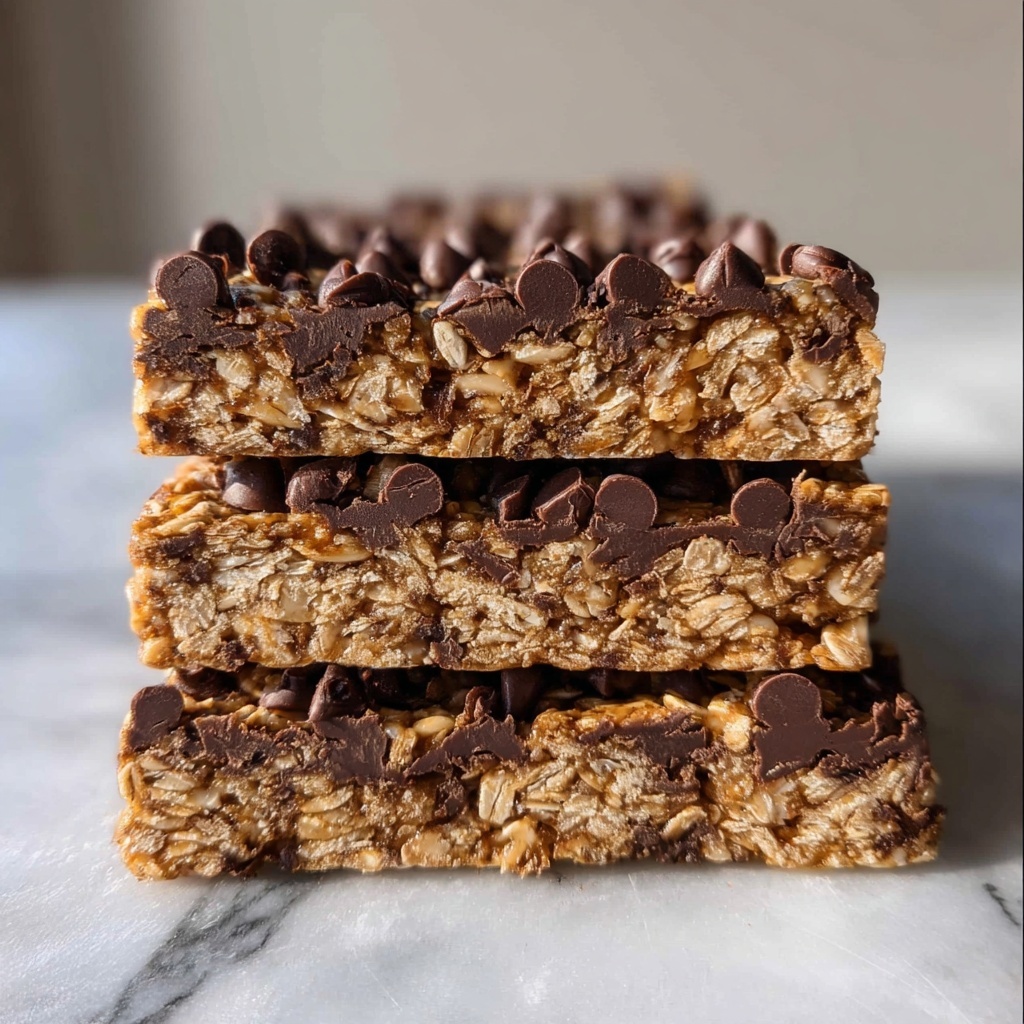
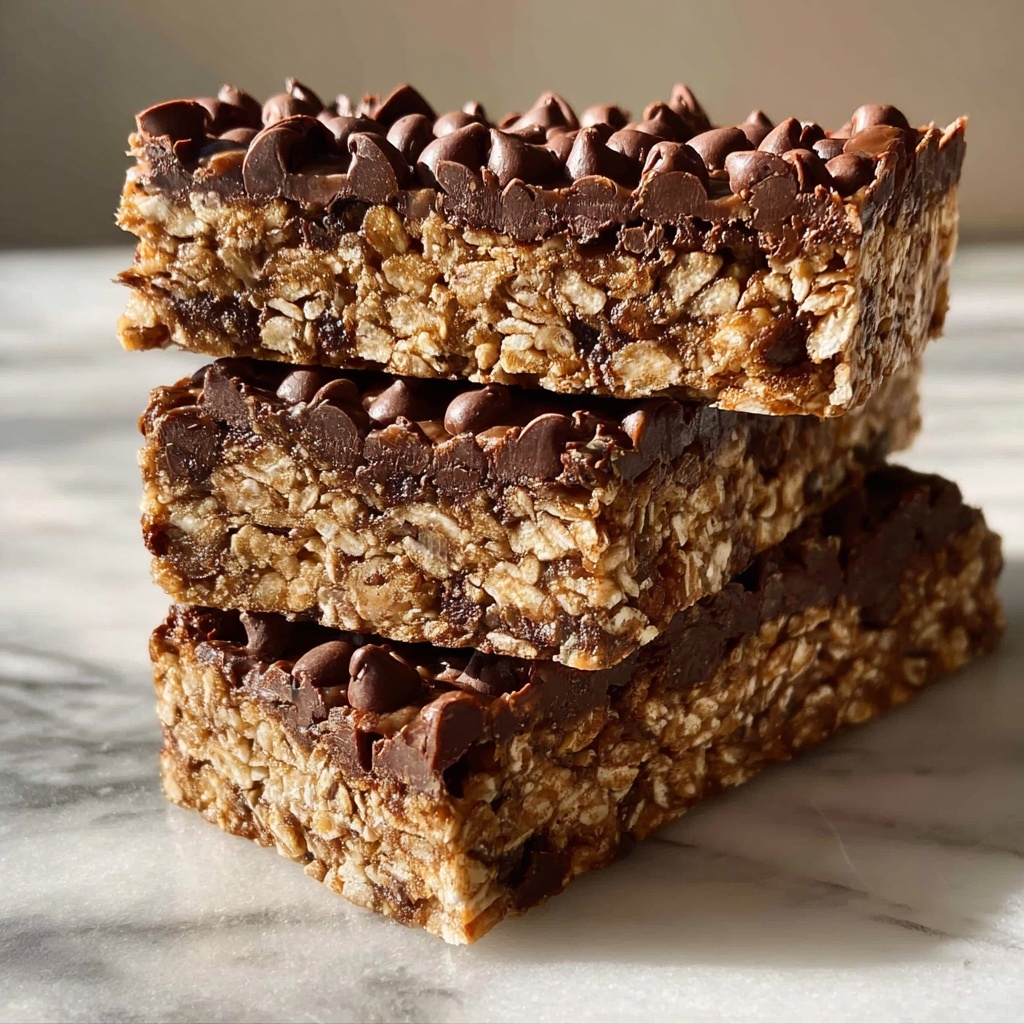
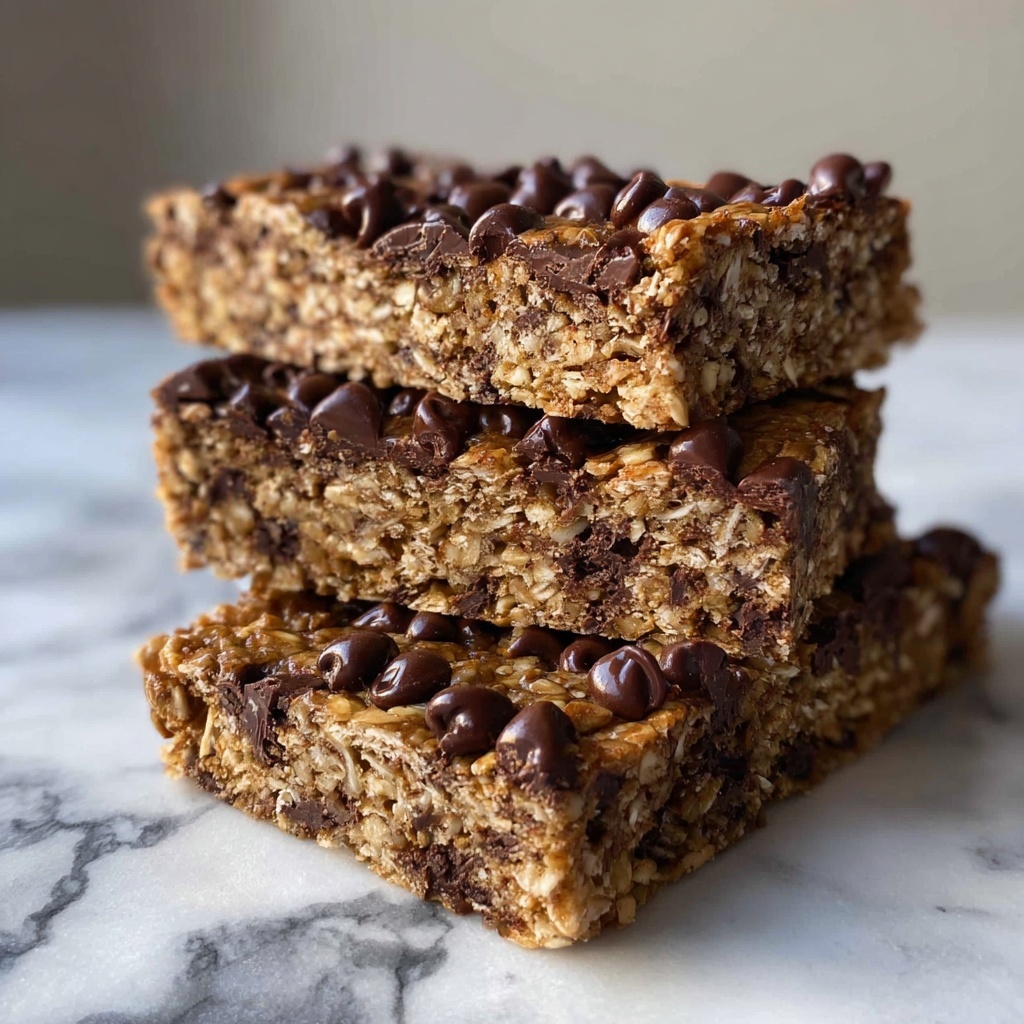
If you’ve been searching for a tasty snack that fuels your day without any guilt, the Chocolate Protein Bars: 7 Guilt-Free Snacking Secrets Recipe is exactly what you need. These bars are a perfect balance of wholesome ingredients and rich chocolatey flavor, designed to keep your energy steady and your cravings satisfied. Whether you want a quick breakfast, a post-workout boost, or a mid-afternoon pick-me-up, this recipe brings together simple, natural ingredients in a way that tastes utterly indulgent but stays healthy. Ready to discover the secrets behind these delicious bars? Let’s dive in!
Ingredients You’ll Need
This recipe is all about simple, wholesome ingredients that work beautifully together to create texture, sweetness, and that classic chocolatey good vibe. Each ingredient plays a crucial role in making these bars both nutritious and delightful.
- 2 cups rolled oats: They provide a hearty base full of fiber for sustained energy and a pleasantly chewy texture.
- 1 cup chocolate protein powder: The star player that adds protein and rich chocolate flavor, perfect for muscle recovery and keeping you full.
- 1/2 cup peanut butter: Creamy and nutty, this binds everything together while adding healthy fats and a comforting taste.
- 1/4 cup honey: A natural sweetener that gives just the right amount of sweetness and helps with browning during baking.
- 1/2 cup dark chocolate chips: For those delightful pockets of melted chocolate that elevate every bite into a little moment of joy.
How to Make Chocolate Protein Bars: 7 Guilt-Free Snacking Secrets Recipe
Step 1: Preheat the Oven
Getting the oven ready at 350°F ensures a perfect bake where the bars will set just right. Preheating is key to prevent uneven cooking and achieve that golden finish.
Step 2: Mix the Dry Ingredients
In a large bowl, combine rolled oats and chocolate protein powder. This blends the wholesome grain with the powerful protein boost and chocolate flavor, laying the foundation for your bars.
Step 3: Add the Peanut Butter and Honey
Pour in the peanut butter and honey, then mix everything until it’s well combined. This step is where the sticky magic begins, binding dry and moist ingredients together for perfect bar consistency.
Step 4: Fold in the Dark Chocolate Chips
Gently fold in the dark chocolate chips to distribute the melty chocolate chunks evenly without losing their shape in the batter. This gives your bars those irresistible surprises of chocolate throughout.
Step 5: Press the Mixture into the Baking Dish
Line a baking dish with parchment paper and press the mixture firmly and evenly across the bottom. Compacting it well helps the bars hold together after baking and slicing.
Step 6: Bake for 15-20 Minutes
Bake your bars for 15 to 20 minutes until the edges start to turn golden and you can smell that amazing chocolate and peanut butter aroma filling your kitchen. This short baking time keeps the bars moist and chewy.
Step 7: Cool and Cut into Bars
Allow the bars to cool completely before cutting into 12 servings. Cooling firms them up nicely so they slice cleanly and hold their shape, ready to energize your snack time.
How to Serve Chocolate Protein Bars: 7 Guilt-Free Snacking Secrets Recipe
Garnishes
Sprinkle some crushed nuts or a light drizzle of melted dark chocolate to add texture and a bit of flair. A pinch of sea salt on top can also amplify the chocolate flavor beautifully.
Side Dishes
Pair your bars with a fresh fruit salad or a dollop of Greek yogurt to add a refreshing contrast. A cup of herbal tea or cold brew coffee complements the rich chocolate notes perfectly.
Creative Ways to Present
Wrap individual bars in wax paper tied with a pretty ribbon for a cute, portable snack. You can also layer them with parchment paper in a mason jar for a grab-and-go gift or office treat.
Make Ahead and Storage
Storing Leftovers
Once cooled, store your Chocolate Protein Bars: 7 Guilt-Free Snacking Secrets Recipe in an airtight container at room temperature for up to 3 days. For longer freshness, keep them refrigerated to maintain their texture and flavor.
Freezing
These bars freeze wonderfully! Wrap each bar individually in plastic wrap, then place them in a freezer-safe bag or container. They will keep well for up to 2 months, perfect for prepping snacks in advance.
Reheating
If you prefer a warm bar, heat it gently in the microwave for about 15 seconds or until soft. Alternatively, enjoy them cold, as their chewy texture and rich chocolate flavor are satisfying either way.
FAQs
Can I substitute the peanut butter for another nut butter?
Absolutely! Almond butter, cashew butter, or sunflower seed butter all work great and add their own unique flavor while keeping the bars moist and delicious.
Is it necessary to bake these bars?
While baking helps set the bars and develop their flavor, you could try no-bake versions by chilling the mixture firmly in the fridge. However, baking enhances the texture and taste beautifully.
Can I use a different sweetener instead of honey?
Yes, maple syrup or agave nectar are excellent alternatives that maintain the moistness and sweetness. Just keep the quantity roughly the same.
Are these bars suitable for vegans?
The recipe as written contains honey, which is not vegan. You can make them vegan-friendly by swapping honey for maple syrup and ensuring your protein powder is plant-based.
How much protein is in each bar?
Each bar contains a good protein boost from the chocolate protein powder and peanut butter, typically around 10-12 grams per bar, making them a perfect post-workout snack.
Final Thoughts
I can’t recommend the Chocolate Protein Bars: 7 Guilt-Free Snacking Secrets Recipe enough for anyone looking to treat themselves with something delicious and nourishing. These bars are easy to whip up, endlessly satisfying, and perfect for keeping your energy up throughout the day. Give this recipe a try—you might just find your new favorite snack to share with friends and family!
Print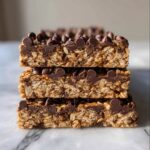
Chocolate Protein Bars: 7 Guilt-Free Snacking Secrets Recipe
- Prep Time: 10 minutes
- Cook Time: 20 minutes
- Total Time: 30 minutes
- Yield: 12 bars
- Category: Snack
- Method: Baking
- Cuisine: American
- Diet: Low Fat
Description
These Chocolate Protein Bars are the perfect guilt-free snack for anyone looking to fuel their body with a delicious and nutritious treat. Packed with chocolate protein powder, oats, peanut butter, and dark chocolate chips, these bars provide a balanced mix of protein, healthy fats, and carbohydrates to keep you energized throughout the day. Easy to make and ideal for meal prep, they are perfect for on-the-go snacking or a post-workout boost.
Ingredients
Dry Ingredients
- 2 cups rolled oats
- 1 cup chocolate protein powder
Wet Ingredients
- 1/2 cup peanut butter
- 1/4 cup honey
Add-ins
- 1/2 cup dark chocolate chips
Instructions
- Preheat Oven: Preheat your oven to 350°F (175°C) to get it ready for baking the bars.
- Mix Dry Ingredients: In a large mixing bowl, combine the rolled oats and chocolate protein powder evenly to form the base of your bars.
- Add Wet Ingredients: Stir in the peanut butter and honey, mixing thoroughly until all ingredients are well incorporated into a sticky, uniform mixture.
- Fold in Chocolate Chips: Gently fold in the dark chocolate chips to evenly distribute them throughout the mixture, adding extra bursts of chocolate flavor.
- Prepare Baking Dish: Line a baking dish with parchment paper or lightly grease it, then press the mixture firmly and evenly into the dish to ensure the bars hold together after baking.
- Bake: Place the dish in the preheated oven and bake for 15 to 20 minutes, or until the edges start to turn golden and the surface looks set.
- Cool and Slice: Remove from the oven and allow the bars to fully cool in the dish before cutting them into 12 equal-sized bars for serving.
Notes
- You can swap peanut butter for almond butter or any nut-free butter for dietary preferences or allergies.
- Use maple syrup or agave nectar as an alternative to honey to make these bars vegan-friendly.
- Ensure to cool the bars completely before slicing to prevent them from crumbling.
- Store bars in an airtight container at room temperature for up to 5 days or refrigerate for up to 2 weeks.
- For an extra protein boost, sprinkle some chia or flax seeds into the mixture before baking.


