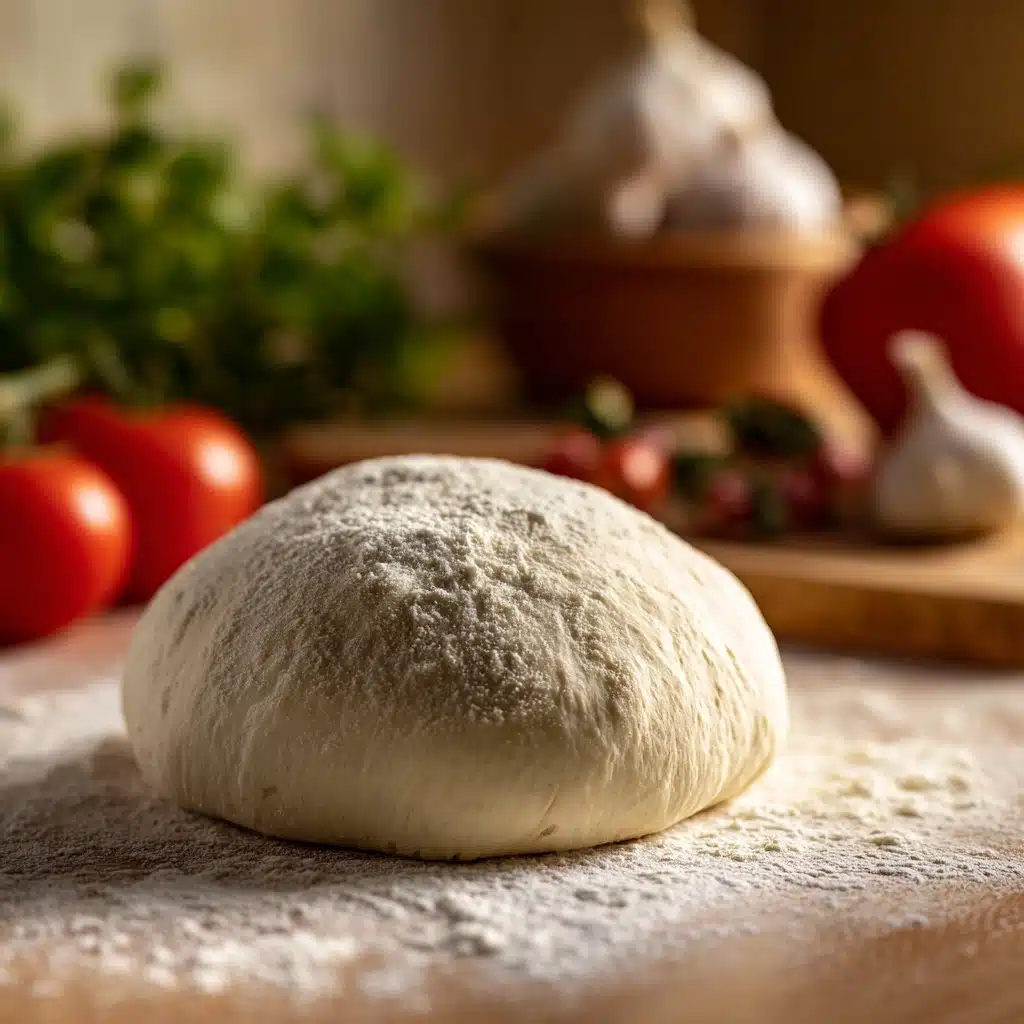
Busy Days Pizza Dough Recipe
When your schedule is jam-packed but your pizza cravings strike, Busy Days Pizza Dough comes to the rescue with its quick preparation and unbeatable homemade flavor. This approachable pizza dough requires just a handful of simple ingredients and minimal effort, but the results are nothing short of spectacular: a soft, chewy, golden crust ready for any toppings you love. Whether you’re feeding the family on a weeknight or keeping things cozy with a pizza night for two, Busy Days Pizza Dough is the secret to transforming busy evenings into something deliciously memorable.

Ingredients You’ll Need
Every ingredient in this recipe has a purpose, coming together to create a dough that’s flavorful, handles easily, and bakes up beautifully. Here’s how each one plays a starring role in our Busy Days Pizza Dough:
- Active dry yeast: Adds that essential lift, creating light bubbles and a beautifully risen crust.
- Sugar: Feeds the yeast to help it foam quickly, giving your dough a fragrant lift in less time.
- Warm water (about 110°F): The perfect temperature wakes the yeast up and helps everything come together smoothly.
- All-purpose flour: Delivers a balanced structure with chewiness and softness for classic pizza texture.
- Salt: Boosts the flavor of the dough, so every bite is savory and satisfying.
- Olive oil: Adds tenderness, subtle flavor, and helps create a lightly crisp crust when baked.
How to Make Busy Days Pizza Dough
Step 1: Activate the Yeast
Stir together the warm water, sugar, and yeast in a small bowl. Let it sit for 5 to 10 minutes, or until it’s foamy on top — this little science experiment tells you your yeast is happy and ready to work its rising magic!
Step 2: Combine Dry Ingredients
In a large bowl, whisk together the flour and salt. Mixing these first ensures the salt is spread evenly through the dough, so every bite tastes just right.
Step 3: Make the Dough
Pour your foamy yeast mixture and olive oil into the flour blend. Stir it together with a wooden spoon until a shaggy, sticky dough forms. You want just enough mixing so there’s no dry flour left — don’t worry if it looks a little messy at this stage.
Step 4: Knead to Perfection
Turn the dough out onto a lightly floured surface. Knead with your hands for about 3 to 5 minutes until the dough is smooth, pliable, and springs back gently. This step builds gluten, helping your Busy Days Pizza Dough get that irresistible chew.
Step 5: Let It Rise
Lightly oil a clean bowl, pop your dough inside, and cover it with a damp towel. Let it rest in a warm spot for 30 to 45 minutes. You’re looking for it to double in size, which means your crust will be light and airy.
Step 6: Shape and Top
Punch the dough down to release the air, then roll or stretch it to your preferred thickness and shape on a floured board or pizza pan. Top with sauce, cheese, and all your favorites — this is where you let your creativity shine!
Step 7: Bake and Enjoy
Bake your topped pizza at 475°F for 12 to 15 minutes, or until the crust is gloriously golden and the cheese is bubbling. The aroma will tell you: pizza night is on!
How to Serve Busy Days Pizza Dough
Garnishes
Once your pizza is baked to perfection, a flurry of freshly torn basil, a dusting of Parmesan, or a drizzle of good olive oil takes Busy Days Pizza Dough from everyday to extraordinary. A sprinkle of red pepper flakes or a twist of black pepper never goes amiss for a little kick.
Side Dishes
Pair your homemade pizza with a crisp garden salad tossed in vinaigrette, or roast a tray of seasonal vegetables alongside your pie — it’s all about balance! Garlic knots or a quick antipasto platter make wonderful accompaniments for a full-on pizzeria experience at home.
Creative Ways to Present
Try making individual Busy Days Pizza Dough mini-pies so everyone can customize their own. Slice into rustic squares for a party snack, or roll the dough extra thin for flatbreads topped with arugula and prosciutto for a fancier twist. There’s no wrong way to serve something this tasty!
Make Ahead and Storage
Storing Leftovers
If you have any cooked pizza left (lucky you!), store slices in an airtight container in the fridge for up to three days. The crust will stay tender and flavorful, especially if you reheat it properly.
Freezing
Busy Days Pizza Dough can be frozen before baking! Simply let the dough finish rising, then wrap it tightly in plastic and pop it into a freezer bag. It’ll keep well for up to 3 months. Thaw overnight in the fridge, then bring to room temperature before baking for the best texture.
Reheating
For leftover pizza slices, reheat in a hot oven or on a skillet for maximum crispness. Microwaving works in a pinch but may soften the crust. If you’re baking from frozen dough, let it rise fully after thawing before rolling and baking.
FAQs
Can I make Busy Days Pizza Dough ahead of time?
Absolutely! You can prepare the dough and let it rise in the fridge for up to 24 hours. Just let it come to room temperature before shaping and baking for the best results.
What if I don’t have active dry yeast?
If you’re out of active dry yeast, instant yeast works just fine. You can skip proofing and add it straight to the flour, but check your packet’s instructions for precise conversions.
Is it possible to double the recipe?
Yes! Busy Days Pizza Dough can easily be doubled if you’re feeding a crowd. Just make sure to give your dough enough room to rise and plan for a slightly longer kneading time.
What makes this dough different from traditional recipes?
Busy Days Pizza Dough stands out because it’s quick, simple, and nearly foolproof — you can go from pantry staples to homemade pizza in about an hour without sacrificing taste or texture.
Can this dough be used for other types of bread?
You bet! Shape it into breadsticks, small rolls, or even a rustic flatbread. The dough’s soft, chewy texture adapts to lots of creative uses beyond pizza night.
Final Thoughts
If pizza night often feels out of reach during your busiest weeks, give Busy Days Pizza Dough a try. It’s so easy and satisfying, you’ll soon wonder how you ever ordered delivery! Gather your toppings, get your oven nice and hot, and let this dough become your dinnertime superhero — happy baking!
Print
Busy Days Pizza Dough Recipe
- Total Time: 1 hour 5 minutes
- Yield: 1 large pizza (serves 4) 1x
- Diet: Vegetarian
Description
This Busy Days Pizza Dough recipe is perfect for a quick and delicious homemade pizza. With simple ingredients and easy steps, you can have a fresh pizza crust ready in no time.
Ingredients
Dough:
- 2 1/4 teaspoons active dry yeast (1 packet)
- 1 teaspoon sugar
- 3/4 cup warm water (about 110°F)
- 2 cups all-purpose flour
- 1 teaspoon salt
- 1 tablespoon olive oil (plus more for greasing)
Instructions
- Prepare Yeast Mixture: In a small bowl, combine warm water, sugar, and yeast. Let sit until foamy, about 5–10 minutes.
- Mix Dough: In a large bowl, combine flour and salt. Add yeast mixture and olive oil, mix until a dough forms.
- Knead Dough: Knead on a floured surface for 3–5 minutes until smooth.
- Rise: Place dough in an oiled bowl, cover, and let rise for 30–45 minutes until doubled.
- Shape and Bake: Roll out dough, add toppings, and bake at 475°F for 12–15 minutes until golden.
Notes
- This dough can be made ahead and refrigerated for up to 24 hours. Let it come to room temperature before rolling out.
- You can also freeze the dough for later use.
- Prep Time: 15 minutes (plus 30–45 minutes rise time)
- Cook Time: 15 minutes
- Category: Main Course
- Method: Baking
- Cuisine: Italian
Nutrition
- Serving Size: 1/4 of dough
- Calories: 210
- Sugar: 1g
- Sodium: 290mg
- Fat: 4g
- Saturated Fat: 0.5g
- Unsaturated Fat: 3.5g
- Trans Fat: 0g
- Carbohydrates: 38g
- Fiber: 1g
- Protein: 6g
- Cholesterol: 0mg


