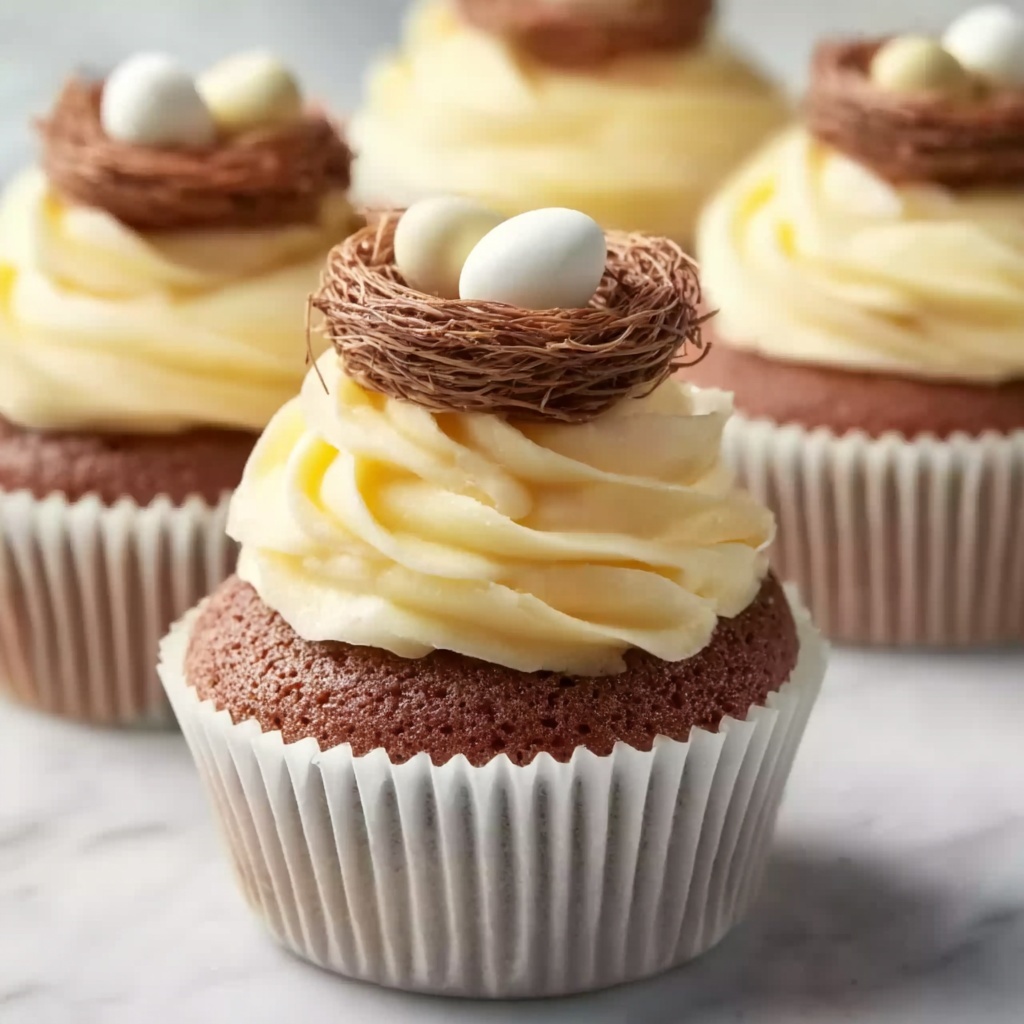
If you’re looking for a delightful treat that brings a little springtime magic into your kitchen, this Bird’s Nest Cupcakes Recipe is exactly what you need. These cupcakes combine a moist, tender crumb with a luscious chocolate frosting and a charming candy egg nest on top, making every bite a celebration. It’s a recipe that’s as fun to make as it is to eat, perfect for gatherings, celebrations, or simply brightening your day with a sweet, whimsical delight.
Ingredients You’ll Need
This Bird’s Nest Cupcakes Recipe relies on simple, staple ingredients that come together beautifully to create irresistible cupcakes. Each component plays an essential role in crafting the perfect texture, flavor, and appearance that will charm anyone at your table.
- 1 ½ cups all-purpose flour: Provides the structure and tenderness that make the cupcakes soft and fluffy.
- 1 ½ tsp baking powder: Acts as a leavening agent to give your cupcakes a lovely rise and light crumb.
- ½ cup unsalted butter, softened: Adds richness and moisture while helping to create a tender crumb.
- 1 cup granulated sugar: Sweetens the cake and helps with browning for that beautiful golden color.
- 2 large eggs: Bind the ingredients together and add moisture and a tender bite.
- ½ cup whole milk: Keeps the batter smooth and moist, contributing to a delicate crumb.
- 2 tsp vanilla extract: Infuses the cupcakes with a warm, inviting aroma and flavor.
- ⅓ cup unsweetened cocoa powder (for frosting): Creates a rich chocolate frosting that’s perfectly balanced in sweetness and depth.
- 3 cups confectioners’ sugar (for frosting): Provides that smooth, creamy texture and sweetness in the frosting.
- Candy eggs (for decoration): Bring the adorable finishing touch that makes these cupcakes look just like little bird nests.
How to Make Bird’s Nest Cupcakes Recipe
Step 1: Prepare Your Oven and Liners
Start by preheating your oven to 350°F (175°C). Line a muffin tin with cupcake liners to ensure easy removal after baking and a simple cleanup. This sets the stage for your cupcakes to bake evenly and come out beautifully shaped.
Step 2: Cream Butter and Sugar
In a large mixing bowl, cream together the softened butter and granulated sugar until the mixture is light, fluffy, and pale in color. This step is key to creating an airy texture that will translate into a soft cupcake crumb. Adding the eggs one at a time helps incorporate them fully without deflating the batter.
Step 3: Combine Dry and Wet Ingredients
Gradually add the flour and baking powder to the wet mixture, alternating with the milk. Mix gently until everything is just combined. Overmixing can make the cupcakes dense, so a few lumps are okay. This balance keeps your cupcakes tender and light.
Step 4: Bake the Cupcakes
Fill each cupcake liner two-thirds full with batter to allow space for the cupcakes to rise without spilling over. Bake for 18-20 minutes, or until a toothpick inserted in the center comes out clean and the tops turn a lovely golden brown. Once baked, cool the cupcakes completely on a wire rack before moving on to frosting.
Step 5: Whip Up the Chocolate Frosting
While the cupcakes cool, combine cocoa powder, butter, milk, and confectioners’ sugar in a bowl. Whip this mixture until light and fluffy, creating a velvet-smooth frosting that complements the delicate cake perfectly. The rich chocolate adds depth and indulgence to every bite.
Step 6: Create the Bird’s Nest Topping
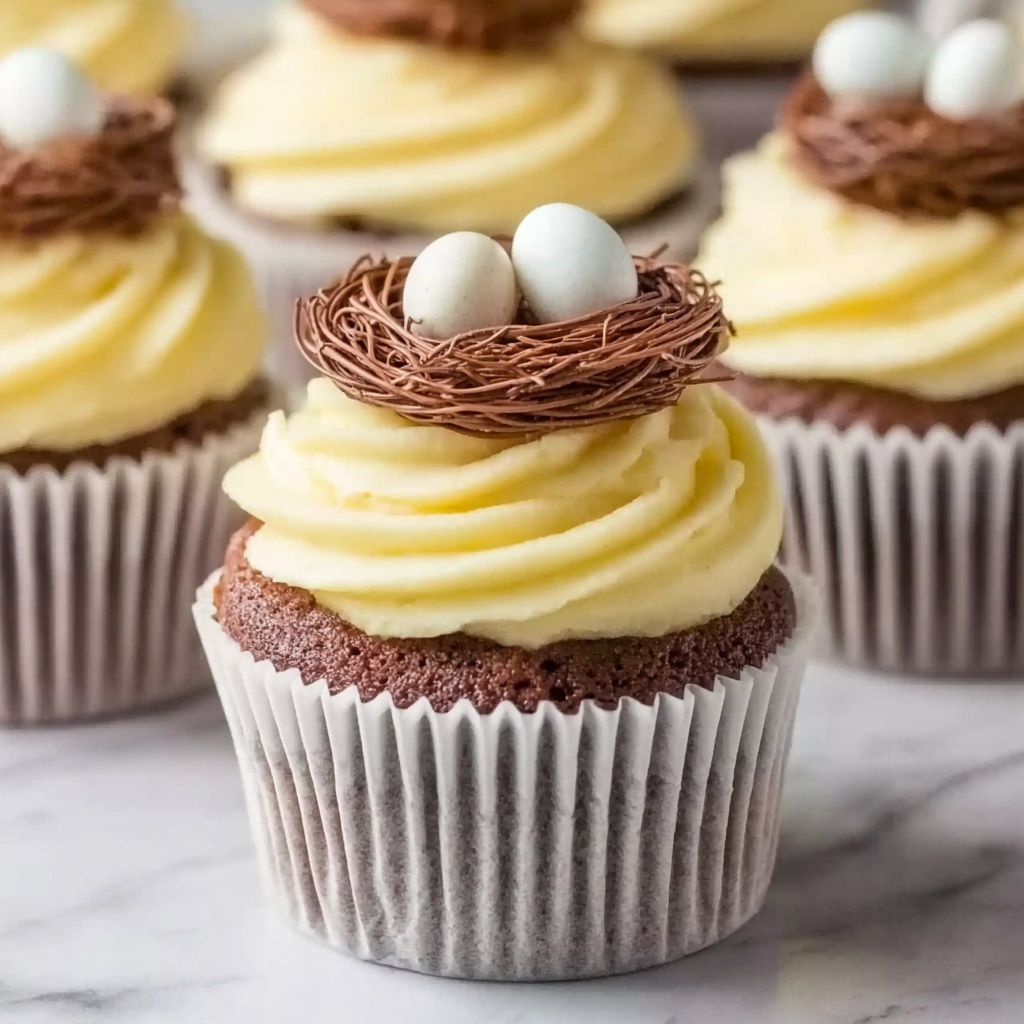
Generously frost the cooled cupcakes. Then craft “nests” on top using chocolate shavings or crispy noodles—these add a playful texture and perfectly mimic the look of twigs. Finally, nestle candy eggs in each “nest” to finish with an eye-catching, festive decoration that makes this Bird’s Nest Cupcakes Recipe truly special.
How to Serve Bird’s Nest Cupcakes Recipe

Garnishes
Beyond the candy eggs, you can sprinkle some edible glitter or colored sugar around the cupcakes for extra sparkle. Fresh mint leaves or tiny edible flowers also pair beautifully, adding a subtle, fresh aroma that enhances presentation without overpowering the flavor.
Side Dishes
These cupcakes shine on their own but also go wonderfully with a light fruit salad or a cup of tea or coffee. A fresh berry compote or a dollop of whipped cream can balance the richness of the chocolate frosting and add a refreshing contrast to the dessert experience.
Creative Ways to Present
Place the cupcakes on a rustic wooden board or a pastel-themed serving tray to evoke the charm of a spring picnic. You can arrange them in clusters or as a centerpiece with small bird figurines or nest-themed décor, creating a whimsical atmosphere that makes your presentation unforgettable.
Make Ahead and Storage
Storing Leftovers
Keep leftover Bird’s Nest Cupcakes stored in an airtight container at room temperature for up to two days, or in the refrigerator for up to a week. This helps preserve the frosting’s freshness and keeps the cakes moist. Always allow refrigerated cupcakes to come to room temperature before serving for the best taste and texture.
Freezing
If you want to enjoy these cupcakes later, you can freeze them without decoration. Wrap each cupcake individually in plastic wrap and then place them in a freezer bag. Frozen cupcakes will keep well for up to three months. When ready to enjoy, thaw them overnight in the refrigerator.
Reheating
For a freshly baked feel, warm thawed cupcakes in the microwave for about 10-15 seconds. Avoid overheating to prevent dryness. If refrigerated, warming the cupcakes to room temperature will help the frosting regain its original softness and flavor.
FAQs
Can I use a different frosting for the Bird’s Nest Cupcakes Recipe?
Absolutely! While the chocolate frosting is a classic pairing here, cream cheese frosting or a simple vanilla buttercream can also work wonderfully, giving you a chance to customize the flavor to your liking.
Are these cupcakes suitable for kids?
Definitely. The sweet, mild flavors and fun candy egg topping make these cupcakes a big hit with kids. Just be mindful of any allergies when choosing candy decorations.
Can I substitute dairy milk with a plant-based alternative?
Yes, plant-based milks such as almond, oat, or soy milk can be used in equal measure. They won’t significantly change the cupcake texture, making this recipe quite flexible for dairy-free diets.
What if I don’t have candy eggs at home?
No worries! You can substitute candy eggs with mini chocolate chips, jelly beans, or even fruit-flavored gummies shaped like eggs. Get creative with what you have.
How can I make the cupcake nests more realistic?
Try using toasted coconut flakes or finely chopped pretzels mixed with melted chocolate to form the nests. These add texture and a visually authentic twig-like appearance that’s impressive and delicious.
Final Thoughts
This Bird’s Nest Cupcakes Recipe is a total crowd-pleaser that brings joy and a bit of playful elegance to any occasion. With straightforward ingredients and steps, you’ll have charming, delicious cupcakes that make great memories as well as treats. I can’t wait for you to try making them and see the smiles they inspire!
Print
Bird’s Nest Cupcakes Recipe
- Prep Time: 15 minutes
- Cook Time: 20 minutes
- Total Time: 35 minutes
- Yield: 12 servings
- Category: Dessert
- Method: Baking
- Cuisine: American
- Diet: Vegetarian
Description
These delightful Bird’s Nest Cupcakes combine moist, fluffy chocolate cupcakes with rich cocoa frosting, topped with whimsical candy eggs nestled in chocolate shavings to create a fun, festive treat perfect for spring celebrations or Easter gatherings.
Ingredients
Cupcake Batter
- 1 ½ cups all-purpose flour
- 1 ½ tsp baking powder
- ½ cup unsalted butter, softened
- 1 cup granulated sugar
- 2 large eggs
- ½ cup whole milk
- 2 tsp vanilla extract
Chocolate Frosting
- ½ cup unsalted butter, softened (estimate for frosting to whip with cocoa and sugar)
- ⅓ cup unsweetened cocoa powder
- 3 cups confectioners’ sugar
- 3–4 tbsp whole milk (estimate for proper frosting consistency)
Decoration
- Chocolate shavings or crispy noodles (for creating nests)
- Candy eggs
Instructions
- Preheat oven and prepare pans. Preheat your oven to 350°F (175°C) and line a muffin tin with cupcake liners to ensure cupcakes bake evenly and do not stick.
- Cream butter and sugar. In a large bowl, cream together the softened butter and granulated sugar until the mixture is light and fluffy, which helps incorporate air for tender cupcakes. Add the eggs one at a time, mixing well after each addition to ensure even incorporation.
- Combine dry and wet ingredients. Gradually add the all-purpose flour and baking powder, alternating with the whole milk, beginning and ending with the flour mixture. Mix until just combined, careful not to overmix to avoid dense cupcakes. Stir in vanilla extract for flavor.
- Fill liners and bake. Fill each cupcake liner about two-thirds full with batter to allow for rising. Bake in the preheated oven for 18-20 minutes or until a toothpick inserted into the center comes out clean. Remove from oven and transfer cupcakes to a wire rack to cool completely.
- Make the frosting. While cupcakes cool, prepare the chocolate frosting by whipping together cocoa powder, softened butter, confectioners’ sugar, and milk until the frosting is smooth, fluffy, and spreadable. Adjust milk quantity as needed for consistency.
- Frost and decorate. Once cupcakes are completely cool, frost generously with the chocolate frosting. Create bird’s nests on top using chocolate shavings or crispy noodles, then carefully place candy eggs inside each nest to complete the look and add a fun, festive touch.
Notes
- Ensure cupcakes are fully cooled before frosting to prevent melting.
- Use room temperature butter and eggs for best creaming results.
- When mixing batter, avoid overmixing to keep cupcakes light and fluffy.
- You can substitute whole milk with any milk alternative, though texture may vary slightly.
- For a richer chocolate flavor in frosting, consider adding a teaspoon of vanilla extract.
- Chocolate shavings can be made by shaving a chocolate bar with a vegetable peeler.
- Store cupcakes in an airtight container at room temperature for up to 2 days or refrigerated for up to 4 days.


