Easter Candy Fudge Recipe
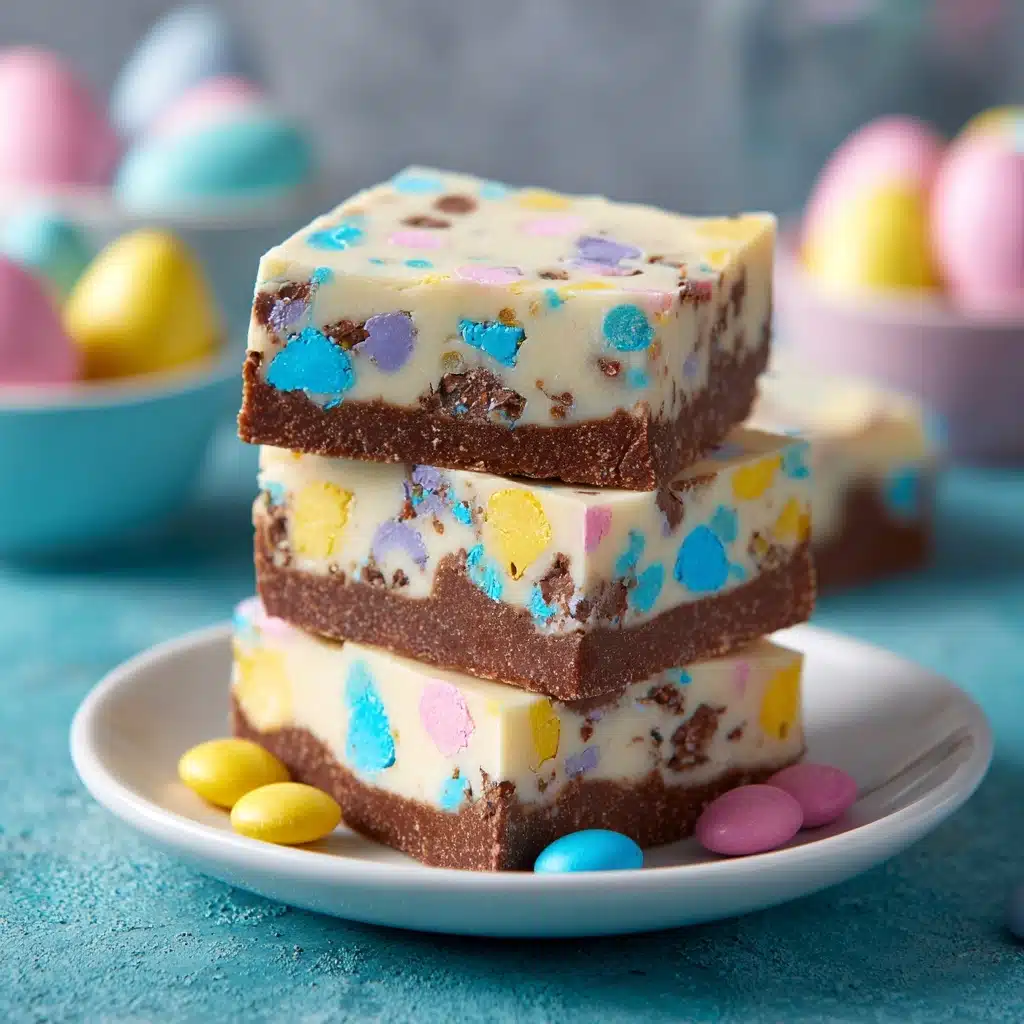
If you’re searching for a delightfully sweet treat that captures all the playful magic of springtime, look no further than Easter Candy Fudge! This no-bake dessert is a celebration of creamy white chocolate and pastel candies, guaranteed to bring a smile to kids and adults alike. With its smooth, melt-in-your-mouth texture and pops of crunchy, colorful candy, this fudge is the perfect way to use up extra Easter goodies or simply add a festive touch to your dessert table.
Ingredients You’ll Need
What makes Easter Candy Fudge so irresistible is how just a handful of ingredients come together to create layers of flavor and texture. Each one is essential, bringing its own magic to this easy recipe—so make sure you don’t skip or skimp!
- White chocolate chips: These form the creamy, sweet base of the fudge and melt down beautifully for a smooth finish.
- Sweetened condensed milk: This adds richness and keeps the fudge ultra-soft and chewy, never crumbly.
- Vanilla extract: A splash of vanilla lifts the flavors and adds warmth to balance the sweetness.
- Assorted Easter candies: Use your favorites—mini eggs, jelly beans, pastel M&Ms, or chopped chocolate eggs all add bursts of color and crunch.
- Pinch of salt: Just a little salt sharpens the flavors and keeps the fudge from being overly sweet.
- Pastel sprinkles (optional): For a joyful, decorative finish that makes each bite feel like a celebration.
How to Make Easter Candy Fudge
Step 1: Prepare Your Pan
Start by lining an 8×8-inch baking pan with parchment paper, leaving enough overhang on the sides for easy removal later. This little trick ensures your Easter Candy Fudge lifts out effortlessly and keeps those beautiful layers intact when you slice it.
Step 2: Melt the Base
In a medium saucepan set over low heat, combine the white chocolate chips, sweetened condensed milk, and a pinch of salt. Stir constantly with a spatula or wooden spoon to prevent scorching. You’ll know it’s ready when the mixture is silky smooth with no lumps left.
Step 3: Add Flavor
Once everything is melted, take the pan off the heat and stir in the vanilla extract. This step is like adding a secret ingredient—it brings all the flavors together with a lovely aroma.
Step 4: Fold in the Candy
Gently fold in 1 cup of your chosen Easter candies. Be careful not to overmix; you want the candy pieces to stay whole for that delightful crunch and pop of color in every bite.
Step 5: Spread and Decorate
Pour the fudge mixture into your prepared pan and smooth the top with a spatula. Press the remaining half cup of candies evenly over the top, and if you’re feeling extra festive, scatter on pastel sprinkles for a finishing touch.
Step 6: Chill and Slice
Refrigerate the pan for at least 2 hours, or until the fudge is completely set. Once firm, lift it out using the parchment overhang and cut into squares. Each piece will be a little work of art!
How to Serve Easter Candy Fudge
Garnishes
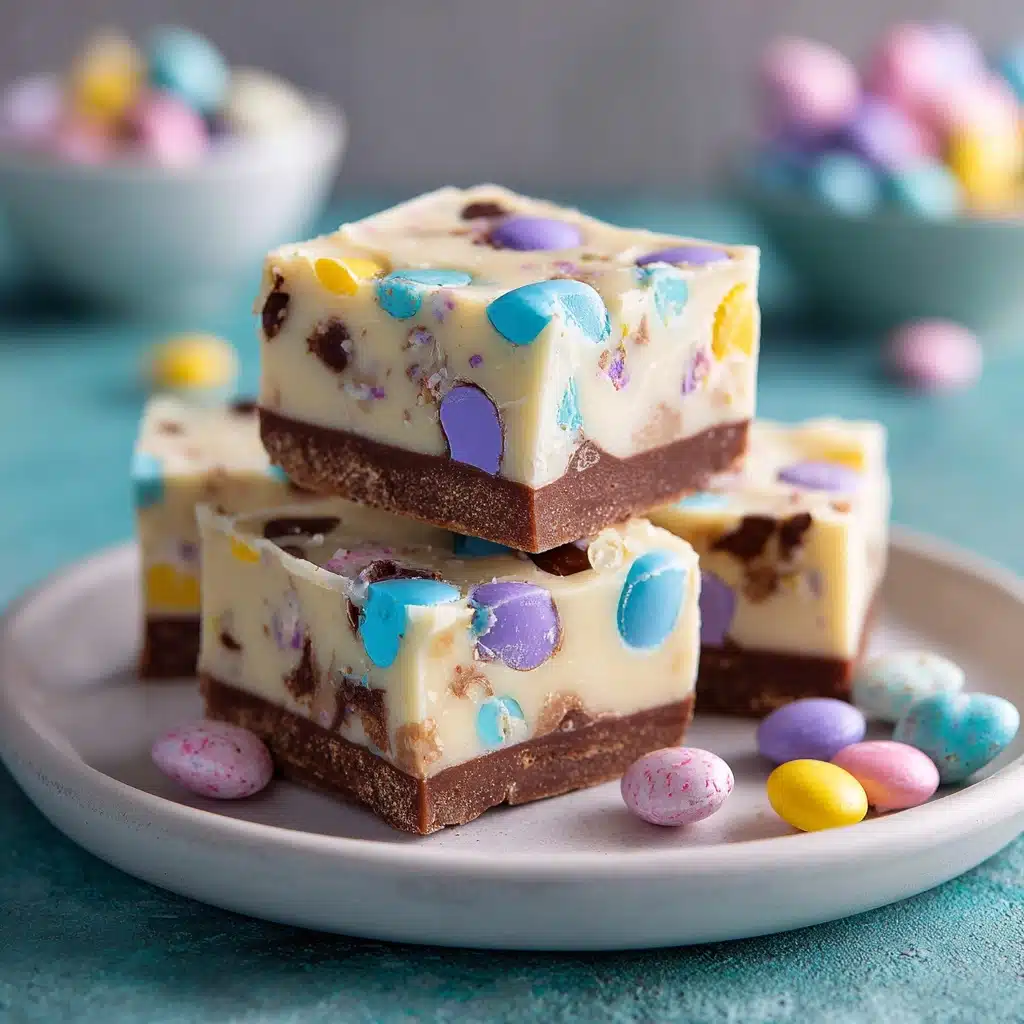
A little garnish goes a long way! Top your fudge squares with extra pastel sprinkles, a drizzle of melted white chocolate, or even a tiny edible flower for a springtime flourish. It’s a simple way to add a touch of elegance to this playful treat.
Side Dishes
Easter Candy Fudge pairs beautifully with a cup of rich coffee, fruity tea, or a tall glass of cold milk. If you’re serving it as part of a dessert spread, a bowl of fresh berries or a side of lemon sorbet will brighten up the sweetness and add a refreshing balance.
Creative Ways to Present
For parties or gifting, wrap individual fudge squares in parchment and tie them with pastel ribbon, or arrange them in colorful cupcake liners on a platter. You can even layer fudge pieces in a clear jar for a stunning edible centerpiece!
Make Ahead and Storage
Storing Leftovers
Keep your Easter Candy Fudge fresh by storing it in an airtight container in the refrigerator. It’ll stay soft and flavorful for up to one week—if it lasts that long!
Freezing
Yes, you can freeze this fudge! Place the cut squares in a single layer on a baking sheet to freeze, then transfer them to a zip-top bag or freezer-safe container. They’ll keep well for up to three months—just thaw them in the fridge before serving.
Reheating
There’s no need to reheat Easter Candy Fudge, as it’s meant to be enjoyed chilled or at room temperature. If your fudge is a bit too firm straight from the fridge, let it sit out for about 10 minutes before serving for the perfect texture.
FAQs
Can I use milk or dark chocolate instead of white chocolate?
Absolutely! Feel free to swap in milk or dark chocolate chips for a richer, less sweet fudge. Just keep in mind the color will change, and it may pair differently with certain candies.
What are the best Easter candies to use in this fudge?
Mini eggs, pastel M&Ms, jelly beans, and chopped chocolate eggs are all fantastic choices. Choose a mix of colors and textures for the most eye-catching (and delicious) results.
How do I keep the candies from melting into the fudge?
Let the fudge mixture cool for a minute or two before folding in the candies, and be gentle when stirring. This helps the candies keep their shape and prevents the colors from bleeding.
Can I add food coloring to the fudge?
Yes! For a whimsical twist, swirl in a few drops of food coloring or pastel candy melts before chilling. This makes each piece of Easter Candy Fudge even more vibrant.
Is it possible to make this fudge dairy-free?
You can try using dairy-free white chocolate chips and sweetened condensed coconut milk. The fudge will have a slightly different flavor but will still be plenty sweet and creamy.
Final Thoughts
If you want to bring a burst of color and joy to your holiday celebrations, you simply have to try this Easter Candy Fudge. It’s easy, customizable, and always the first thing to disappear from the dessert table. Gather your favorite candies and enjoy making (and sharing) a treat that’s pure springtime happiness!
Print
Easter Candy Fudge Recipe
- Total Time: 15 minutes plus 2 hours chilling
- Yield: 25 pieces 1x
- Diet: Vegetarian
Description
This delightful Easter Candy Fudge combines creamy white chocolate with a medley of colorful Easter candies, creating a festive no-bake treat perfect for holiday celebrations. Easy to make and irresistibly sweet, it’s a fun way to enjoy seasonal flavors and bring a burst of color to your dessert table.
Ingredients
Main Ingredients
- 3 cups white chocolate chips
- 1 (14 oz) can sweetened condensed milk
- 1 teaspoon vanilla extract
- Pinch of salt
Easter Candy
- 1½ cups assorted Easter candies (such as mini eggs, jelly beans, chopped chocolate eggs, or pastel M&Ms)
- Pastel sprinkles for decoration (optional)
Instructions
- Prepare Pan: Line an 8×8-inch baking pan with parchment paper, ensuring there is an overhang on the sides to easily lift out the fudge later.
- Melt Chocolate Mixture: In a medium saucepan over low heat, combine the white chocolate chips, sweetened condensed milk, and a pinch of salt. Stir constantly until the mixture is smooth and fully melted.
- Add Flavor: Remove the saucepan from heat and stir in the vanilla extract thoroughly to infuse the mixture with flavor.
- Incorporate Easter Candies: Gently fold in 1 cup of the assorted Easter candies into the melted chocolate mixture, distributing them evenly.
- Set Fudge Base: Pour the mixture into the prepared baking pan and spread it evenly with a spatula for a smooth surface.
- Decorate: Press the remaining ½ cup of Easter candies on top of the fudge, and sprinkle pastel sprinkles if desired for extra festive flair.
- Chill: Refrigerate the fudge for at least 2 hours or until it is fully set and firm to the touch.
- Serve: Once chilled, use the parchment paper overhang to lift the fudge from the pan and cut into approximately 25 squares. Enjoy!
Notes
- You can customize this fudge with any combination of Easter candies you prefer or have leftover.
- For a more colorful and creative look, add a few drops of food coloring or swirl pastel candy melts on top before chilling.
- Store the fudge in an airtight container in the refrigerator for up to one week to maintain freshness.
- Prep Time: 10 minutes
- Cook Time: 5 minutes
- Category: Dessert
- Method: No-Bake
- Cuisine: American
Nutrition
- Serving Size: 1 piece
- Calories: 140
- Sugar: 17g
- Sodium: 30mg
- Fat: 6g
- Saturated Fat: 4g
- Unsaturated Fat: 2g
- Trans Fat: 0g
- Carbohydrates: 20g
- Fiber: 0g
- Protein: 2g
- Cholesterol: 5mg
