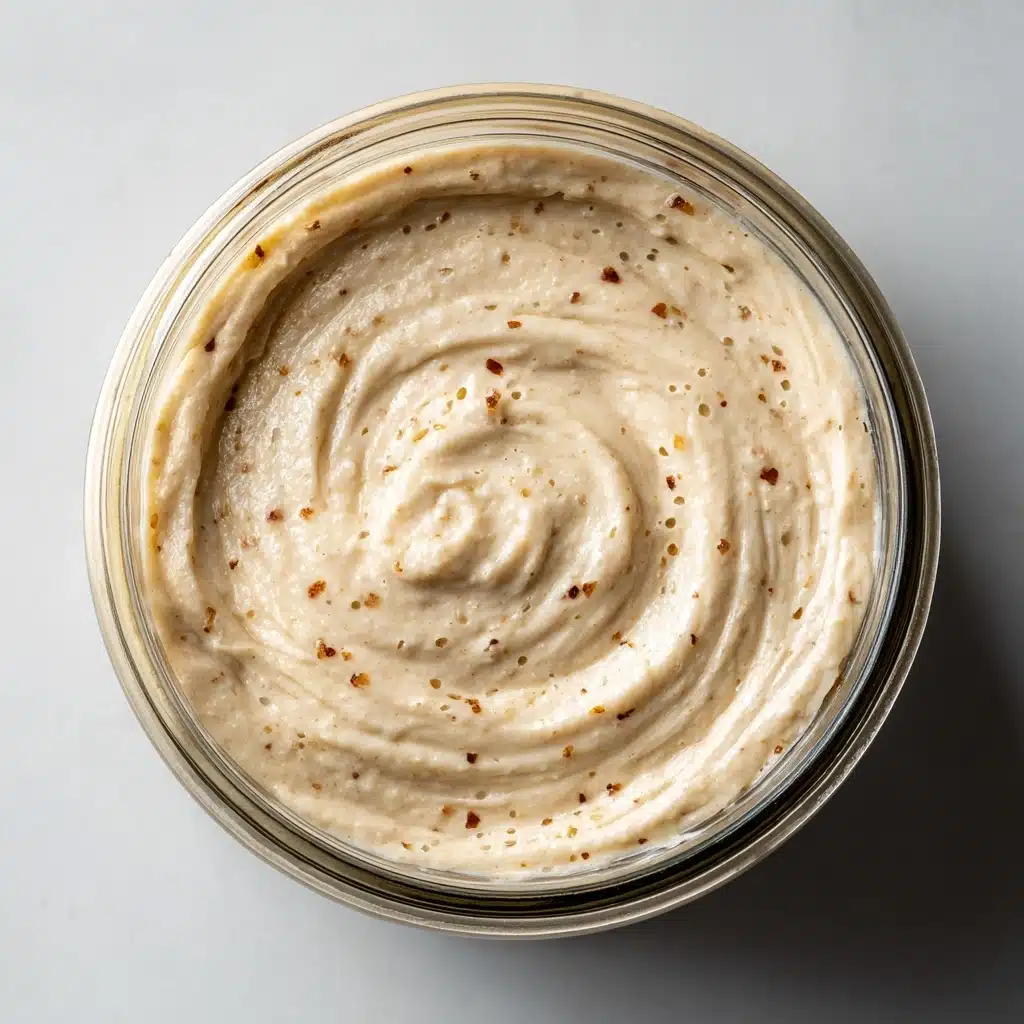
Sourdough Starter Recipe
Making your own Sourdough Starter Recipe is the ultimate kitchen magic trick—just two humble ingredients, a bit of patience, and suddenly you’ve got wild yeast bubbling away right on your countertop! Not only does a homemade starter serve as the foundation for incredible breads with crackly crusts and chewy interiors, but it also brings flavor and character you simply can’t get from store-bought yeast. This beginner-friendly guide will help you develop an active, healthy starter that’ll spark a whole new bread-baking adventure.
Ingredients You’ll Need
-
Day 1:
- 1 cup (120g) all-purpose flour
- 1/2 cup (120ml) filtered or dechlorinated water
How to Make Sourdough Starter Recipe
Step 1: Combine Flour and Water
Grab a clean glass jar or container and mix together the flour and water until you have a smooth, thick batter with no dry spots. Scrape down the sides of the jar to keep things tidy, then cover loosely—either with a lid set ajar or a clean kitchen cloth. This lets the wild yeast in the air do their thing while keeping out dust. Set it somewhere cozy at room temperature (around 70°F/21°C) for 24 hours.
Step 2: First Feeding
On Day 2, peek into your mixture. You’re looking for tiny bubbles and a mild, almost fruity aroma—that’s a sign things are underway! If so, discard half the mixture (about 1/2 cup) and add another 1 cup of all-purpose flour plus 1/2 cup water. Stir well, scrape those sides again, cover, and let it rest for another day at room temperature.
Step 3: Daily Feedings (Days 3–7)
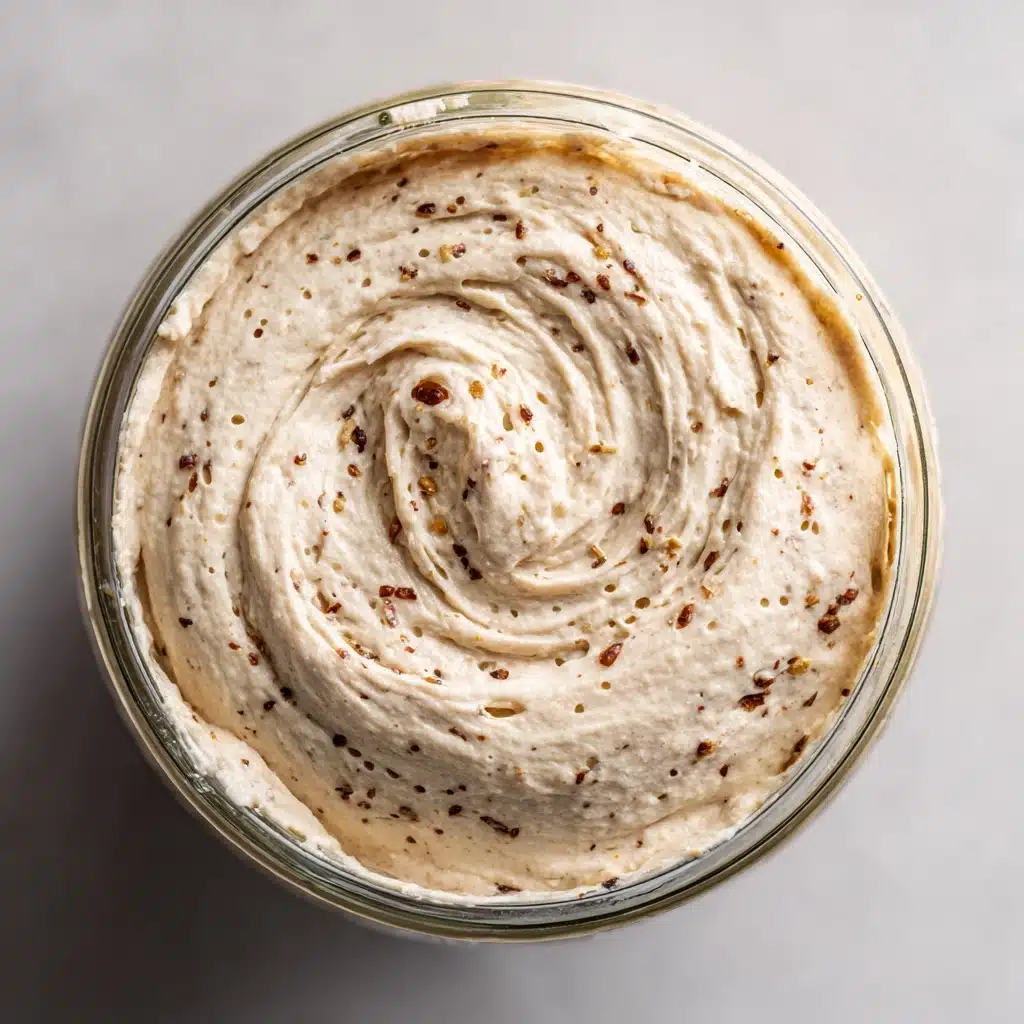
Patience is key during this stretch! Each day, repeat the discard and feeding routine: remove half the starter, give it fresh flour and water, then stir and cover. Around Day 3 or 4, the mixture should be visibly more active, with bigger bubbles, some rising and falling, and that signature tangy scent starting to develop.
Step 4: Check for Readiness
By Day 6 or 7, your Sourdough Starter Recipe should be perky and enthusiastic—look for it to double in size within 4 to 6 hours of feeding, and give off a pleasant, sour fragrance without any unpleasant notes. If your starter is lagging, don’t worry; continue daily feedings for a few more days until it perks up.
Step 5: Storing Your Starter
Now that your starter is strong and active, cover it and store it in the fridge if you’re not baking every day. All it needs from you is a good feed (same as before) once a week, or more often for frequent bakers. With proper care, this tiny ecosystem will last for years, giving you homemade bread on demand!
How to Serve Sourdough Starter Recipe
Garnishes
While you won’t serve your starter directly, incorporating it into your breads and pancakes means sky’s the limit for toppings! Think flaky sea salt, toasted seeds, or a sprinkle of fresh herbs for that final flourish on sourdough loaves—just the way a great starter deserves to shine.
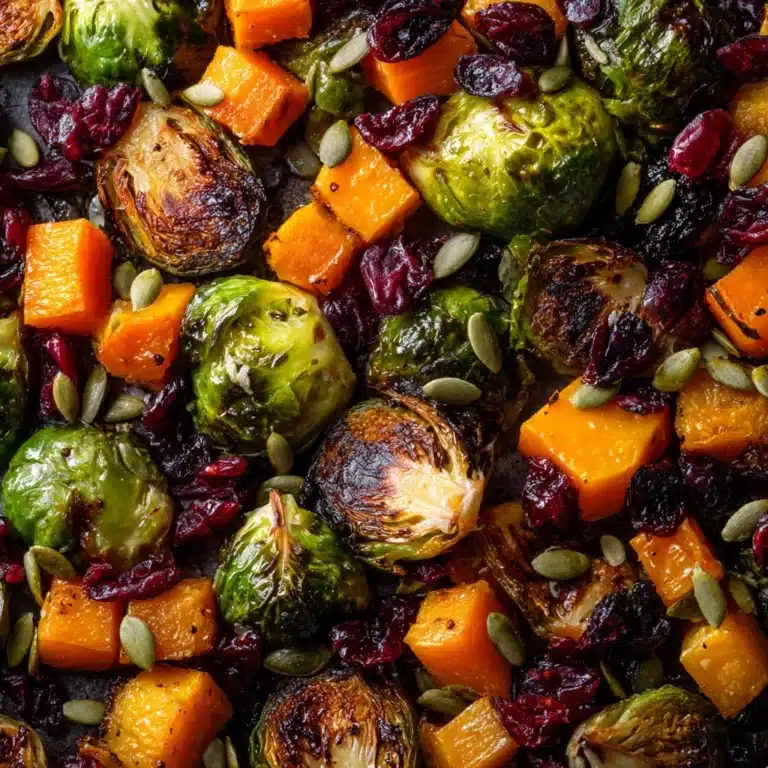
Side Dishes
Breads and bakes made with this Sourdough Starter Recipe pair beautifully with classic sides—think creamy soups, bright salads, or a selection of cheeses and olives. Its natural tanginess is perfect for bringing out the flavors around your table.
Creative Ways to Present
Your bubbly, thriving starter is a conversation starter on its own! Share little jars of starter with friends or neighbors, or use leftover “discard” in fun recipes like waffles, muffins, or flatbreads for an unexpected homemade treat.
Make Ahead and Storage
Storing Leftovers
Once your Sourdough Starter Recipe is established, keep the jar in the refrigerator with a loose-fitting lid. If you aren’t planning to use it for a week or more, just make sure to feed it at least once a week to keep it strong and ready for action.
Freezing
If you need to take a break, you can freeze some of your starter! Simply transfer a portion to a freezer-safe container and freeze for up to 3 months. When you’re ready to bake again, thaw it in the fridge overnight and give it a few days of regular feedings to wake it up.
Reheating
Starters don’t need reheating, but “reviving” a sluggish one from the fridge or freezer is easy: let it come to room temperature and begin daily feedings again. Within a few days, those bubbles and tangy aroma will be back in full force!
FAQs
Why does my starter smell strange?
Unusual odors in a Sourdough Starter Recipe can be a sign of underfeeding or contamination. A healthy starter should have a pleasantly sour, slightly yeasty smell. If it’s off-putting (think rotten or cheesy), discard and start over!
Can I use whole wheat or rye flour?
Absolutely! Whole wheat or rye flour can kickstart the fermentation and bring richer, earthier flavors to your Sourdough Starter Recipe. Feel free to start with them or switch over after a few days for extra liveliness.
How do I know when my starter is ready?
Your starter is ready to use in recipes when it doubles in size within 4 to 6 hours of feeding, has plenty of bubbles, and gives off a clean, tangy aroma. If in doubt, float a spoonful in water—it should bob right to the top!
What can I do with the discarded starter?
Don’t throw it away! Discarded starter adds flavor to pancakes, waffles, crackers, muffins, and even pizza dough. It’s a delicious bonus built into every Sourdough Starter Recipe.
How long does a sourdough starter last?
With a little love and regular feedings, your starter can last for years, even decades. Many bakers treasure their starters as a living household tradition—the flavor only gets better and more distinctive over time!
Final Thoughts
Starting a Sourdough Starter Recipe is a small act that unlocks big flavor and endless possibilities in the kitchen. If you’ve ever dreamed of baking crusty, flavorful breads at home, give this method a try—there’s something incredibly satisfying about nurturing wild yeast into a baking buddy you’ll use (and share) for years to come!
Print
Sourdough Starter Recipe
- Total Time: 7 days
- Yield: About 1 cup active starter 1x
- Diet: Vegan
Description
Learn how to create your own sourdough starter from scratch with this easy recipe. With just two simple ingredients and a little patience, you’ll have a lively and flavorful starter ready to use in no time.
Ingredients
Day 1:
- 1 cup (120g) all-purpose flour
- 1/2 cup (120ml) filtered or dechlorinated water
Instructions
- Day 1: In a clean glass jar, mix flour and water until well combined. Cover loosely and let sit at room temperature for 24 hours.
- Day 2: Check for bubbles and sour aroma. Discard half of the starter, then feed with flour and water. Stir well, cover, and let sit for another 24 hours.
- Days 3–7: Repeat feeding process daily. Look for bubbles and rising activity. Starter should double in size within hours after feeding.
- Day 6–7: If starter is bubbly, active, and smells tangy, it’s ready to use. Store in the fridge and feed weekly.
Notes
- Use unbleached flour and filtered water for best results.
- Discarded starter can be used in various recipes like pancakes or crackers.
- Prep Time: 5 minutes per day
- Cook Time: 0 minutes
- Category: Bread
- Method: Fermenting
- Cuisine: Traditional
Nutrition
- Serving Size: 1 tablespoon
- Calories: 40
- Sugar: 0g
- Sodium: 0mg
- Fat: 0g
- Saturated Fat: 0g
- Unsaturated Fat: 0g
- Trans Fat: 0g
- Carbohydrates: 9g
- Fiber: 0g
- Protein: 1g
- Cholesterol: 0mg


