Banana Mochi Rolls Recipe
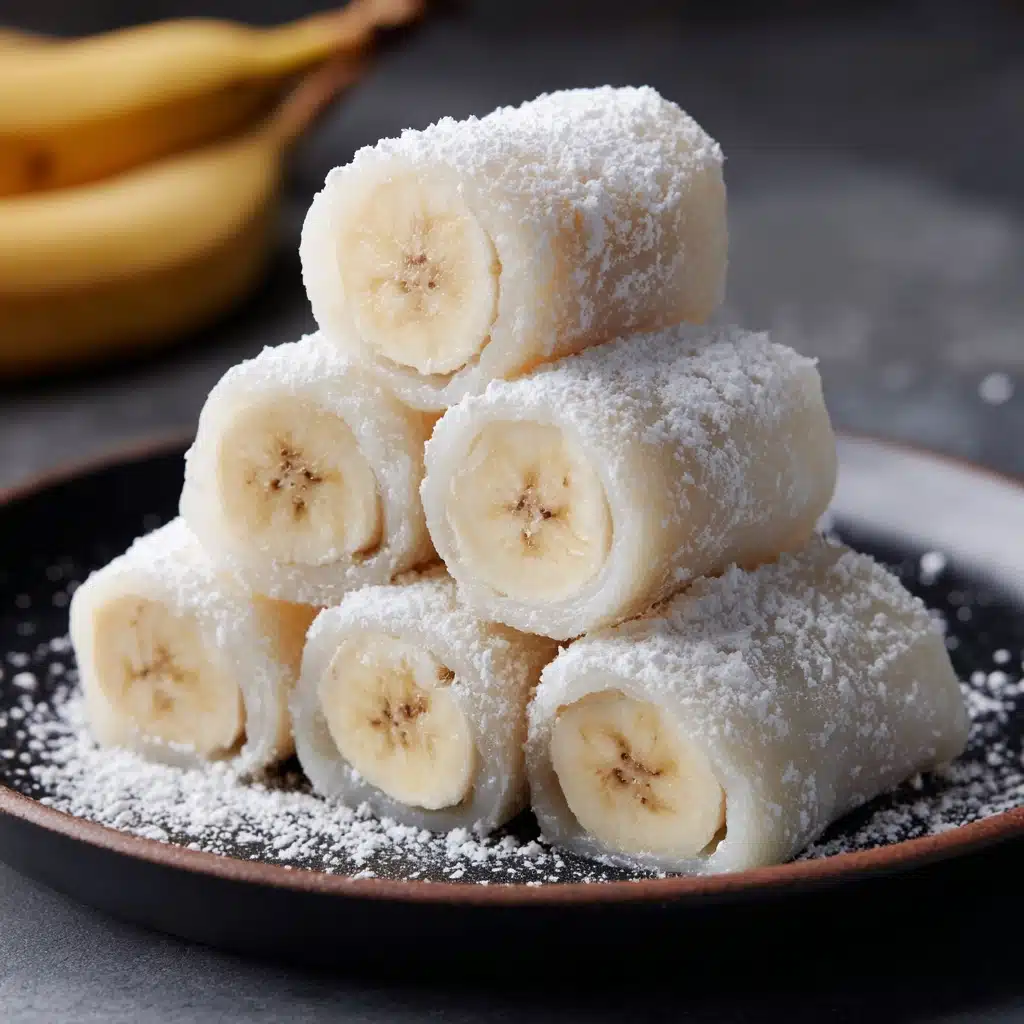
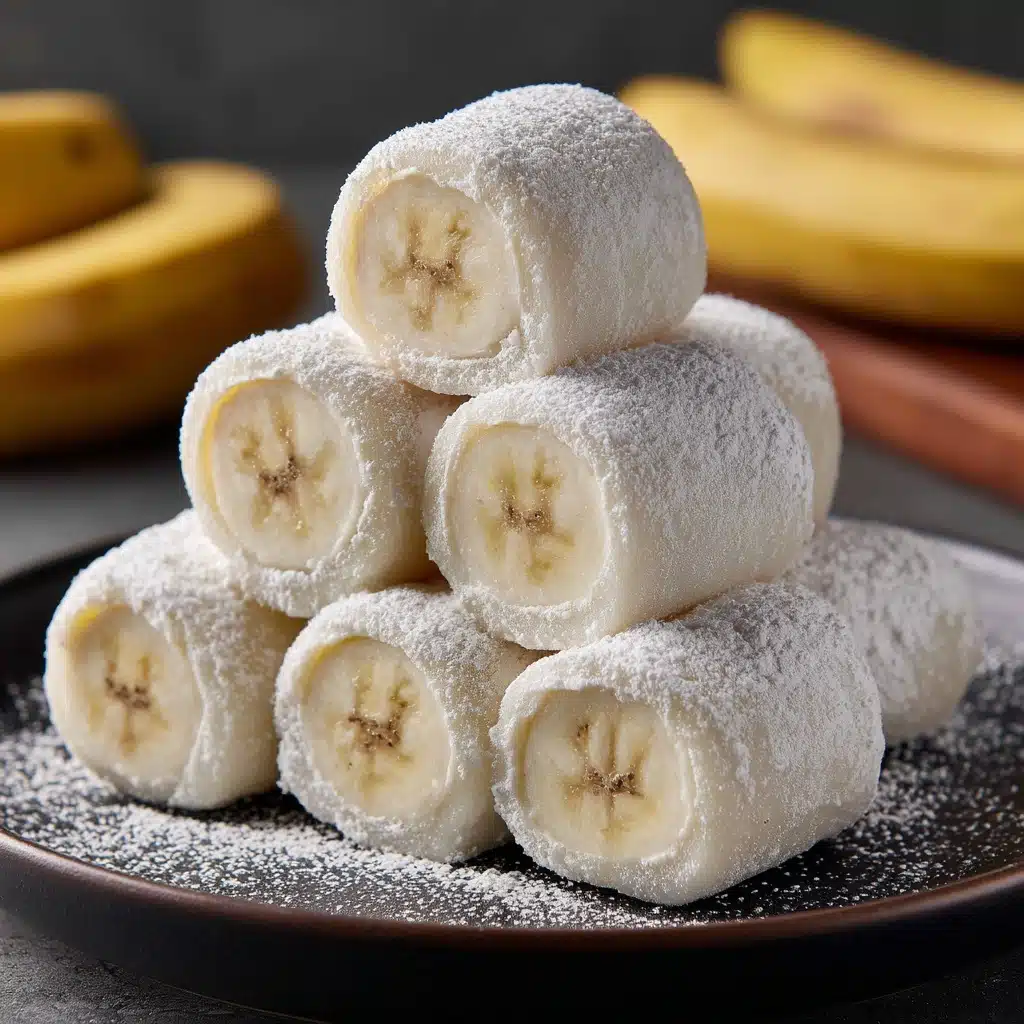
Banana Mochi Rolls are a dessert dream come true for anyone who loves the playful chew of mochi and the comforting sweetness of ripe bananas. Wrapped in a pillowy-soft glutinous rice dough and finished with toasty coconut, each bite feels like a tiny tropical getaway. These gluten-free treats are quick to make and an absolute showstopper for gatherings, snack time, or when you crave something fun and truly different at home.
Ingredients You’ll Need
The magic of Banana Mochi Rolls comes from a handful of humble ingredients that each have a starring role in the final treat. Every component brings texture, fragrance, or flavor to the mix, so don’t skip on anything if you want the full wow effect!
- Glutinous rice flour: Essential for the signature chewy, stretchy texture that makes mochi irresistible (make sure it’s mochiko, not regular rice flour!).
- Granulated sugar: Just the right amount of sweetness to balance the coconut and banana.
- Coconut milk: Lends a creamy, tropical richness to the mochi dough – use full-fat for extra decadence.
- Ripe banana: Sliced into perfect bites, the sweet banana is the star filling and adds soft, fragrant flavor.
- Sweetened shredded coconut (toasted): For rolling and adding a deliciously nutty, crispy finish to the rolls.
- Cornstarch or potato starch: Keeps the mochi from sticking to your hands and work surface – don’t be shy with it!
- Vanilla extract: A splash adds aromatic depth and brings out the banana’s natural sweetness.
- Pinch of salt: Balances and brightens all the flavors, making each bite pop.
How to Make Banana Mochi Rolls
Step 1: Mix the Mochi Batter
In a microwave-safe bowl, whisk together the glutinous rice flour, granulated sugar, coconut milk, vanilla extract, and a pinch of salt. Whisk until the mixture is completely smooth and lump-free. You want everything perfectly blended so your Banana Mochi Rolls have that classic mochi chew.
Step 2: Microwave the Mochi
Cover the bowl loosely (a microwave-safe plate or plastic wrap with a vent works nicely), then microwave on high for two minutes. Stir well, then microwave for another one to two minutes. You’ll see the mixture turn thick and slightly glossy—exactly what you want for perfect mochi dough.
Step 3: Cool and Prep for Shaping
Let the hot mochi rest for a minute or two so it’s safe to handle. Meanwhile, generously dust your work surface and hands with cornstarch or potato starch—this step is your best friend for preventing stickiness.
Step 4: Shape the Mochi
Plop the mochi onto your dusted surface and gently flatten it into a rectangle about a quarter-inch thick. Use a sharp, cornstarch-coated knife or bench scraper to cut the slab into eight equal pieces. It’s a little sticky, so a bit more starch can help!
Step 5: Fill and Wrap
Place a banana slice in the center of each mochi square. Working gently, wrap the mochi around the banana, pinching the edges closed to form a seal. This hands-on step is seriously fun and a little therapeutic!
Step 6: Roll in Toasted Coconut
Once each roll is sealed, roll it in the toasted sweetened shredded coconut, making sure every bit is covered for flavor and texture. Arrange them seam-side down for the prettiest presentation.
Step 7: Chill and Serve
Pop the finished Banana Mochi Rolls in the fridge for 10 to 15 minutes—this helps them set up and lets the flavors mingle. Serve slightly chilled and get ready for big smiles!
How to Serve Banana Mochi Rolls
Garnishes
Dress up your Banana Mochi Rolls with a few extra flakes of toasted coconut or a dusting of powdered sugar. For a special touch, add a drizzle of chocolate or a scattering of chopped pistachios over the top before serving.
Side Dishes
Pair these mochi treats with fresh tropical fruit like mango or pineapple, or alongside a scoop of coconut or matcha ice cream. If you’re serving dessert to guests, a pot of jasmine tea or a cup of bold iced coffee is the ultimate companion.
Creative Ways to Present
Try skewering the Banana Mochi Rolls on small sticks for a party-ready platter, or nestle them in colorful cupcake wrappers for an eye-catching display. If you’re feeling playful, arrange them in a spiral or flower pattern for that “wow” factor on the table.
Make Ahead and Storage
Storing Leftovers
Banana Mochi Rolls are best enjoyed fresh, but if you have leftovers, cover them well and store in an airtight container in the fridge. They’ll stay soft and tasty for about a day, but note that the mochi may firm up slightly over time.
Freezing
Yes, you can freeze Banana Mochi Rolls! Arrange them in a single layer on a tray to freeze before transferring to a container or zip-top bag. When you’re ready to eat, let them thaw at room temperature for about 30 minutes for the best chewiness.
Reheating
Chilled or thawed mochi rolls can be lightly warmed in the microwave for a few seconds (no more than 10–12 seconds) if you prefer them softer. Just be careful, as overheating can turn the mochi gooey and sticky.
FAQs
What’s the difference between glutinous rice flour and regular rice flour?
Glutinous rice flour (often labeled mochiko) is made from short-grain sticky rice and gives Banana Mochi Rolls their uniquely chewy, stretchy texture. Regular rice flour won’t work for this recipe, so double-check your flour bag before starting.
Can I add other fillings besides banana?
Absolutely! Try swapping in slices of strawberry, mango, or a dab of chocolate or nut butter along with the banana for an extra layer of flavor. Get creative and customize your Banana Mochi Rolls to your taste.
Is this recipe vegan and gluten-free?
Yes! If you use plant-based sugar and coconut milk, these Banana Mochi Rolls are naturally vegan and always gluten-free due to the glutinous rice flour.
Can I make Banana Mochi Rolls without a microwave?
You can! Simply steam the mixed mochi batter for 10–15 minutes or cook it over gentle heat on the stovetop, stirring constantly, until thick and glossy. Both methods work well, though the microwave version is quick and easy.
How do I keep the mochi from sticking everywhere?
Dusting your hands, work surface, and utensils generously with cornstarch or potato starch is the key. If things start feeling sticky, add a bit more starch until the dough is easy to handle and shape.
Final Thoughts
If you’re searching for a treat that’s quick, fun, and an instant mood-lifter, give these Banana Mochi Rolls a try. I promise you’ll fall in love with their delightful chew and bursts of banana-coconut flavor—plus, they’re just as fun to make as they are to eat!
Print
Banana Mochi Rolls Recipe
- Total Time: 19 minutes
- Yield: 8 mochi rolls 1x
- Diet: Gluten-Free, Vegetarian
Description
Indulge in these delectable Banana Mochi Rolls, a delightful Asian-inspired dessert that combines the chewy texture of mochi with the sweet flavor of ripe bananas and toasted coconut. These gluten-free treats are perfect for satisfying your sweet tooth!
Ingredients
For the Mochi:
- 1 cup glutinous rice flour
- 2 tablespoons granulated sugar
- ¾ cup coconut milk
- 1 teaspoon vanilla extract
- pinch of salt
Additional Ingredients:
- 1 ripe banana (sliced into 8 pieces)
- ½ cup sweetened shredded coconut (toasted)
- cornstarch or potato starch (for dusting)
Instructions
- Prepare the Mochi: In a microwave-safe bowl, whisk together the glutinous rice flour, sugar, coconut milk, vanilla extract, and salt until smooth. Microwave on high for 2 minutes, stir, then microwave for another 1–2 minutes until thick and translucent. Let it cool.
- Shape the Mochi: Dust a surface and your hands with cornstarch. Flatten the mochi, cut into 8 pieces. Place a banana slice in the center of each piece, wrap the mochi around it, and seal the edges.
- Coat and Chill: Roll each mochi ball in toasted shredded coconut. Chill for 10–15 minutes before serving.
Notes
- Use glutinous rice flour (mochiko) for the best texture.
- Enjoy fresh on the same day.
- Enhance with a dollop of chocolate or nut butter for extra flavor.
- Prep Time: 15 minutes
- Cook Time: 4 minutes
- Category: Dessert
- Method: Microwaving
- Cuisine: Asian
Nutrition
- Serving Size: 1 roll
- Calories: 100
- Sugar: 5g
- Sodium: 25mg
- Fat: 3g
- Saturated Fat: 2.5g
- Unsaturated Fat: 0.5g
- Trans Fat: 0g
- Carbohydrates: 17g
- Fiber: 1g
- Protein: 1g
- Cholesterol: 0mg


