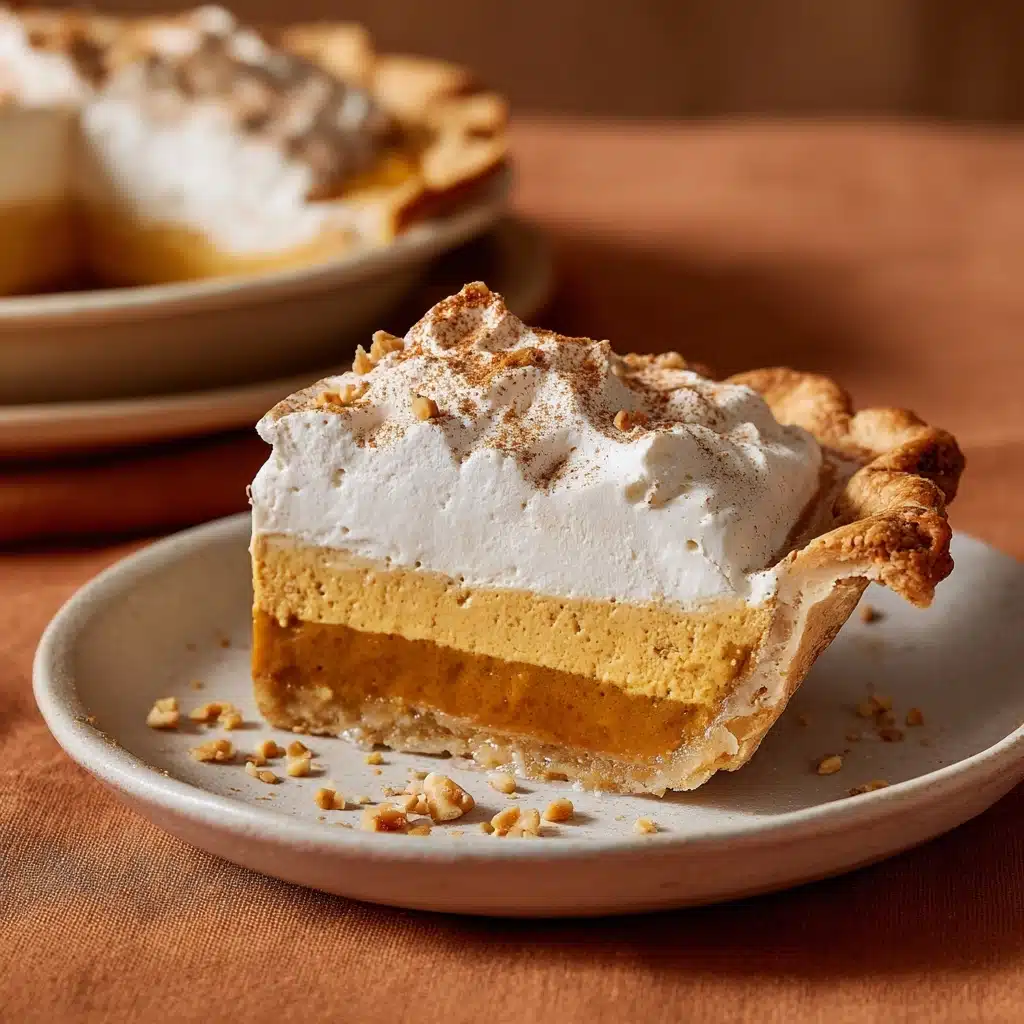
No Bake Pumpkin Pie Recipe
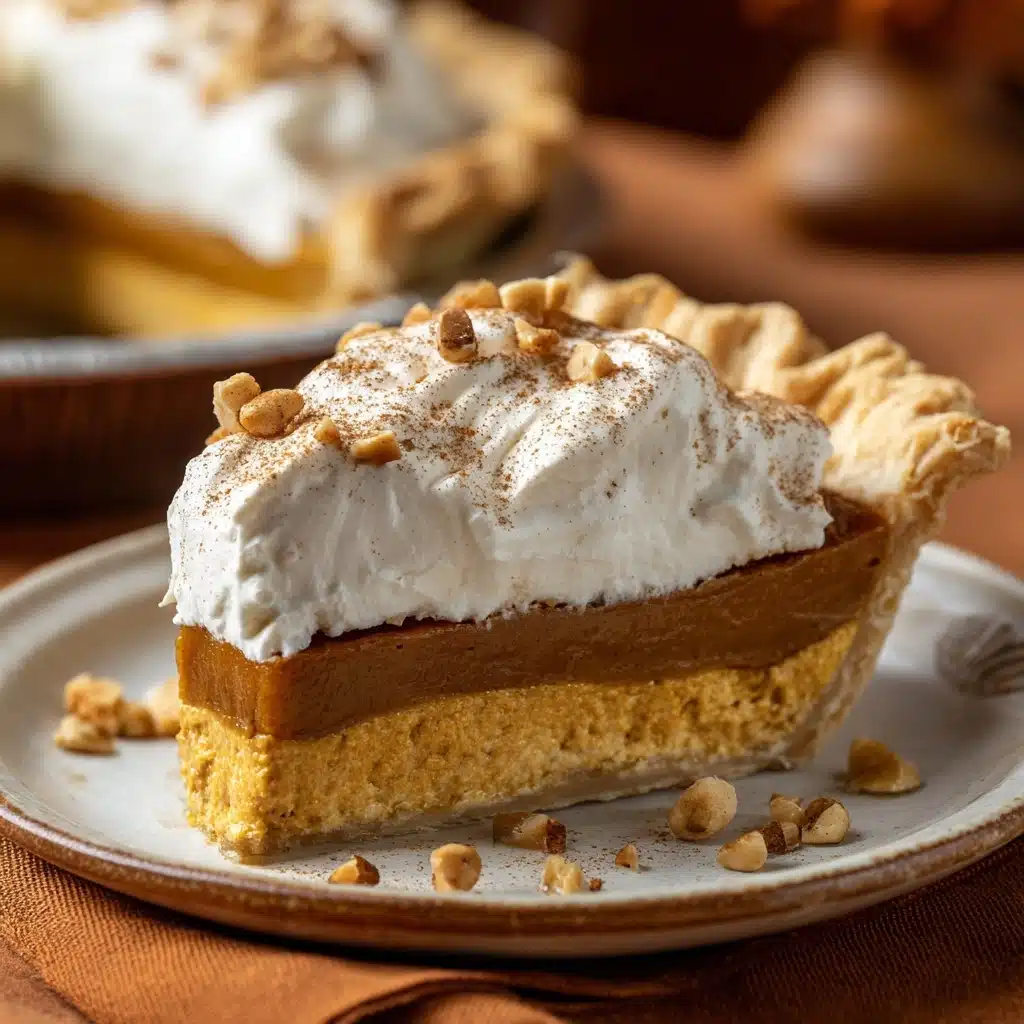
If you’re craving the sweet, spiced magic of pumpkin pie without turning on the oven, this No Bake Pumpkin Pie is your new best friend. It flawlessly combines creamy pumpkin, tangy cream cheese, warm spices, and a buttery graham cracker crust—all set to chill in the fridge rather than bake for hours. Perfect for busy holidays, family get-togethers, or when you simply want a spectacular fall dessert with minimal effort, this recipe is reliable, delicious, and altogether irresistible. Prepare to impress both pumpkin lovers and non-believers with every dreamy, delightfully chilled bite!
Ingredients You’ll Need
This No Bake Pumpkin Pie relies on simple, familiar ingredients that each play an essential role—from the crust’s crunch to the creamy spiced filling. Grab these staples and get ready for a slice of pure comfort!
- Graham Cracker Crust: Pre-made and perfectly sweet, this base holds the pie together and brings classic pie nostalgia with every forkful.
- Pumpkin Purée: The star ingredient, lending that signature pumpkin color, flavor, and velvety texture—be sure to use pure pumpkin, not pumpkin pie filling.
- Cream Cheese: Softened cream cheese creates a rich, tangy backdrop that balances the pumpkin and makes every bite luxuriously smooth.
- Granulated Sugar: Just the right amount of sweetness to highlight the pumpkin and complement the spices.
- Pumpkin Pie Spice: This mix of cinnamon, nutmeg, ginger, and cloves captures the essence of autumn and elevates the whole filling.
- Ground Cinnamon: Amp up the coziness with extra cinnamon for even more warmth and aroma.
- Vanilla Extract: Adds a subtle floral note that ties the creamy and spicy elements together beautifully.
- Whipped Topping: Folded into the filling, it turns the pie light and airy—you’ll also want an extra dollop or two for serving.
- Additional Whipped Topping (optional): For those who can’t resist a cloud of whipped cream on top, it’s the ultimate finishing touch.
How to Make No Bake Pumpkin Pie
Step 1: Prepare the Cream Cheese Base
Start by placing the softened cream cheese in a large mixing bowl. Be sure it’s at room temperature—this helps avoid lumps and ensures your no bake pumpkin pie filling is silky smooth. Beat it thoroughly with a hand mixer or stand mixer until it’s completely creamy and light.
Step 2: Combine With Pumpkin and Spices
Next, add the pumpkin purée, granulated sugar, pumpkin pie spice, ground cinnamon, and vanilla extract right into the bowl. Blend everything together until fully mixed and the color turns a gorgeous shade of autumn orange. Scrape down the sides as needed so every bite has that wonderful spice throughout.
Step 3: Fold in the Whipped Topping
Using a spatula or gentle hand, fold in the whipped topping. This step transforms the mixture into a fluffy, mousse-like filling that makes No Bake Pumpkin Pie downright dreamy. Be gentle here—you want to keep as much air in the filling as possible for that cloud-like texture.
Step 4: Fill and Chill
Spoon the pumpkin mixture into your store-bought graham cracker crust, spreading it evenly with a spatula so the surface is nice and smooth. Cover the pie and refrigerate it for at least 4 hours, or overnight for the best set and flavor. The chilling firms up the slice and lets all the flavors meld.
Step 5: Garnish and Serve
When you’re ready to serve, swoosh on some extra whipped topping and, if you’re feeling festive, dust with a little extra cinnamon or a sprinkle of pumpkin pie spice. This is the moment your No Bake Pumpkin Pie will shine!
How to Serve No Bake Pumpkin Pie
Garnishes
A swoop of whipped topping is classic, but don’t stop there! For extra flair, try a sprinkle of cinnamon, a tiny dusting of pumpkin pie spice, or even some chopped pecans for inviting crunch. If you want to really lean into autumn style, add a few festive candy decorations on top to celebrate the season.
Side Dishes
The silky richness of No Bake Pumpkin Pie pairs beautifully with lighter sides. Fresh fruit (like sliced apples or pears), a cup of coffee, or a mug of warm apple cider are all lovely options. For a holiday table, small glasses of sparkling cider or a scoop of vanilla ice cream offered alongside make this dessert feel superstar fancy.
Creative Ways to Present
If you’re entertaining, consider preparing this recipe in individual mini tart shells or small mason jars for adorable, ready-to-serve portions. You can also drizzle plates with caramel sauce or chocolate before setting down a slice—your guests will feel like they’re being served at a restaurant! For a colorful pop, add sugared cranberries or edible flowers right before serving.
Make Ahead and Storage
Storing Leftovers
Any leftover No Bake Pumpkin Pie should be covered (plastic wrap or an airtight lid works) and kept in the fridge. It will stay fresh and delicious for up to 3 days, but chances are it’ll be enjoyed much sooner! The crust softens slightly over time, but the flavors become even more blended and irresistible.
Freezing
Yes, you can freeze No Bake Pumpkin Pie! Wrap the whole pie or individual slices tightly in plastic wrap, followed by foil, and freeze for up to 2 months. Thaw it in the refrigerator overnight before serving. The texture may be a touch softer after freezing, but the flavor is every bit as satisfying.
Reheating
Since this pie is meant to be served chilled, there’s no need to reheat it. In fact, serving it cold is what makes it so refreshing and perfect for holidays or warm autumn afternoons. Simply slice and enjoy straight from the fridge.
FAQs
Can I use homemade whipped cream instead of store-bought whipped topping?
Absolutely! Whip about 1 cup heavy cream with a bit of sugar until stiff peaks form, then fold it into the filling in place of the whipped topping. Your No Bake Pumpkin Pie will be even more luscious and homemade-tasting.
What if I want a chocolate twist on the pie?
Go for it! Try using a chocolate cookie crust instead of graham cracker, or drizzle finished slices with chocolate sauce. Chocolate and pumpkin are a surprisingly dreamy match.
Can I make No Bake Pumpkin Pie in advance?
Yes, in fact, it’s even better after a night in the fridge! Simply assemble the pie as directed, cover, and refrigerate up to 24 hours before serving. This lets all the flavors meld perfectly.
Is it possible to make this recipe dairy-free?
You can! Use a dairy-free cream cheese and your favorite plant-based whipped topping. Just be sure the crust is also dairy-free (many store-bought graham crusts use butter).
Do I have to use pumpkin purée from a can?
Not at all! If you have homemade pumpkin purée on hand, use it—a little extra care goes a long way. Just make sure it’s thick and not watery for the best set and flavor in your No Bake Pumpkin Pie.
Final Thoughts
If you love all things pumpkin, you simply have to try this No Bake Pumpkin Pie. It’s easy, fun, and delivers the nostalgic flavors of autumn with zero oven stress. Prepare to make it a new tradition—your family and friends will be asking for it year after year!
Print
No Bake Pumpkin Pie Recipe
- Total Time: 4 hours 15 minutes (includes chilling)
- Yield: 8 servings 1x
- Diet: Non-Vegetarian
Description
Indulge in the creamy, spiced goodness of this No Bake Pumpkin Pie. With a luscious pumpkin filling nestled in a graham cracker crust, this dessert is a perfect treat for any occasion.
Ingredients
- 1 (9-inch) graham cracker crust
- 1 (15-ounce) can pumpkin purée
- 1 (8-ounce) package cream cheese, softened
- 1/2 cup granulated sugar
- 1 teaspoon pumpkin pie spice
- 1/2 teaspoon ground cinnamon
- 1 teaspoon vanilla extract
- 1 (8-ounce) tub whipped topping (like Cool Whip)
- Additional whipped topping for garnish (optional)
Graham Cracker Crust:
Pumpkin Filling:
Instructions
- In a large bowl, beat the softened cream cheese until smooth. Add the pumpkin purée, granulated sugar, pumpkin pie spice, cinnamon, and vanilla extract. Beat until fully combined and creamy.
- Gently fold in the whipped topping until the mixture is light and fluffy. Spoon the filling into the graham cracker crust and smooth the top with a spatula.
- Cover and refrigerate for at least 4 hours or overnight until set. Garnish with additional whipped topping before serving, if desired.
Notes
- For a stronger spice flavor, add a pinch of nutmeg or ginger.
- You can also use a chocolate cookie crust for a twist.
- Store leftovers covered in the refrigerator for up to 3 days.
- Prep Time: 15 minutes
- Cook Time: 0 minutes
- Category: Dessert
- Method: No Bake
- Cuisine: American
Nutrition
- Serving Size: 1 slice
- Calories: 290
- Sugar: 20g
- Sodium: 230mg
- Fat: 17g
- Saturated Fat: 9g
- Unsaturated Fat: 7g
- Trans Fat: 0g
- Carbohydrates: 31g
- Fiber: 2g
- Protein: 3g
- Cholesterol: 30mg


