Canning Apple Butter Recipe
Canning Apple Butter is the ultimate way to capture the flavors of orchard-fresh apples and keep them on your shelf all year long. Imagine spreading a spoonful of velvety, spiced apple butter over toast, all thanks to a little kitchen magic and a few simple techniques. With this approachable method, you can turn armfuls of apples into jars of silky, sweet-spicy goodness just waiting to be shared, gifted, or devoured by the spoonful. Whether you’re a newbie or a seasoned preserver, you’ll fall head-over-heels for both the process and the results!
Ingredients You’ll Need
Gathering the right ingredients is truly half the fun with this recipe! Every single component in Canning Apple Butter plays a role in building those warm, layered flavors and that silky texture. Let’s break down why each item matters in the mix.
- Apples (6 pounds, about 12 medium): Choose a blend of sweet and tart apples for depth – Granny Smiths bring tang while Fuji or Gala add natural sugars.
- Granulated Sugar (2 cups): This gives the apple butter its signature sweetness and glossy finish.
- Brown Sugar, packed (1 cup): Adds a caramel-like richness and subtle molasses notes you’ll absolutely love.
- Ground Cinnamon (1 tablespoon): Brings warmth and a classic, cozy aroma to every spoonful.
- Ground Cloves (1/2 teaspoon): This little bit packs a punch, delivering spicy complexity.
- Ground Allspice (1/2 teaspoon): Rounds out the spices and adds a gentle, bakery-fresh flavor.
- Salt (1/4 teaspoon): A tiny sprinkle enhances the apple and spice flavors, so don’t skip it.
- Apple Cider or Water (1/2 cup): Apple cider gives a richer apple flavor, while water works if you’re in a pinch.
- Juice of 1 Lemon: Brightens and balances the sweetness, plus helps preserve the gorgeous color.
How to Make Canning Apple Butter
Step 1: Prepare Your Equipment
Start by getting your canning jars and lids squeaky clean and sterile. Submerge them in a large pot of boiling water for at least 10 minutes. Having hot, bacteria-free jars is the secret to ensuring a long shelf life and keeping your Canning Apple Butter safe to enjoy any time of year.
Step 2: Cook the Apples
Place your peeled, cored, and chopped apples in a large, heavy-bottomed pot. Pour in the apple cider (or water) and squeeze in the juice of one fresh lemon. Cook everything over medium heat, stirring often. As the apples soften, their aroma will fill your kitchen and they’ll begin to break down after about 30 minutes – a sure sign you’re on the right track!
Step 3: Puree Until Silky Smooth
Once the apples are tender, use an immersion blender right in the pot or transfer batches to a food processor. Puree the mixture until it’s luxuriously smooth and thick. This step is where Canning Apple Butter gets that irresistible, spreadable texture people can’t get enough of.
Step 4: Add Sweeteners and Spices
Now, bring on the flavor! Stir in the granulated sugar, brown sugar, cinnamon, cloves, allspice, and salt. These ingredients transform the fruity apple base into something truly special – rich, warmly spiced, and deeply comforting. Cook over low heat, and let the kitchen fill with those classic autumnal scents.
Step 5: Thicken the Apple Butter
Let the mixture gently simmer, uncovered, for 1 to 2 hours. Stir frequently, scraping the bottom so nothing sticks. You’ll notice the apple butter darkening, thickening, and becoming wonderfully glossy. To test for readiness, spoon a bit onto a cold plate. If it holds its shape without running, your masterpiece is ready for jars!
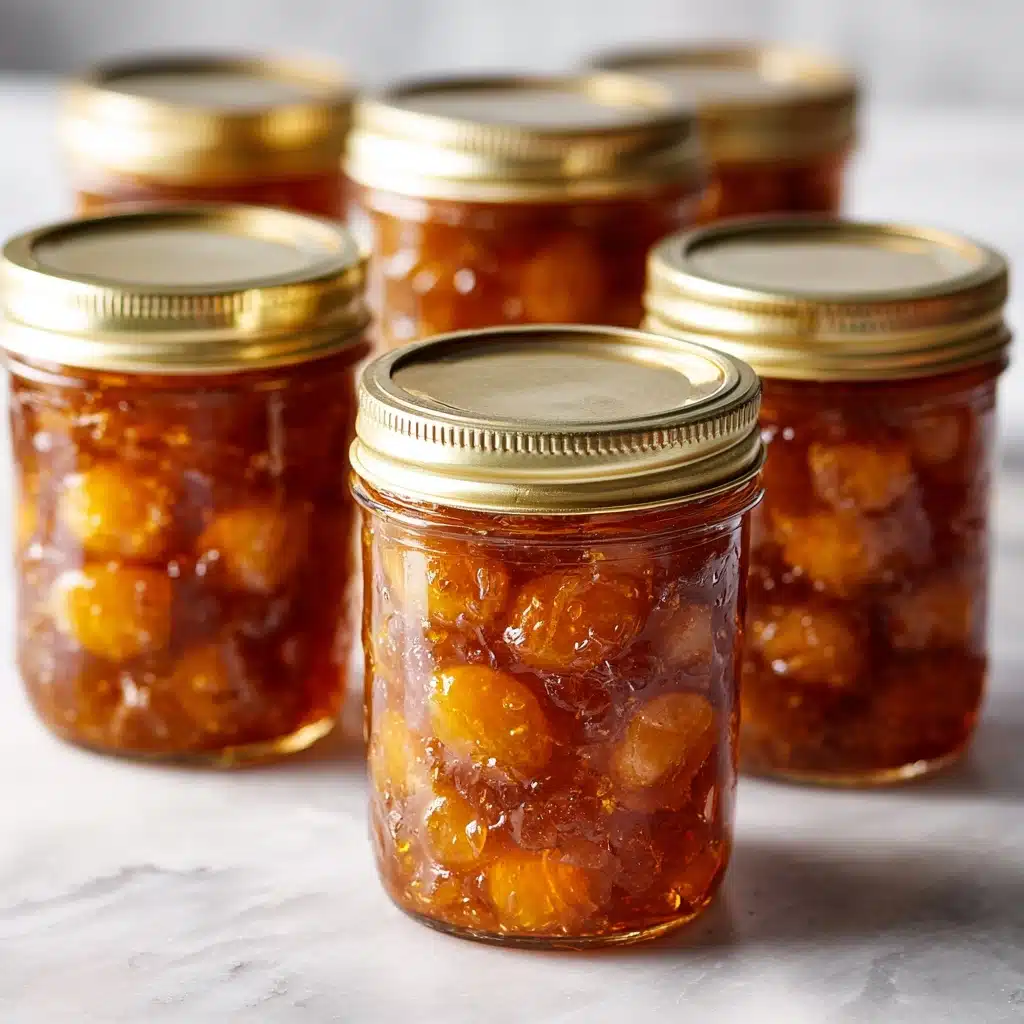
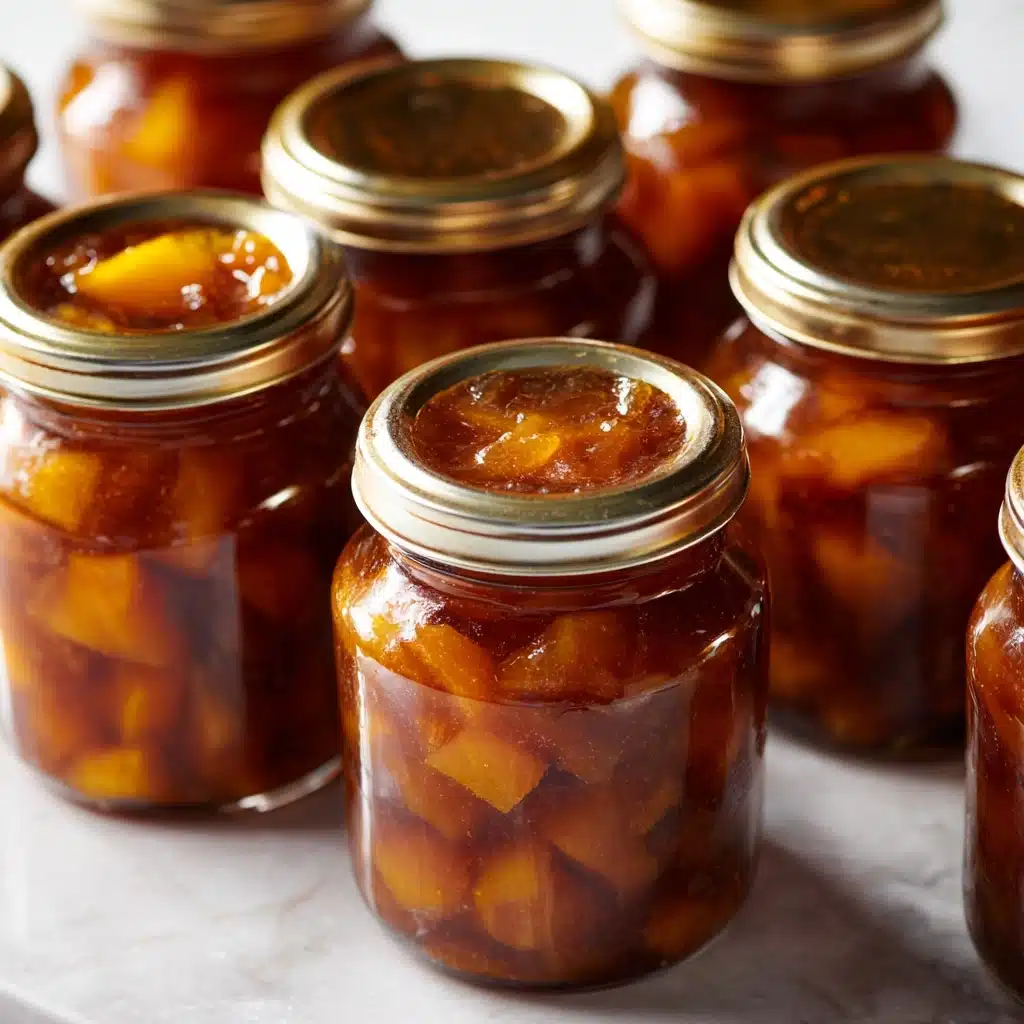
Step 6: Fill and Process the Jars
Ladle the hot apple butter into your hot sterilized jars, leaving a 1/4-inch headspace. Wipe the rims clean, fit the lids on, and twist the bands finger-tight. Process in a boiling water canner for 10 minutes – this ensures that your Canning Apple Butter stays safe, shelf-stable, and ready to enjoy any time the craving hits.
Step 7: Cool and Check Seals
Carefully remove the jars from the canner and let them cool undisturbed for 12 to 24 hours. Once they’ve fully cooled, press the center of each lid – if it doesn’t pop back, the jar is perfectly sealed. Any that didn’t seal should go right into the fridge and be enjoyed first.
How to Serve Canning Apple Butter
Garnishes
A swirl of whipped cream or a light dusting of cinnamon on top of a warm muffin spread with Canning Apple Butter instantly elevates your treat. You can also sprinkle on a few toasted pecans or walnuts for added crunch and contrast.
Side Dishes
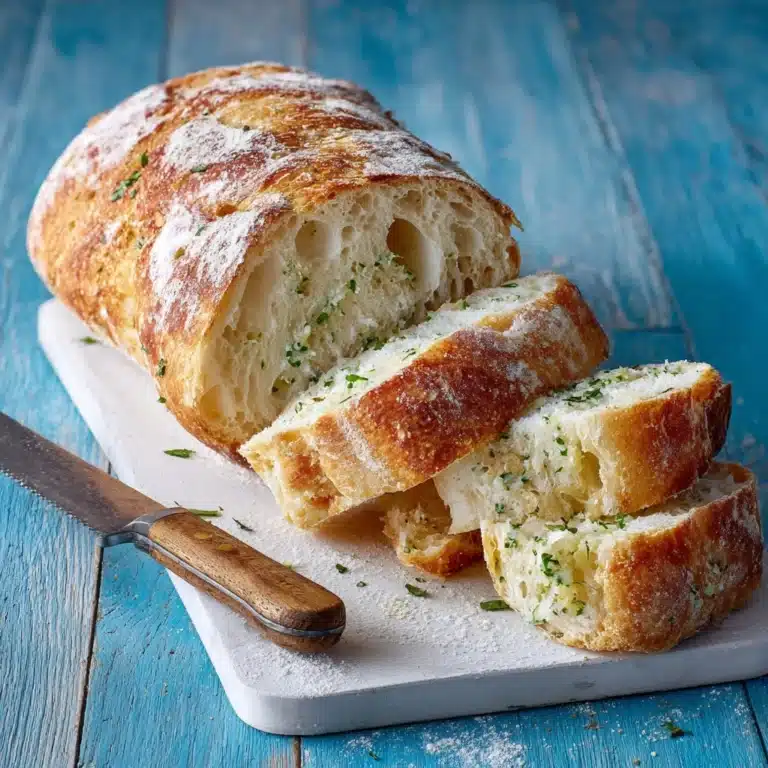
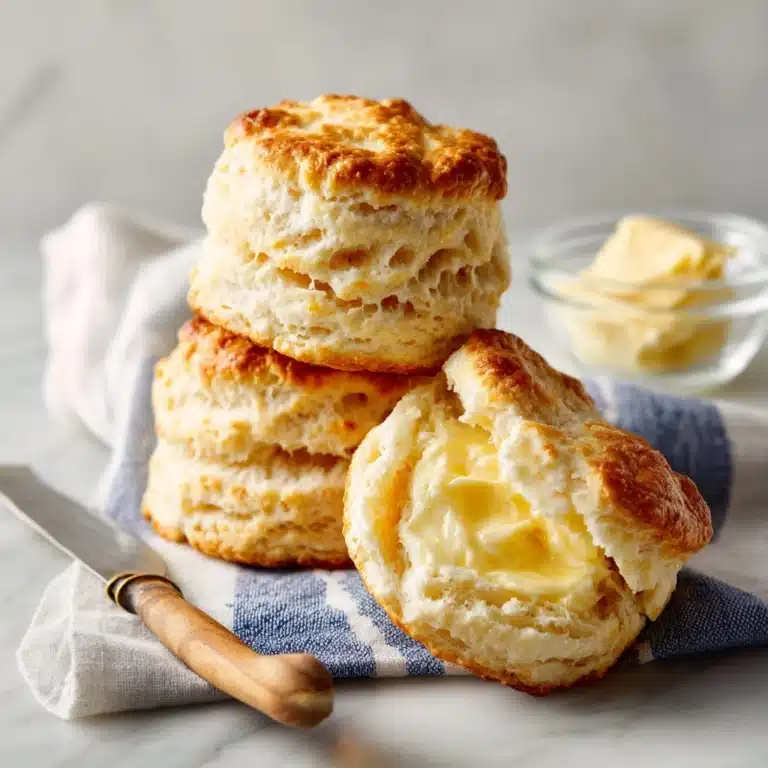
Canning Apple Butter is pure magic alongside a flaky buttermilk biscuit, slathered on pancakes, or spooned onto a bowl of vanilla yogurt. For a savory twist, pair it with sharp cheddar, salty ham, or even as an accompaniment to roasted pork.
Creative Ways to Present
This jewel-toned spread is a showstopper in little gifting jars, wrapped with a ribbon for friends and neighbors. For brunch gatherings, try serving it in a pretty bowl next to a stack of warm bread, or layer it in parfaits with granola and cream. Anytime you want to add a touch of homemade love, Canning Apple Butter delivers.
Make Ahead and Storage
Storing Leftovers
Once opened, your jar of apple butter should be stored in the refrigerator. It’ll keep beautifully for about three weeks – just make sure to use a clean spoon every time to prevent spoilage and to keep the flavors at their freshest.
Freezing
If you end up with more than you can possibly spread, Canning Apple Butter freezes very well. Simply let it cool, pack into airtight containers or freezer-safe jars, and freeze for up to a year. Thaw in the fridge overnight whenever you need a taste of autumn.
Reheating
This apple butter is delicious straight from the fridge, but if you prefer it warm, scoop some out into a microwave-safe bowl and heat in short intervals until just warmed through. A gentle stir and it’s ready to spread on toast or swirl into your morning oatmeal.
FAQs
What are the best apples to use for Canning Apple Butter?
A mix of tart and sweet apples like Granny Smith, Honeycrisp, Fuji, or Gala works best. This variety adds complexity and brings out the naturally layered flavors.
Can I reduce the sugar in apple butter?
Absolutely! You can experiment with less sugar, especially if your apples are naturally sweet. Just remember that sugar not only sweetens, but also helps with preservation and texture.
Do I really need to use a boiling water canner?
Yes, for safe long-term storage at room temperature, processing the jars in a boiling water bath is essential. If you skip this step, store your apple butter in the fridge and use it within a few weeks.
How do I know when apple butter is done cooking?
The best way to test is the cold plate method: place a spoonful on a chilled plate—if it holds its shape without liquid seeping out, it’s perfectly thickened and ready to can.
What can I do with leftover Canning Apple Butter?
Beyond just spreading on toast, it’s wonderful as a swirl in oatmeal, a glaze for meats, a filling for thumbprint cookies, or even as a swirl in a creamy cheesecake. The options are endless!
Final Thoughts
There’s truly something magical about turning a mountain of apples into gleaming jars of Canning Apple Butter. Whether you enjoy it as a comforting breakfast staple or a thoughtful homemade gift, this recipe brings the cozy taste of fall into any season. Give it a try and let your kitchen be filled with warmth and joy!
Print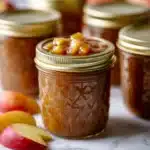
Canning Apple Butter Recipe
- Total Time: 2 hours 30 minutes
- Yield: About 6 half-pint jars 1x
- Diet: Vegan, Gluten-Free
Description
Learn how to make delicious homemade apple butter that you can enjoy year-round. This recipe guides you through the process of canning apple butter to preserve the flavors of fall apples in a sweet and spiced spread.
Ingredients
Apples:
- 6 pounds apples (about 12 medium), peeled, cored, and chopped
Sugars and Spices:
- 2 cups granulated sugar
- 1 cup brown sugar, packed
- 1 tablespoon ground cinnamon
- 1/2 teaspoon ground cloves
- 1/2 teaspoon ground allspice
- 1/4 teaspoon salt
Liquid:
- 1/2 cup apple cider or water
- juice of 1 lemon
Instructions
- Sterilize Jars: Prepare canning jars and lids by sterilizing in boiling water.
- Cook Apples: In a pot, cook apples, cider/water, and lemon juice until soft, about 30 minutes.
- Puree: Blend the cooked apples until smooth.
- Add Sweeteners and Spices: Stir in sugars, cinnamon, cloves, allspice, and salt. Simmer until thick, about 1-2 hours.
- Jar and Process: Ladle hot apple butter into jars, leaving space. Process in boiling water for 10 minutes.
- Cool and Store: Let jars cool for 12-24 hours before storing in a cool, dark place.
Notes
- Use tart apples like Granny Smith for a tangy flavor.
- Sealed jars can be stored for up to a year, refrigerate after opening.
- Prep Time: 30 minutes
- Cook Time: 2 hours
- Category: Condiment
- Method: Stovetop, Canning
- Cuisine: American
Nutrition
- Serving Size: 2 tablespoons
- Calories: 60
- Sugar: 13g
- Sodium: 5mg
- Fat: 0g
- Saturated Fat: 0g
- Unsaturated Fat: 0g
- Trans Fat: 0g
- Carbohydrates: 16g
- Fiber: 1g
- Protein: 0g
- Cholesterol: 0mg
