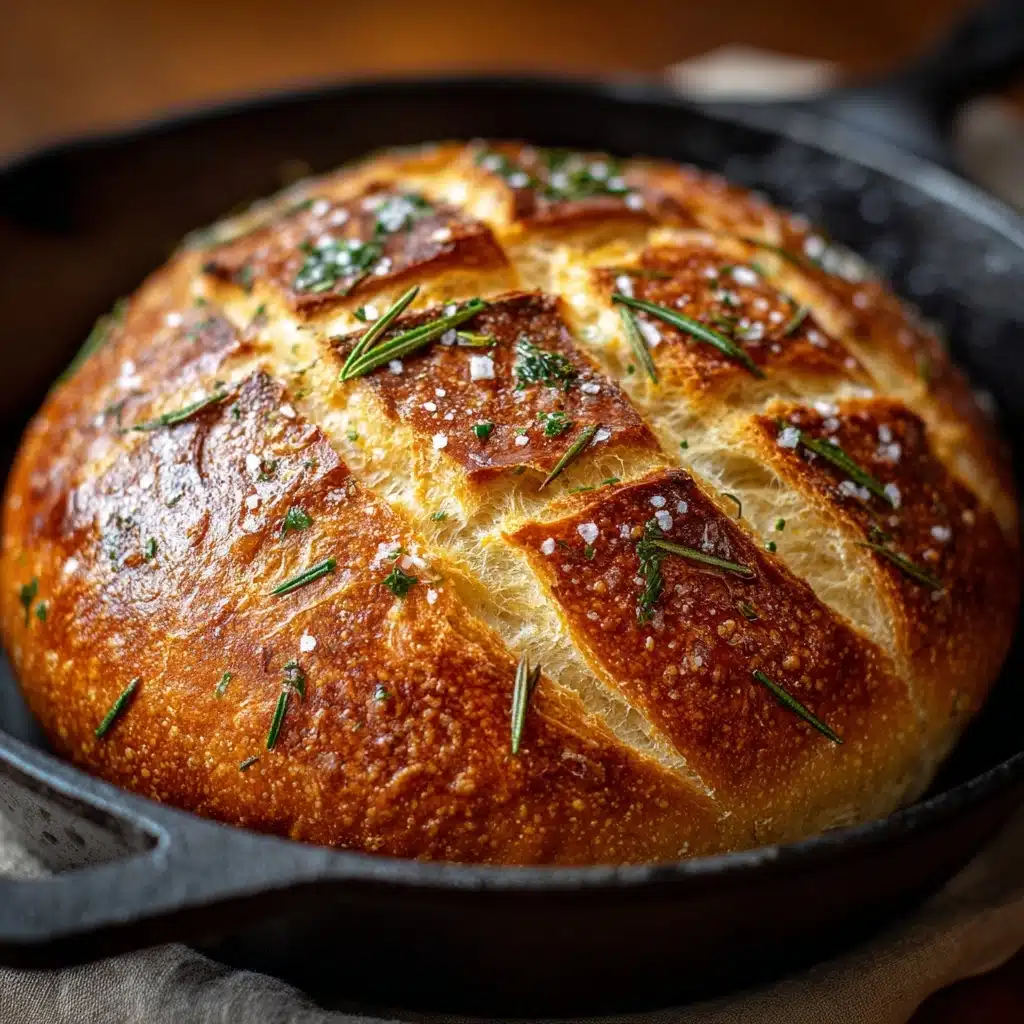
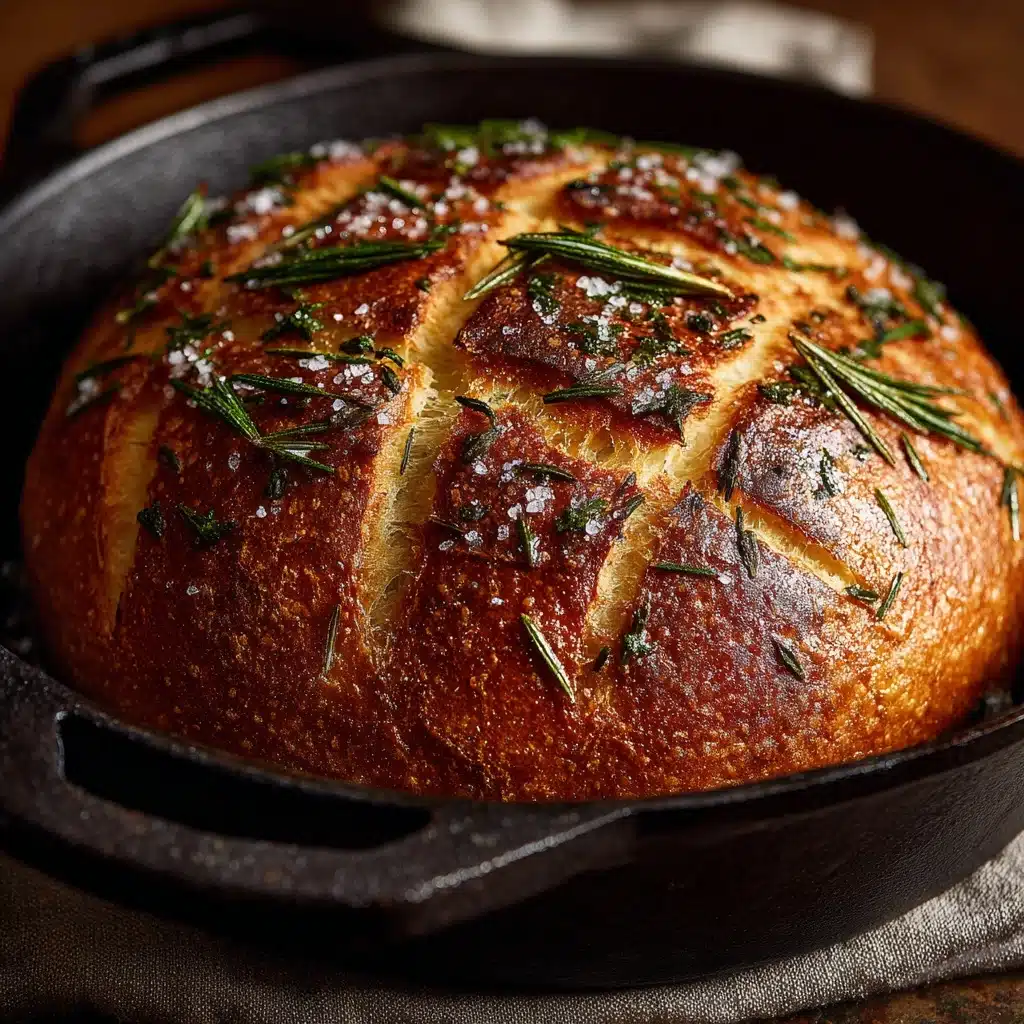
Rustic No-Knead Rosemary Garlic Bread Recipe
Few things warm the home and the soul quite like a loaf of Rustic No-Knead Rosemary Garlic Bread. This showstopping bread is delightfully crisp on the outside, impossibly fluffy inside, and enchanted with the aroma of fresh rosemary and golden garlic. Best of all, you won’t need any fancy equipment or bread-making skills! With just a bowl, a spoon, and some patience, you’ll be rewarded with a bakery-worthy loaf that’s perfect for sharing—or keeping all to yourself.
Ingredients You’ll Need
Don’t you love when delicious recipes are also simple? Each ingredient in Rustic No-Knead Rosemary Garlic Bread plays a starring role, layering its own flavor or supporting that perfect texture and deep color we crave in homemade bread.
- All-purpose flour: The base of the bread, it creates that pillowy crumb and golden crust we dream of.
- Salt: Don’t skimp—salt boosts the flavor and brings out the herby notes of rosemary and garlic.
- Active dry yeast: Just a touch is all you need to give this bread its gorgeous rise and light texture.
- Warm water: The secret to activating yeast and making the dough magically sticky and workable.
- Fresh rosemary (or dried): Infuses the loaf with earthy pine notes that shout “artisan bakery” from the oven.
- Garlic (minced or roasted): Offers a savory depth and tempting aroma—roasted garlic is especially luscious if you want an extra pop of flavor.
How to Make Rustic No-Knead Rosemary Garlic Bread
Step 1: Mix Your Dough
First things first: grab a large mixing bowl and whisk together the flour, salt, and yeast. Sprinkle in the chopped rosemary and garlic, letting those aromatic flavors mingle early on. Pour in the warm water and stir with a wooden spoon or spatula until you’ve got a shaggy, sticky dough—no kneading required! The less you fuss, the more magical this loaf becomes.
Step 2: Long Rise
Cover the bowl tightly with plastic wrap and set it aside at room temperature. Now, let time do the heavy lifting: 12 to 18 hours is ideal. While you sleep or go about your day, bubbles will form and the dough will double in size. Don’t rush this step—the slow rise is what makes Rustic No-Knead Rosemary Garlic Bread so light and flavor-packed.
Step 3: Shape the Dough
Flour your work surface generously, then tip out the dough—it should be stretchy and full of air. Flour your hands and gently shape the dough into a round ball. Place it on parchment paper and let it rest for another 30 to 60 minutes. As it sits, it will puff up a bit more while you get your oven blazing hot.
Step 4: Preheat the Oven and Dutch Oven
While your dough rests, preheat your oven to 450°F (230°C) with a lidded Dutch oven (or very heavy pot) tucked inside. This step is crucial for that signature crackly crust—you want the pot and the dough both roaring hot when they meet.
Step 5: Bake to Golden Perfection
Very carefully, remove the pot and lift your dough (parchment and all) into it. Cover with the lid and bake for 30 minutes, trapping in steam for a shiny, blistered crust. After 30 minutes, uncover and bake another 10 to 15 minutes. Watch in awe as the Rustic No-Knead Rosemary Garlic Bread turns deep golden brown and your kitchen smells irresistible!
Step 6: Cool Before Slicing
This is the hardest part—waiting. Carefully set your bread on a wire rack and let it cool completely before slicing. This keeps the crumb just right and holds in the flavor. Trust me, one bite in and you’ll know it was worth every moment!
How to Serve Rustic No-Knead Rosemary Garlic Bread
Garnishes
Add a finishing flourish by drizzling a little high-quality olive oil and a scant sprinkle of flaky salt over the warm loaf. A dusting of extra chopped rosemary right before serving makes the whole loaf look rustic and stunning.
Side Dishes
This bread is outrageously good with soups and stews, especially tomato-based ones or creamy potato leek. For breakfast, try it toasted with a swipe of vegan butter. It also rounds out any cheese or antipasto board—Rustic No-Knead Rosemary Garlic Bread truly pairs with anything savory.
Creative Ways to Present
Try slicing the bread into cubes and serving it alongside dips like hummus, whipped feta, or even olive tapenade. For parties, serve the loaf warm on a rustic wooden board with fresh herbs scattered around for a cozy, inviting centerpiece.
Make Ahead and Storage
Storing Leftovers
If you’re lucky enough to have leftovers, cool the loaf completely, then wrap it in parchment and a clean towel or pop it in a bread box. It’ll stay fresh at room temperature for two days—if it lasts that long!
Freezing
Rustic No-Knead Rosemary Garlic Bread freezes beautifully. Once cooled, wrap individual slices or the whole loaf tightly in plastic and freeze for up to three months. Defrost at room temperature when the craving strikes.
Reheating
To restore that just-baked crispness, warm slices in a toaster or pop the whole loaf in a 350°F (175°C) oven for 10 minutes. The aroma will return and the crust will be just as blissful as day one.
FAQs
Can I use whole wheat flour for Rustic No-Knead Rosemary Garlic Bread?
Yes, you can substitute up to half of the all-purpose flour with whole wheat for a nuttier flavor and denser crumb. Just be prepared for a slightly heavier loaf—whole wheat absorbs more water, so you may need to add an extra tablespoon or two.
Can I make Rustic No-Knead Rosemary Garlic Bread without a Dutch oven?
Definitely! If you don’t have a Dutch oven, use any heavy oven-safe pot with a tight-fitting lid. In a pinch, an oven-safe casserole dish with foil will help trap steam and give you a gorgeous crust.
Is it possible to add cheese or other herbs?
Absolutely! Fold in grated Parmesan, cheddar, or a mix of your favorite cheeses when stirring in the rosemary and garlic. Other herbs like thyme or oregano play wonderfully with the flavors in this bread.
My dough looks too wet or sticky—did I do something wrong?
No worries! This dough is meant to be sticky and loose. If it feels too wet to shape, just add a sprinkle of flour to your hands and the work surface. It will bake up beautifully regardless.
How will I know my bread is fully baked?
The crust should be a rich golden brown, and if you tap the bottom of the loaf, you’ll hear a hollow sound. For extra assurance, the internal temperature should read about 200°F (93°C) when done.
Final Thoughts
If you’ve ever dreamed of homemade bread that’s both effortless and extraordinary, Rustic No-Knead Rosemary Garlic Bread simply can’t be beat. There’s a special satisfaction in pulling a golden, herb-flecked loaf from your own oven—so don’t wait another day to treat yourself and those you love. Happy baking!
Print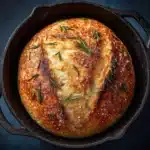
Rustic No-Knead Rosemary Garlic Bread Recipe
- Total Time: 13–19 hours
- Yield: 1 loaf (about 8 slices) 1x
- Diet: Vegan
Description
Enjoy the rustic flavors of this easy no-knead Rosemary Garlic Bread. With minimal effort, you can create a beautifully fragrant loaf perfect for any occasion.
Ingredients
Dough:
- 3 cups all-purpose flour
- 1 ½ teaspoons salt
- ½ teaspoon active dry yeast
- 1 ½ cups warm water
Additional:
- 1 tablespoon fresh rosemary, finely chopped (or 1 teaspoon dried)
- 3 cloves garlic, minced or roasted
Instructions
- Mix Dry Ingredients: In a large mixing bowl, whisk together the flour, salt, and yeast. Stir in the rosemary and garlic.
- Add Water: Pour in the warm water and stir until a sticky dough forms.
- Rise: Cover the bowl tightly with plastic wrap and let it sit at room temperature for 12–18 hours until doubled.
- Shape and Bake: Turn out the dough onto a floured surface, shape into a ball, let it rest, then bake in a preheated Dutch oven.
- Cool and Serve: Cool on a wire rack before slicing and serving.
Notes
- For a deeper garlic flavor, use roasted garlic.
- You can substitute other herbs like thyme or oregano.
- This bread freezes well once cooled.
- Prep Time: 10 minutes (plus 12–18 hour rise)
- Cook Time: 40 minutes
- Category: Bread
- Method: Baking
- Cuisine: Italian-American
Nutrition
- Serving Size: 1 slice
- Calories: 170
- Sugar: 0g
- Sodium: 290mg
- Fat: 1g
- Saturated Fat: 0g
- Unsaturated Fat: 1g
- Trans Fat: 0g
- Carbohydrates: 35g
- Fiber: 1g
- Protein: 5g
- Cholesterol: 0mg


