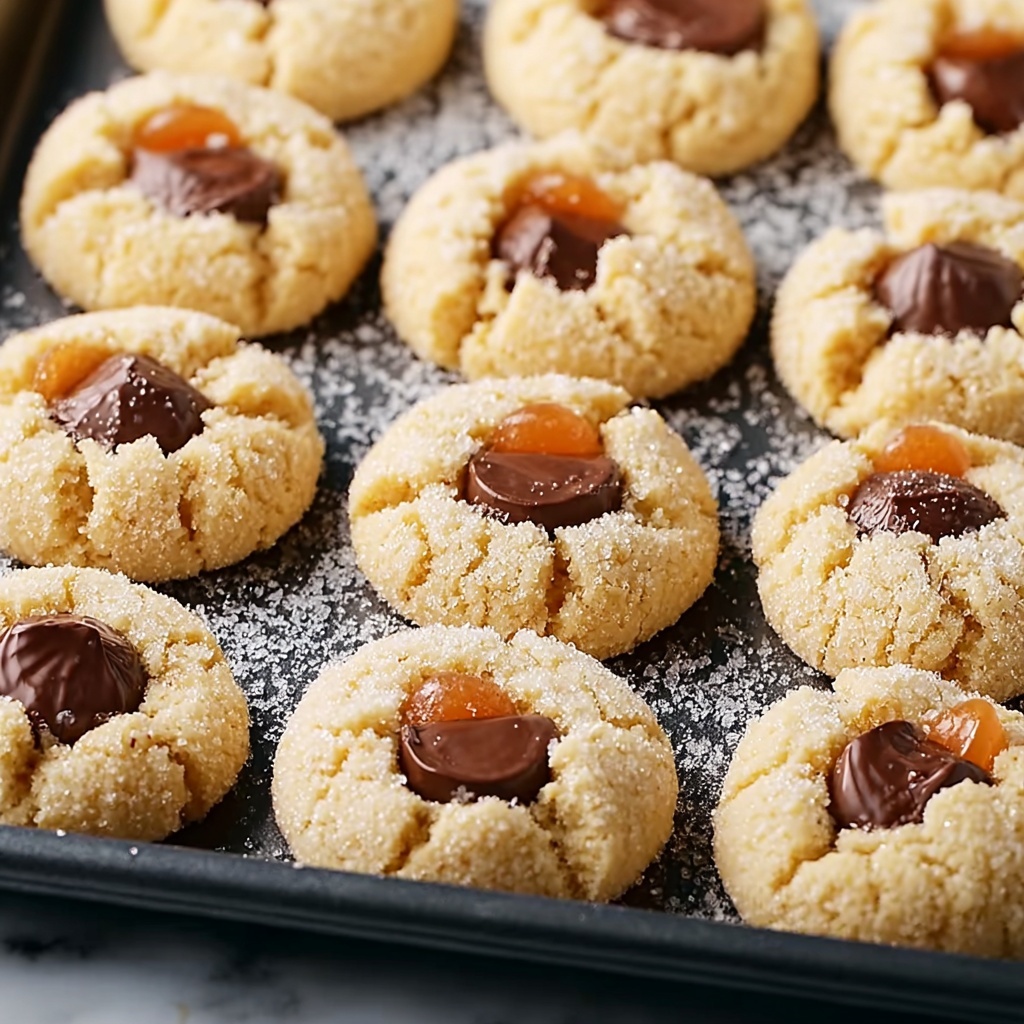
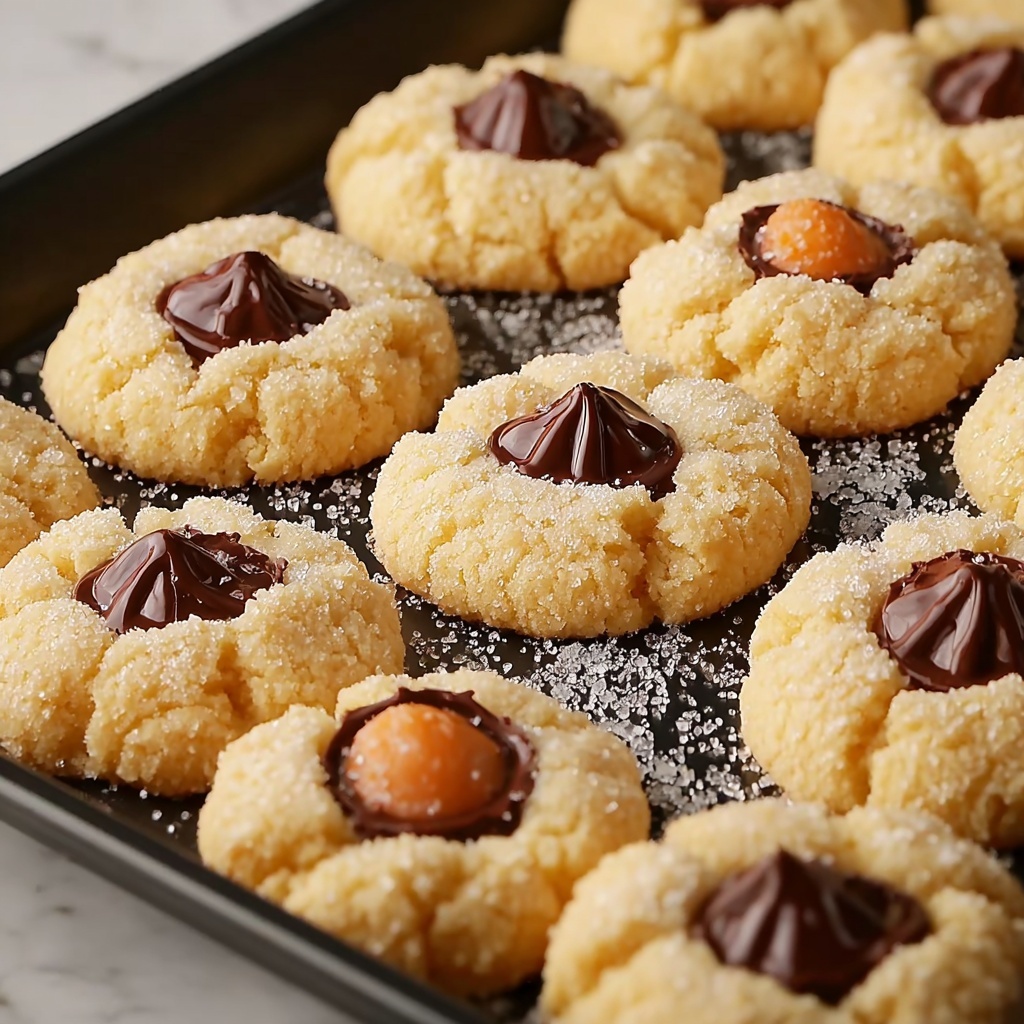
If you’re on the hunt for a delightful treat that’s as charming as it is delicious, this Blossom Cookies Recipe will become your new go-to favorite. These soft, buttery cookies burst with rich chocolate chips and finish with a perfectly placed chocolate kiss right in the center, creating a little flower of sweetness in every bite. The combination of tender dough and melty chocolate makes them utterly irresistible, and they’re perfect for sharing with friends, gifting during the holidays, or just keeping for yourself when you want a sweet pick-me-up. Trust me, once you try this Blossom Cookies Recipe, you’ll wonder how you ever lived without them!
Ingredients You’ll Need
All the magic in this Blossom Cookies Recipe starts with simple, classic ingredients that you likely already have in your pantry. Each one plays a key role in creating the perfect balance of flavor, texture, and that inviting golden color we all love in a truly special cookie.
- 1/2 cup unsalted butter, softened: Provides a rich, creamy base and ensures a tender crumb.
- 1/2 cup granulated sugar: Adds sweetness and helps with the cookies’ slight crisp edges.
- 1/2 cup brown sugar, packed: Brings moisture and a subtle caramel flavor that adds depth.
- 1 large egg: Binds everything together and contributes to that perfect chewy texture.
- 1 teaspoon vanilla extract: Infuses warmth and enhances all the sweet flavors.
- 1 3/4 cups all-purpose flour: Forms the sturdy yet soft structure of the cookie.
- 1/2 teaspoon baking soda: Gives a gentle lift and lightness to each bite.
- 1/2 teaspoon salt: Balances sweetness and strengthens flavor contrast.
- 1/2 cup chocolate chips or candy pieces: Melts into irresistible pockets of chocolate throughout.
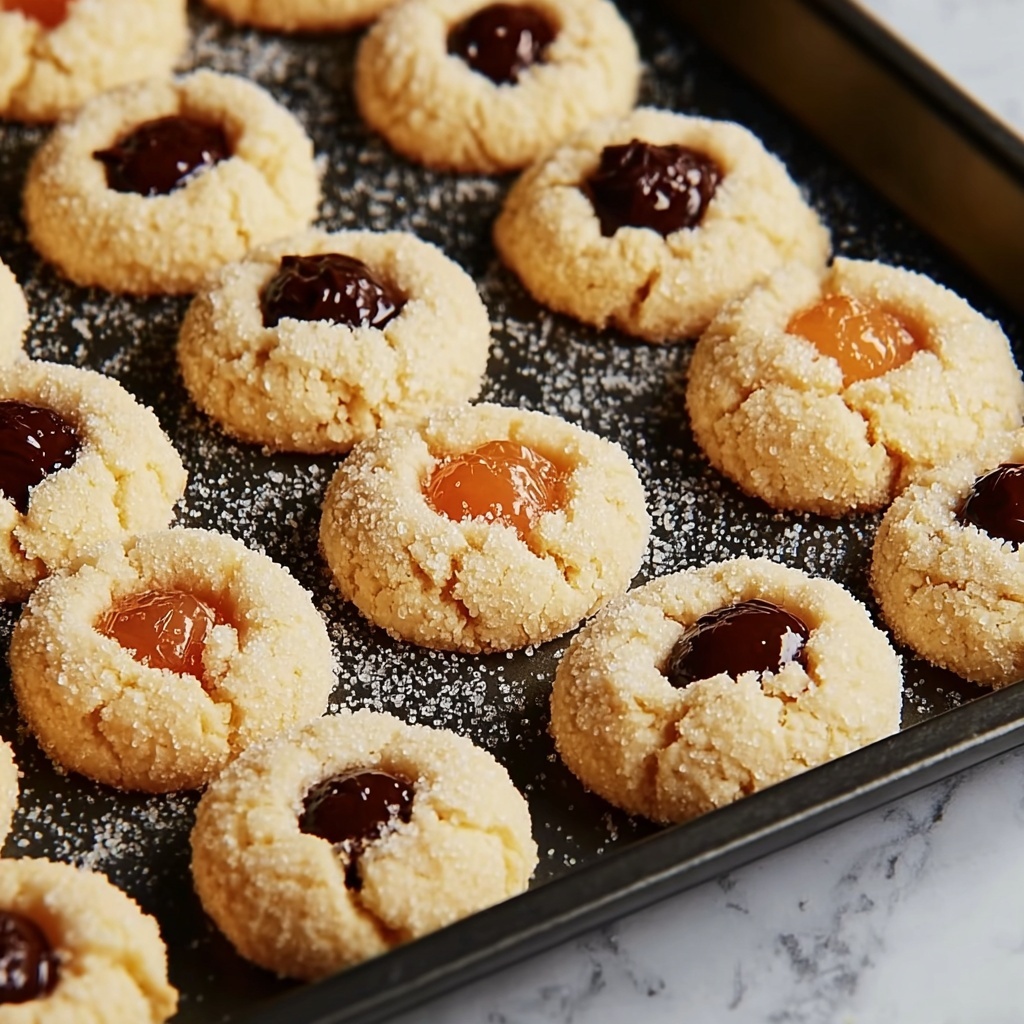
- 24 chocolate kiss candies (or similar) for topping: Creates the signature blossom center that makes these cookies shine.
How to Make Blossom Cookies Recipe
Step 1: Prepare Your Oven and Baking Sheet
Start by preheating your oven to 375°F—this ensures the perfect temperature for cookies that are golden on the outside and soft inside. Line a baking sheet with parchment paper to keep cookies from sticking and to make cleanup a breeze.
Step 2: Cream Butter and Sugars
In a large bowl, beat together the softened butter, granulated sugar, and brown sugar until the mixture turns light and fluffy. This step is crucial—it incorporates air that helps your cookies rise beautifully while producing a tender texture.
Step 3: Add Egg and Vanilla
Mix in the egg and vanilla extract until everything is smooth and well combined. This adds moisture and flavor, perfect for those melt-in-your-mouth moments.
Step 4: Combine the Dry Ingredients
In a separate bowl, whisk the flour, baking soda, and salt together. This evenly distributes the leavening agent and salt, making sure your cookies bake uniformly every time.
Step 5: Mix Dry Ingredients into Wet Mixture
Gradually add your dry ingredients to the wet mixture, stirring gently until just combined. Overmixing can toughen cookies, so mix until you no longer see dry flour. Then fold in the chocolate chips or candy pieces to spread that chocolate goodness throughout your dough.
Step 6: Shape and Bake the Cookies
Drop tablespoon-sized scoops of dough onto your prepared baking sheet, spacing them about 2 inches apart to give them room to spread. Pop them in the oven and bake for 8 to 10 minutes, or until the cookie edges turn a lovely light golden brown.
Step 7: Add the Signature Chocolate Kiss
As soon as the cookies come out of the oven and are still warm, gently press one chocolate kiss candy into the center of each cookie. This step transforms each treat into the iconic blossom shape and lets the chocolate kiss soften slightly without melting completely.
Step 8: Cool Before Enjoying
Allow the cookies to cool on the baking sheet for about 5 minutes, then transfer them to a wire rack to cool fully. This helps them set properly so you can enjoy that perfect texture in every bite.
How to Serve Blossom Cookies Recipe
Garnishes
To elevate your Blossom Cookies Recipe presentation, sprinkle a few colorful, festive sprinkles over the dough before baking for a cheerful pop of color. Alternatively, a light dusting of powdered sugar after cooling adds a touch of elegance and sweetness.
Side Dishes
These cookies shine paired with a cold glass of milk, a smooth hot chocolate, or a cup of freshly brewed coffee or tea. The creamy drinks perfectly complement the rich chocolate and buttery cookie flavors, creating a cozy, satisfying snack experience.
Creative Ways to Present
For parties or holiday gatherings, arrange these cookies in a circular pattern on a large platter, making the “blossoms” stand out visually. You can also gift-wrap a stack tied with a pretty ribbon or package them in festive tins for a sweet surprise that’s sure to bring smiles.
Make Ahead and Storage
Storing Leftovers
Once completely cooled, store your Blossom Cookies Recipe leftovers in an airtight container at room temperature. They keep wonderfully soft and fresh for up to five days, making them perfect to bake ahead for any occasion.
Freezing
You can freeze the unbaked cookie dough by scooping out portions and placing them on a baking sheet to freeze until firm. Then transfer the dough balls to a freezer-safe bag for up to three months. Bake straight from frozen, adding a minute or two to the baking time.
Reheating
If you want to enjoy the cookies warm again, pop them in a preheated oven at 300°F for about 5 minutes or microwave for 10-15 seconds. This softens the chocolate and revives that freshly baked feel.
FAQs
Can I substitute the chocolate kisses with other candies?
Absolutely! Peanut butter cups, mini chocolate candies, or even seasonal candy pieces work wonderfully as the center “blossom.” Each brings a unique twist to the classic treat.
Are Blossom Cookies Recipe safe for vegetarians?
Yes, this recipe uses vegetarian-friendly ingredients. Just make sure your chocolate chips and candies don’t contain any animal-derived additives if you’re strict about your diet.
Can I make these cookies gluten-free?
You can replace the all-purpose flour with a gluten-free blend, but keep an eye on texture and baking time, as gluten-free doughs sometimes behave differently. Adding a binding agent like xanthan gum might help.
How do I prevent the cookies from spreading too much?
Ensure your butter is softened but not melted, and chill the dough briefly if your kitchen is warm. Proper spacing also helps cookies keep their shape during baking.
Can I use a hand mixer instead of a stand mixer?
Definitely! A hand mixer is perfect for creaming the butter and sugars together as well as mixing the other ingredients, making this recipe accessible and easy for everyone.
Final Thoughts
I can’t recommend this Blossom Cookies Recipe enough if you’re craving a sweet, nostalgic treat that’s quick to whip up and absolutely delicious. These cookies are sure to bring joy whether you’re baking for family, friends, or simply yourself. So grab your ingredients, preheat that oven, and get ready for some seriously scrumptious blossoms to brighten your day!
Print
Blossom Cookies Recipe
- Prep Time: 10 minutes
- Cook Time: 10 minutes
- Total Time: 20 minutes
- Yield: 24 cookies
- Category: Dessert
- Method: Baking
- Cuisine: American
- Diet: Vegetarian
Description
Blossom Cookies are classic American soft and chewy cookies topped with a chocolate kiss, making them perfect for holidays or any festive occasion. These delightful cookies blend buttery dough with chocolate pieces inside and a distinctive chocolate center, offering a sweet treat that’s easy to make at home.
Ingredients
Cookie Dough
- 1/2 cup unsalted butter, softened
- 1/2 cup granulated sugar
- 1/2 cup brown sugar, packed
- 1 large egg
- 1 teaspoon vanilla extract
- 1 3/4 cups all-purpose flour
- 1/2 teaspoon baking soda
- 1/2 teaspoon salt
- 1/2 cup chocolate chips or candy pieces
Topping
- 24 chocolate kiss candies or similar for topping
Instructions
- Preheat Oven and Prepare Baking Sheet: Preheat your oven to 375°F (190°C). Line a baking sheet with parchment paper to prevent sticking and ease cleanup.
- Cream Butter and Sugars: In a large bowl, use an electric mixer to cream together the softened butter, granulated sugar, and brown sugar until the mixture becomes light and fluffy, which usually takes about 2-3 minutes.
- Add Egg and Vanilla: Beat in the egg and vanilla extract until the batter is smooth and fully incorporated.
- Combine Dry Ingredients: In a separate bowl, whisk together the all-purpose flour, baking soda, and salt to evenly distribute the leavening and seasoning.
- Mix Dry Ingredients into Wet: Gradually add the dry ingredients to the wet ingredients, mixing just until combined to avoid overworking the dough.
- Stir in Chocolate Chips: Fold in the chocolate chips or candy pieces evenly throughout the dough.
- Portion Dough on Baking Sheet: Drop tablespoon-sized portions of dough about 2 inches apart on the prepared baking sheet to allow room for spreading during baking.
- Bake the Cookies: Bake for 8 to 10 minutes or until the edges of the cookies turn lightly golden but the centers remain soft.
- Add Chocolate Kiss Topping: Immediately after removing from the oven and while cookies are still warm, gently press one chocolate kiss candy into the center of each cookie so it slightly melts and adheres.
- Cool Cookies: Allow the cookies to cool on the baking sheet for 5 minutes, then transfer them to a wire rack to cool completely before serving or storing.
Notes
- You can substitute peanut butter cups or mini chocolate candies in place of traditional chocolate kisses for a different flavor.
- Add colored sprinkles to the dough before baking for a festive and colorful twist.
- Store cookies in an airtight container at room temperature for up to 5 days to maintain freshness.


