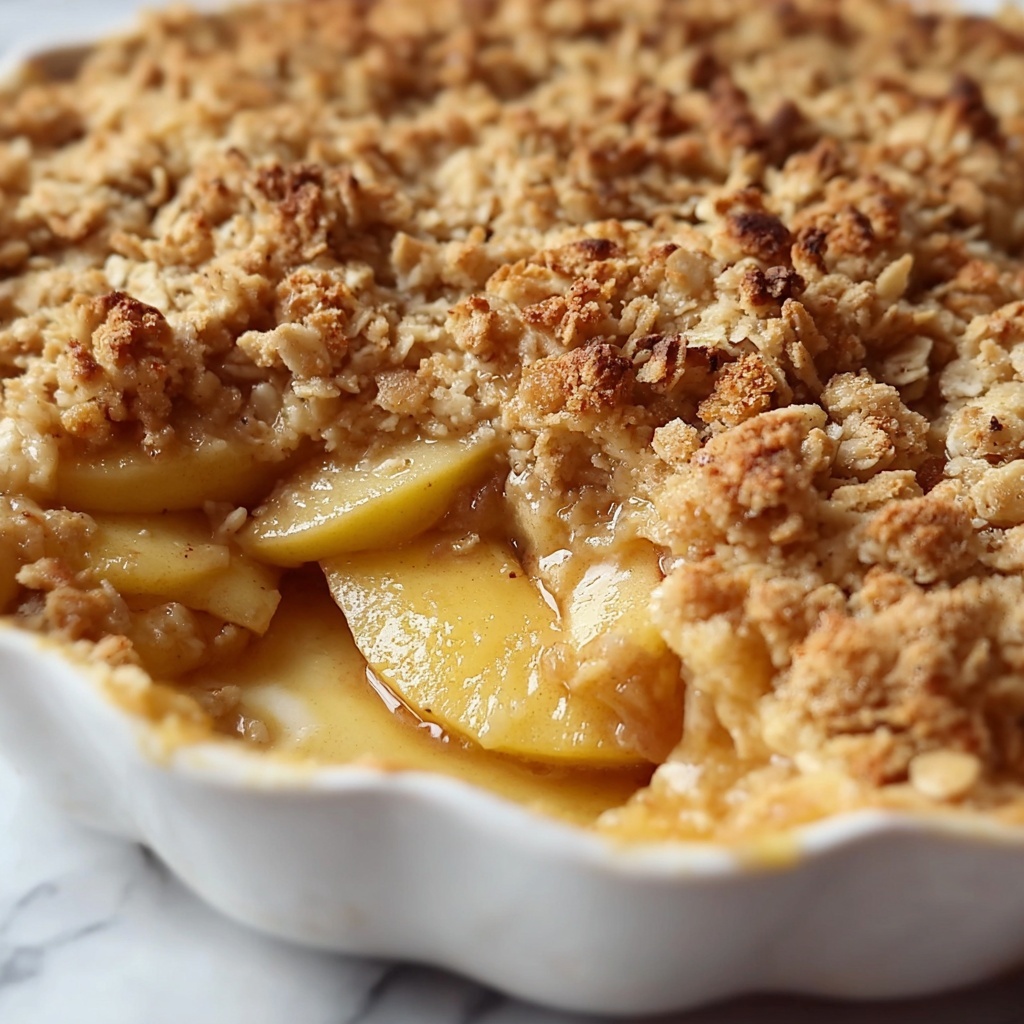
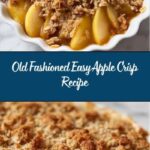
If you’ve been craving a timeless dessert that wraps you up in cozy warmth and nostalgia, then this Old Fashioned Easy Apple Crisp Recipe is exactly what you need. Bursting with tender, cinnamon-kissed apples and topped with a perfectly crumbly, golden oat topping, this recipe is the ultimate comfort dessert that’s both simple to make and deeply satisfying. Whether it’s a family gathering or a quiet night in, this apple crisp delivers that classic homemade charm that tastes like a hug from your favorite childhood memories.
Ingredients You’ll Need
Gathering the right ingredients for this Old Fashioned Easy Apple Crisp Recipe is a joy because each one plays a crucial part in balancing flavors, textures, and that irresistible aroma. From the tartness of the apples and lemon juice to the sweet, crunchy topping, every component adds up to pure perfection.
- 6 golden delicious apples, peeled and chopped: These apples provide a sweet, tender base that softens beautifully while baking.
- 2 tbsp granulated sugar: Just enough sweetness to complement the natural fruit flavors without overpowering them.
- ¾ tsp ground cinnamon: Adds warm and spicy notes that elevate the apple filling.
- 1½ tsp lemon juice: Gives a fresh, subtle brightness that balances sweetness and keeps apples from browning.
- 1 cup light brown sugar: Brings a rich molasses flavor and moisture to the crisp topping.
- ¾ cup old-fashioned oats: Essential for that chewy, wholesome texture on top.
- ¾ cup all-purpose flour: Creates the structure needed for a sturdy, crumbly crust.
- 1 tsp ground cinnamon: Adds extra warmth to the topping for a double cinnamon delight.
- Pinch of kosher salt: Enhances all the flavors and balances the sweetness.
- ½ cup cold unsalted butter, diced into small cubes: Provides richness and helps form those irresistible crisp crumbs.
How to Make Old Fashioned Easy Apple Crisp Recipe
Step 1: Preheat and Prepare
Start by preheating your oven to 350°F (175°C). Grease an 8×8-inch baking dish with butter or use a non-stick spray to ensure your crisp doesn’t stick and bakes evenly. Getting this out of the way means you’re ready to assemble quickly once the filling is prepped.
Step 2: Prepare the Apple Filling
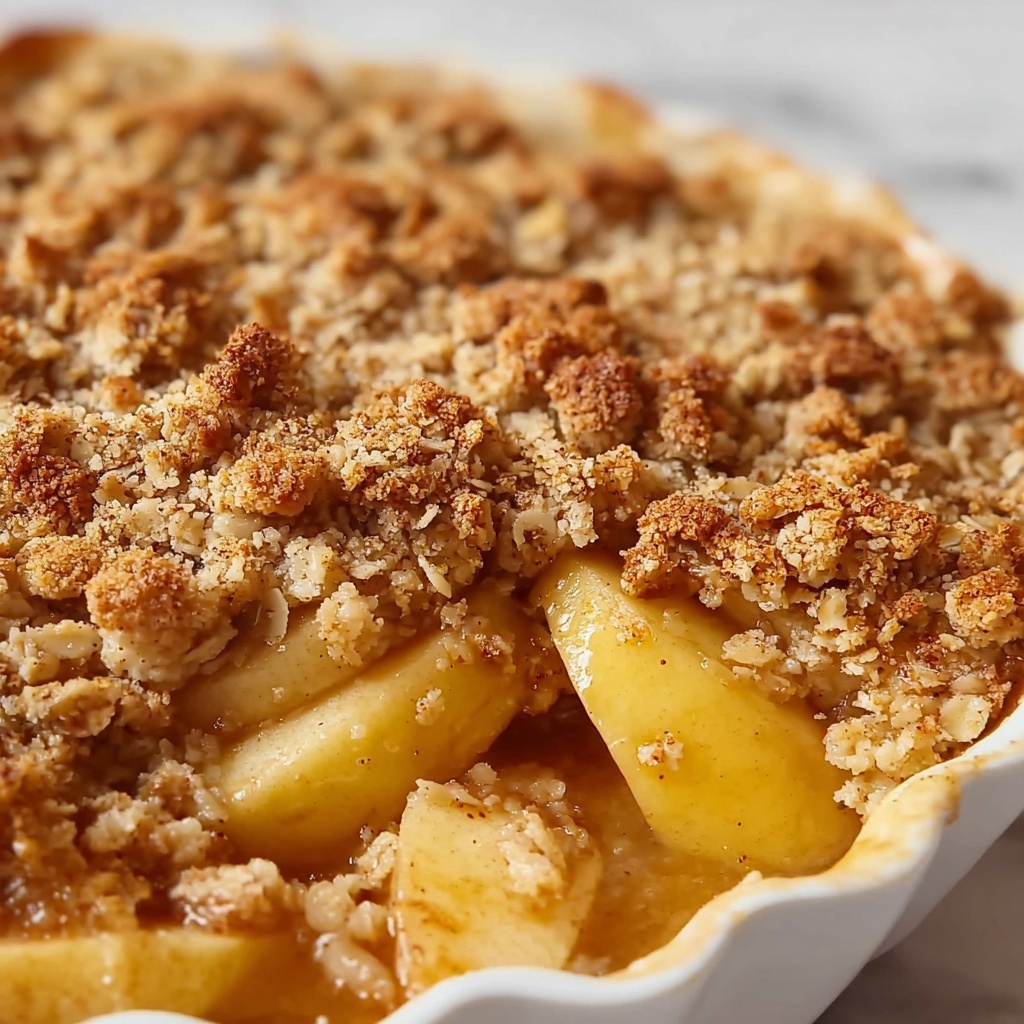
In a large mixing bowl, toss the peeled and chopped golden delicious apples with granulated sugar, cinnamon, and lemon juice. The granulated sugar enhances their natural sweetness while the cinnamon brings that signature apple pie warmth. The lemon juice is a clever addition that adds a subtle zing and keeps the apples looking fresh and vibrant. Once combined, transfer the mixture evenly to the prepared baking dish. This is where the magic begins to build.
Step 3: Make the Crumble Topping
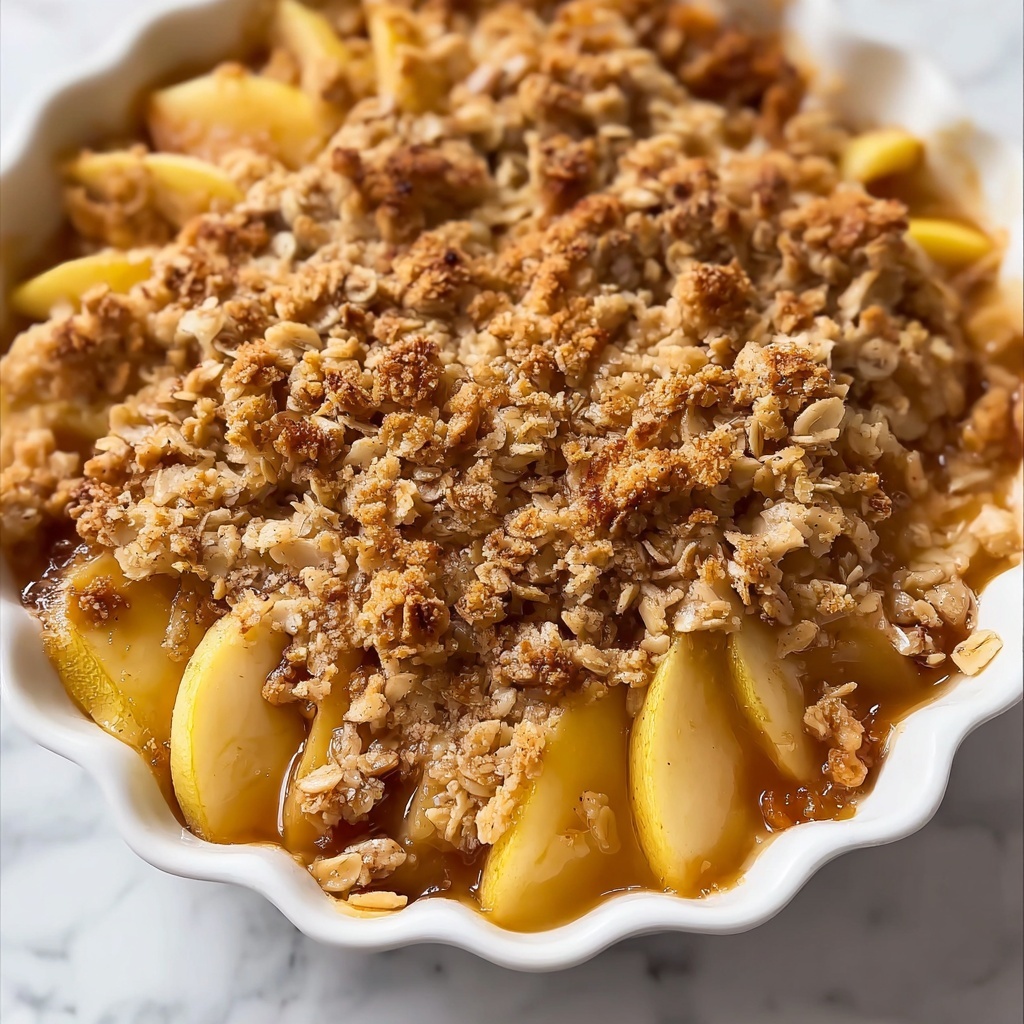
In a separate bowl, mix together the light brown sugar, oats, flour, cinnamon, and a pinch of kosher salt. Then add the cold, diced butter. Using a pastry cutter, two forks, or even your fingertips, work the butter into the dry ingredients until you have pea-sized crumbs. The cold butter is crucial here—it ensures the crisp topping is flaky and golden after baking, with just the right amount of crunch.
Step 4: Assemble and Bake
Spread the crumble topping evenly over the apple filling, gently pressing down to help it stick and create a beautiful crust. Pop the dish into your preheated oven and bake for about 40 to 50 minutes. Keep an eye out: the topping will turn a gorgeous golden brown, and you’ll see the filling bubbling at the edges—that’s your indicator it’s done. This step fills your kitchen with that divine, homestyle aroma that signals pure comfort is on its way.
Step 5: Serve and Enjoy
Once out of the oven, let your apple crisp cool slightly—it’s delightful warm and inviting. This dish shines best when paired with a scoop of vanilla ice cream or a dollop of whipped cream, creating a perfect temperature and texture contrast that will make each spoonful unforgettable.
How to Serve Old Fashioned Easy Apple Crisp Recipe
Garnishes
Adding a thoughtful garnish elevates this classic dessert beautifully. A generous scoop of creamy vanilla ice cream melting over the warm crisp is a match made in heaven. Alternatively, freshly whipped cream lightly dusted with cinnamon or nutmeg can add a luscious, airy finish. Toasted pecans or walnuts sprinkled on top give an extra crunch and nutty flavor twist that surprises and delights.
Side Dishes
While the Old Fashioned Easy Apple Crisp Recipe is wonderful on its own, consider serving it alongside a hot cup of coffee or spiced tea to complement the warm cinnamon notes. A simple glass of cold milk or a mild cheddar cheese plate can provide a unique contrast, with the cheese enhancing the savory depth of the apples in an unexpected but delightful way.
Creative Ways to Present
Get creative and serve your apple crisp in individual ramekins or mason jars, perfect for intimate gatherings or elegant dinner parties. Layer the crisp with extra apple slices or a drizzle of caramel sauce between the layers for a decadent twist. You can also turn it into a breakfast treat by topping it with Greek yogurt and a sprinkle of granola for a fruity, comforting start to your day.
Make Ahead and Storage
Storing Leftovers
If you’re lucky enough to have any leftovers, store them in an airtight container in the refrigerator for up to 3 days. The flavors deepen over time, and it’s just as delicious reheated. Covering it properly helps the topping stay crisp longer.
Freezing
This apple crisp freezes wonderfully. To freeze, cool completely after baking, then cover tightly with plastic wrap and aluminum foil or store in a freezer-safe container. It keeps well for up to 3 months, giving you a ready-made dessert for busy weeknights or spontaneous visits from friends.
Reheating
To reheat, warm the apple crisp in a 350°F oven for about 20 minutes until bubbly and warm throughout. If you want to revive the crunch, avoid microwaving as it can make the topping soggy; the oven method keeps that iconic crispness intact, just like freshly baked.
FAQs
Can I use other types of apples for this recipe?
Absolutely! While golden delicious apples are lovely for their sweetness and tenderness, tart varieties like Granny Smith or Honeycrisp add a nice balance and can make the dessert a bit more tangy. You can even mix apple types for more complex flavors and textures.
Is it possible to make this recipe gluten-free?
Yes! Substitute the all-purpose flour with a gluten-free flour blend and ensure your oats are certified gluten-free. This simple swap makes the Old Fashioned Easy Apple Crisp Recipe accessible to those with gluten sensitivities without sacrificing taste.
What can I use instead of butter?
Replacing butter with coconut oil or a plant-based margarine works well, especially if you’re aiming for a dairy-free version. Just be sure to use a cold solid fat to achieve that crumbly topping texture that butter provides.
Can I prepare the apple mixture ahead of time?
You sure can! Toss the apples with sugar, cinnamon, and lemon juice and keep the mixture covered in the refrigerator for up to 24 hours. Assemble and bake when ready for a time-saving shortcut that doesn’t compromise any flavor or texture.
How can I make the topping extra crunchy?
For even more crunch, add chopped nuts like walnuts, pecans, or almonds to the topping mixture just before baking. Also, using old-fashioned oats instead of quick oats naturally gives a chewier, heartier texture that’s delicious.
Final Thoughts
So there you have it—a beloved classic perfected and simplified in this Old Fashioned Easy Apple Crisp Recipe. It’s a dessert that invites you to slow down and savor every bite, whether enjoyed right out of the oven or as a chilled treat. I encourage you to pull out your favorite baking dish, gather your ingredients, and create a batch that will warm hearts and satisfy sweet cravings any time of year.
Print
Old Fashioned Easy Apple Crisp Recipe
- Prep Time: 15 minutes
- Cook Time: 45 minutes
- Total Time: 1 hour
- Yield: 6 servings
- Category: Dessert
- Method: Baking
- Cuisine: American
Description
A classic and comforting Old Fashioned Apple Crisp recipe featuring tender golden delicious apples baked with a cinnamon-spiced oat and brown sugar topping. This easy-to-make dessert is perfect for cozy evenings and pairs wonderfully with ice cream or whipped cream.
Ingredients
Apple Filling
- 6 golden delicious apples, peeled and chopped
- 2 tbsp granulated sugar
- ¾ tsp ground cinnamon
- 1½ tsp lemon juice
Topping
- 1 cup light brown sugar
- ¾ cup old-fashioned oats
- ¾ cup all-purpose flour
- 1 tsp ground cinnamon
- Pinch of kosher salt
- ½ cup cold unsalted butter, diced into small cubes
Instructions
- Preheat the Oven: Preheat your oven to 350°F (175°C). Grease an 8×8-inch baking dish with butter or non-stick spray to prevent sticking and ensure even baking.
- Prepare the Apple Filling: In a large mixing bowl, combine the peeled and chopped golden delicious apples with granulated sugar, ground cinnamon, and lemon juice. Toss until the apples are evenly coated. Transfer this mixture to the prepared baking dish, spreading them out evenly.
- Make the Topping: In a separate bowl, mix together light brown sugar, old-fashioned oats, all-purpose flour, ground cinnamon, and a pinch of kosher salt. Add the diced cold unsalted butter and use a pastry cutter or your hands to mix until the mixture forms pea-sized crumbs.
- Assemble & Bake: Evenly spread the crumb topping over the apple filling, pressing lightly to adhere. Place the baking dish in the oven and bake for 40 to 50 minutes, or until the topping is golden brown and the apples are bubbly and tender.
- Serve: Remove from the oven and let cool slightly. Serve the apple crisp warm, optionally topped with vanilla ice cream or whipped cream for a delicious treat.
Notes
- Use firm, tart apples like Granny Smith or Honeycrisp for a tangier flavor if preferred.
- For extra crunch, add ½ cup chopped nuts such as walnuts or pecans to the topping.
- Store leftovers covered in the refrigerator for up to 3 days.
- Reheat in a warm oven or microwave before serving.
- Optional: add a pinch of nutmeg or ginger to the apple mixture for added warmth.


