
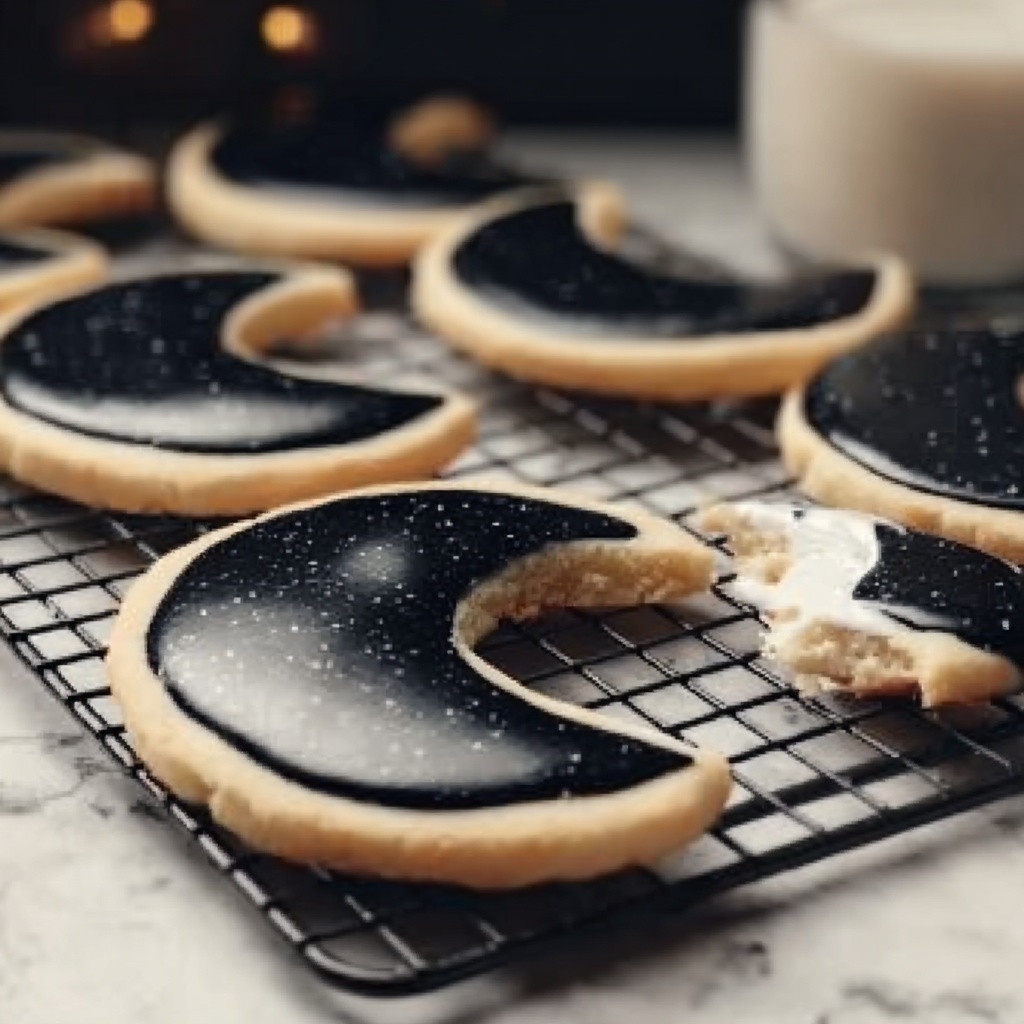
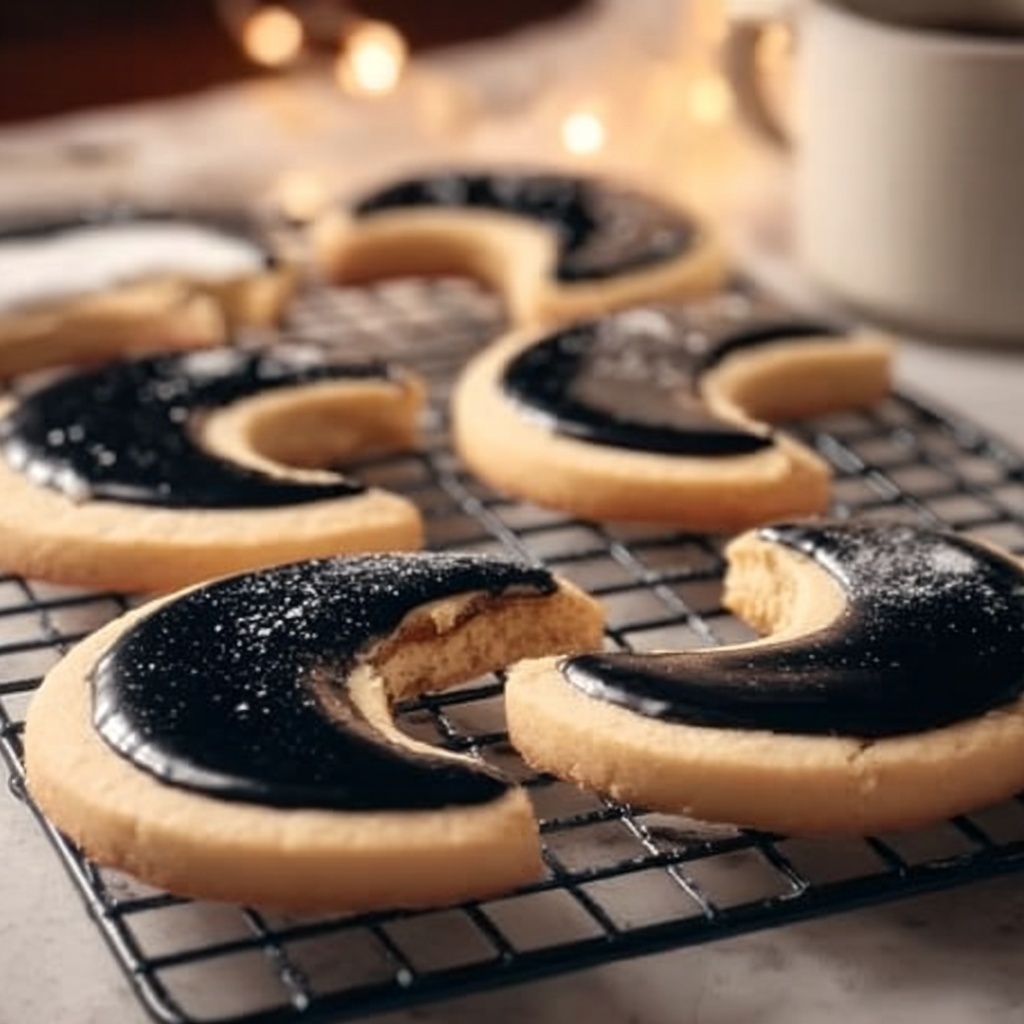
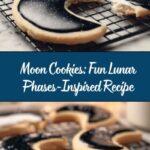
If you’ve ever wanted to combine your love of baking with a little lunar magic, these Moon Cookies: Fun Lunar Phases-Inspired Recipe are absolutely perfect. They’re playful, adorable, and surprisingly simple to make, capturing the beauty of the moon’s phases in delicious, buttery cookies. Whether you’re a seasoned baker or just looking for a fun project to do with friends or family, these cookies are sure to brighten your kitchen and put a whimsical twist on your cookie jar. Get ready to bake your way through the new moon, crescent, quarter, gibbous, and full moon—all in one delightful batch!
Ingredients You’ll Need
The beauty of this recipe lies in its simplicity. Each ingredient plays a crucial role: creating the perfect buttery texture, a tender crumb, and a blank canvas for all your lunar-themed decorating fun.
- 2 1/4 cups all-purpose flour (280g): The foundation for soft yet sturdy cookies that hold their shape perfectly.
- 1 cup unsalted butter, softened (227g): Provides richness and tenderness, ensuring each bite melts in your mouth.
- 3/4 cup granulated sugar (150g): Adds the just-right sweetness to balance the buttery goodness.
- 1 large egg (50g): Binds everything together for that perfect dough consistency.
- 1 teaspoon vanilla extract (5ml): Introduces a warm, aromatic note that elevates the flavor.
- 1/2 teaspoon baking soda (2g): Helps lighten the dough for a slight lift and tender crumb.
- 1/4 teaspoon salt (1g): Enhances and balances all the sweet flavors.
- Black food coloring (optional): Ideal for creating the mysterious New Moon effect.
- White icing (for decorating): Your artist’s tool to paint the bright, glowing moon phases.
- Silver edible glitter (optional): Adds that extra sparkle to mimic a starry night sky.
How to Make Moon Cookies: Fun Lunar Phases-Inspired Recipe
Step 1: Preheat and Prepare
First things first, preheat your oven to 350°F (175°C) and get your baking sheet lined with parchment paper. This step sets the stage to ensure your cookies bake evenly and don’t stick, so they come off the tray perfectly every time.
Step 2: Cream Butter and Sugar
In a large bowl, cream together the softened butter and granulated sugar until the mixture is light and fluffy. This creates the airy base needed for cookies that are delicate and melt-in-your-mouth tender.
Step 3: Add Egg and Vanilla
Next, beat in the egg and vanilla extract until fully combined. These ingredients add moisture and subtle flavor notes that make the dough rich and delicious.
Step 4: Combine Dry Ingredients
In a separate bowl, whisk together the flour, baking soda, and salt. Gradually add these dry ingredients to your wet mixture and stir until just combined—you want to be gentle to keep that tender crumb intact.
Step 5: Chill the Dough
Refrigerate the dough for about 30 minutes. This chill time helps firm it up so it’s easier to roll and keeps your cookies from spreading too much in the oven.
Step 6: Shape Your Cookies
Roll the chilled dough into 1-inch balls and then gently flatten each one into a circle. This size and shape give you a perfect canvas that’s easy to decorate like the different lunar phases.
Step 7: Bake to Golden Perfection
Bake your cookies for 10 to 12 minutes or until the edges turn a lovely light golden color. This ensures they’re cooked through but still soft in the center, ideal for any cookie lover.
Step 8: Cool Before Decorating
Allow your cookies to cool completely on a wire rack. Decorating warm cookies can turn your carefully crafted designs into a gooey mess, so patience pays off here!
Step 9: Decorate to Represent Lunar Phases
Now the fun part: decorating. Use black food coloring to tint some dough for the New Moon cookies, white icing to mimic the glowing Full Moon, and sprinkle on silver edible glitter to create a starry night effect. This step transforms your cookies into miniature moons that are almost too beautiful to eat.
Step 10: Serve and Enjoy!
Once decorated and set, it’s time to share your creations and enjoy the sweet taste of the cosmos. These moon cookies are not just a treat for the palate but also a feast for the eyes and imagination.
How to Serve Moon Cookies: Fun Lunar Phases-Inspired Recipe
Garnishes
Adding a pinch of silver edible glitter or a little shimmer dust is a magical touch that enhances your cookies’ celestial theme. These add sparkle without overwhelming the delicate icing work and bring the whole lunar concept to life right on your plate.
Side Dishes
Moon cookies pair wonderfully with whimsical sides like a cup of warm chamomile tea or a frothy cappuccino. These cozy beverages complement the buttery sweetness perfectly while creating a relaxing space for an evening moon-viewing party at home.
Creative Ways to Present
For a show-stopping display, arrange the cookies in the order of the lunar cycle on a round platter, mimicking the orbiting phases. You can also present them on a dark slate board that recalls the night sky—ideal for parties, gifts, or just a dreamy treat for yourself.
Make Ahead and Storage
Storing Leftovers
Your Moon Cookies: Fun Lunar Phases-Inspired Recipe keeps their freshness beautifully when stored in an airtight container at room temperature for up to 5 days. This makes them ideal for prepping ahead or enjoying over several days of moonlit snacking.
Freezing
If you want to plan even further ahead, you can freeze the cookie dough balls before baking. Simply wrap them tightly and freeze for up to 2 months. When ready, bake straight from the freezer, adding a couple extra minutes to the bake time.
Reheating
While these cookies are best enjoyed fresh, you can lightly warm them in a microwave for 10-15 seconds to bring back some softness. Just be careful not to overheat and dry them out.
FAQs
Can I use a different type of flour for these cookies?
All-purpose flour is recommended for the best texture and stability in these moon cookies, but you can experiment with half whole wheat flour for a nuttier flavor, keeping in mind it will affect the texture slightly.
Is black food coloring necessary for the New Moon cookies?
It’s optional but highly effective if you want to distinctly represent the New Moon phase. You can skip it or replace it with a dark cocoa powder dough if you prefer natural coloring.
How long do decorated moon cookies stay fresh?
Once decorated, it’s best to consume them within 3 to 4 days, as icing can start to soften or crack over time depending on humidity.
Can I make this recipe gluten-free?
Yes! Substitute the all-purpose flour for a 1-to-1 gluten-free baking flour blend, but be sure to check for added xanthan gum or similar stabilizers to keep the dough’s structure.
What if I don’t have edible glitter? Any alternatives?
No worries! You can use a light dusting of powdered sugar or finely grated white chocolate to mimic a starry effect, both of which taste delicious and look lovely.
Final Thoughts
Nothing feels quite like capturing the magic of the moon in a cookie, and this Moon Cookies: Fun Lunar Phases-Inspired Recipe does just that with charm and flavor. Whether you’re baking for a special occasion or simply to delight your loved ones, these cookies are bound to spark joy and inspire creativity in the kitchen. So grab your apron, channel your inner lunar baker, and bring a little celestial sweetness into your day!
Print
Moon Cookies: Fun Lunar Phases-Inspired Recipe
- Prep Time: 15 minutes
- Cook Time: 12 minutes
- Total Time: 42 minutes
- Yield: 12 servings
- Category: Dessert
- Method: Baking
- Cuisine: American
Description
Moon Cookies are a delightful treat inspired by the lunar phases, featuring buttery, soft sugar cookies decorated to represent the New Moon, Full Moon, and other phases. These charming cookies are perfect for themed parties or as a fun baking project to celebrate the moon’s beauty.
Ingredients
Dry Ingredients
- 2 1/4 cups all-purpose flour (280g)
- 1/2 teaspoon baking soda (2g)
- 1/4 teaspoon salt (1g)
Wet Ingredients
- 1 cup unsalted butter, softened (227g)
- 3/4 cup granulated sugar (150g)
- 1 large egg (50g)
- 1 teaspoon vanilla extract (5ml)
Decorations
- Black food coloring (optional, for New Moon cookies)
- White icing (for decorating, amount as needed)
- Silver edible glitter (optional, for decoration)
Instructions
- Preheat the oven: Preheat your oven to 350°F (175°C). Line a baking sheet with parchment paper to prevent sticking and ensure even baking.
- Cream butter and sugar: In a large mixing bowl, beat together the softened butter and granulated sugar until the mixture is light and fluffy, which helps create tender cookies.
- Add egg and vanilla: Beat in the egg and vanilla extract until fully combined, ensuring the dough is smooth and uniform.
- Combine dry ingredients: In a separate bowl, whisk together the all-purpose flour, baking soda, and salt. Gradually add these dry ingredients to the wet ingredients, mixing just until everything is combined to avoid overworking the dough.
- Chill the dough: Refrigerate the dough for 30 minutes to allow it to firm up, making it easier to handle and shape the cookies.
- Shape the cookies: Roll the chilled dough into 1-inch balls, then flatten each ball into a circle on the prepared baking sheet.
- Bake: Bake the cookies for 10-12 minutes or until the edges are lightly golden, indicating they are perfectly cooked while remaining soft.
- Cool: Let the cookies cool completely on a wire rack before decorating, which prevents the icing from melting and keeps decorations intact.
- Decorate: Decorate the cookies to resemble the phases of the moon. Use black food coloring mixed into some dough or icing for the New Moon phase, white icing for the Full Moon, and silver edible glitter to add a starry effect for an ethereal touch.
- Serve and Enjoy: Serve the beautifully decorated moon cookies at your next gathering or simply enjoy them as a creative treat.
Notes
- You can customize the moon phases with different colors of icing to match your theme.
- For extra flavor, consider adding a teaspoon of lemon zest or cinnamon to the dough.
- If you prefer crispier cookies, bake an extra minute or two but watch carefully to avoid burning.
- Use parchment paper or silicone baking mats to prevent sticking and facilitate easy cleanup.
- Store cookies in an airtight container at room temperature for up to one week to maintain freshness.


